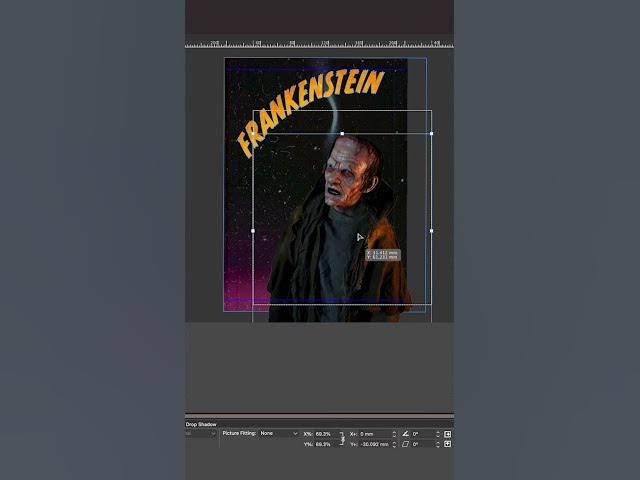
2024 QuarkXPress Tutorial: How to Create a Horror Movie Poster
Education

Introduction
Creating a spooky horror movie poster can be a fun and creative project, especially during the Halloween season. In this article, we will guide you through an easy step-by-step process using QuarkXPress. Let’s dive in!
Step 1: Set Up Your Design
- Select the Bezier Pin Tool: Start by choosing the Bezier pin tool from the toolbar. This will allow you to create custom shapes.
- Draw Your Line: Click to create points for your line. Hold and drag the points to curve your line into an interesting shape.
Step 2: Add Text
- Type in Your Text: After you have your line shaped, it’s time to add text. This can be the title of your horror movie or a spooky tagline.
- Convert Text to Vectors: Once you are satisfied with your text, convert it into vector shapes. This is important for creating a unique look and for further editing.
Step 3: Create a Textured Background
- Apply a Textured Background: Select a suitable background that evokes the feeling of horror. This could be dark colors or eerie patterns.
Step 4: Add Lighting Effects
- Incorporate Lightning Elements: Drag in additional elements such as lightning to give your poster a shocking effect. This can heighten the overall spooky atmosphere of your design.
- Add Drop Shadows: To enhance the look of the lightning, apply a light yellow drop shadow to create a glowing effect. This will make your lightning appear more dynamic.
Step 5: Finalize Your Design
- Use the Image Editing Tab: Go to the image editing tab and select the drop-down menu to choose the overlay option. Lower the opacity slightly to blend the elements together seamlessly.
- Experiment and Layer: Feel free to keep layering different elements and experimenting with various designs to achieve the perfect horror look.
Step 6: Print Your Poster
Once you are satisfied with your design, consider printing your poster. It will serve as a fantastic wall decoration that is sure to scare anyone who sees it!
Happy designing, and enjoy creating your horror movie poster this spooky season!
Keywords
- QuarkXPress
- Horror Movie Poster
- Bezier Pin Tool
- Textured Background
- Lightning Elements
- Drop Shadows
- Overlay
- Opacity
- Layering
FAQ
Q1: What software do I need to create a horror movie poster?
A1: You will need QuarkXPress to follow this tutorial and create a horror movie poster.
Q2: How can I create curves in my design?
A2: Use the Bezier pin tool to create lines and then hold and drag to curve those lines.
Q3: Can I add my own images to the poster?
A3: Yes, you can incorporate additional elements and images to enhance your poster design.
Q4: What effects can I use to make my lightning look realistic?
A4: Apply a drop shadow to your lightning elements and adjust the overlay and opacity settings to achieve a glowing effect.
Q5: How can I print my poster once I'm done?
A5: Once you are satisfied with your design in QuarkXPress, you can export it for printing as a high-quality image or PDF.

