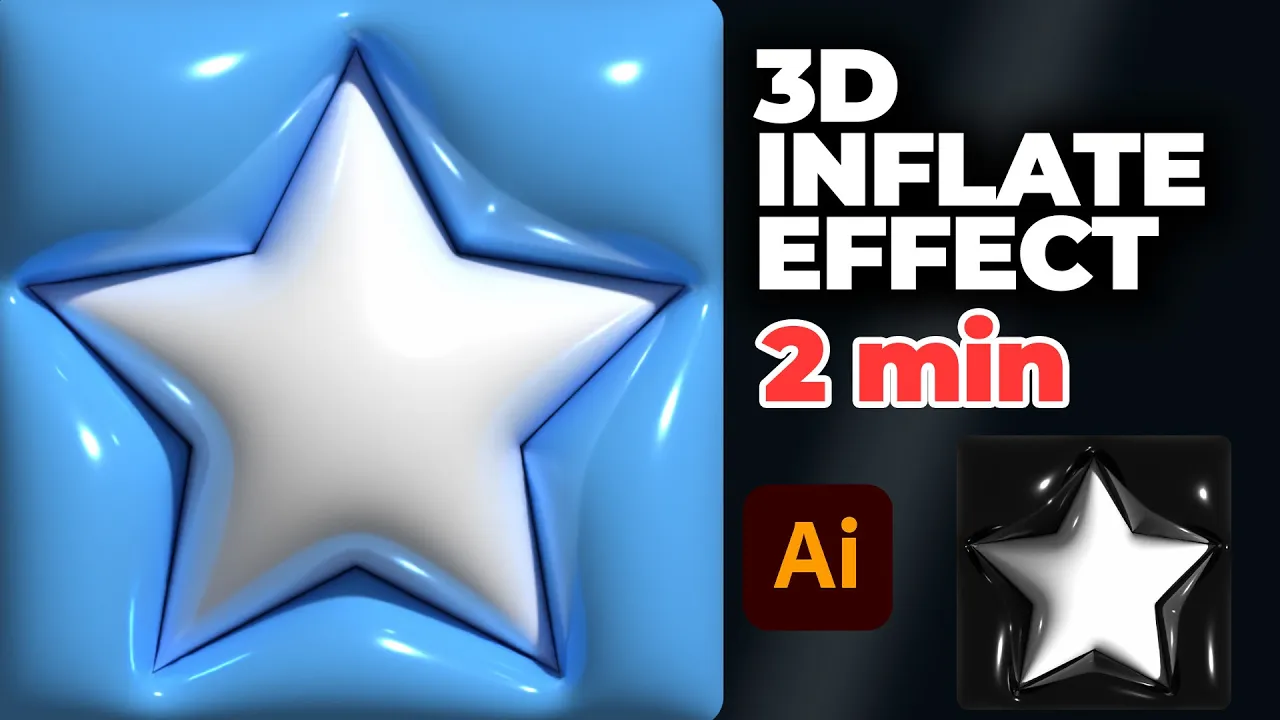
3d Inflate Text Effect in Illustrator | under 2 Minutes
Education

3D Inflate Text Effect in Illustrator | Under 2 Minutes
Creating an inflated 3D text effect in Adobe Illustrator can add a unique and engaging touch to your designs. Follow the steps outlined below to achieve this effect in just a couple of minutes!
Step 1: Setting Up Your File
- Open Adobe Illustrator and create a new file with dimensions 1080 by 1080 pixels.
- Select the Rectangle Tool from the toolbar to create a background. Set the fill color to your preference and disable the stroke.
Step 2: Adding and Styling Text or Shape
- Next, select the Type Tool to add your text. You can alternatively choose a star or any other shape.
- Double-click to adjust the color of the text or shape to your liking.
- Use the Move Tool (shortcut: V) or the Align feature to center your text or shape.
Step 3: Grouping Layers
- Select both the background and the text/shape layers.
- Right-click and select "Group" to keep them together for easier manipulation.
Step 4: Applying 3D and Materials
- Go to the 'Window' menu, then select '3D and Materials.'
- Choose the 'Inflate' option to apply the 3D effect.
- Adjust the lighting settings until you are satisfied with the result.
Step 5: Rendering and Exporting
- Render your design in high-quality settings.
- If needed, you can go back to the layers, select the shape or text, and tweak the colors.
- Once satisfied, go to 'Export' and choose either PNG or JPEG format to save your design.
And there you have it! Your inflated 3D text effect is ready.
Thank you for following along! Don’t forget to like and subscribe for more tutorials.
Keywords
- Adobe Illustrator
- 3D text effect
- Inflated text
- 1080 by 1080 pixels
- Rectangle Tool
- Type Tool
- Group layers
- 3D and Materials
- Inflate option
- Rendering and exporting
FAQ
Q: What dimensions should the new file be? A: The new file should be 1080 by 1080 pixels.
Q: How do I disable the stroke? A: You can disable the stroke by selecting the shape and setting the stroke option to none in the toolbar.
Q: What tool is used to move elements to the middle? A: You can use the Move Tool (shortcut: V) or the Align feature to center your elements.
Q: Where do I find the '3D and Materials' option? A: Go to the 'Window' menu, then select '3D and Materials.'
Q: Which format should I export my final design in? A: You can export your design as either PNG or JPEG, depending on your needs.
Q: Can I change the text or shape color after applying the 3D effect? A: Yes, you can always go back to the layers, select the shape or text, and adjust the colors.

