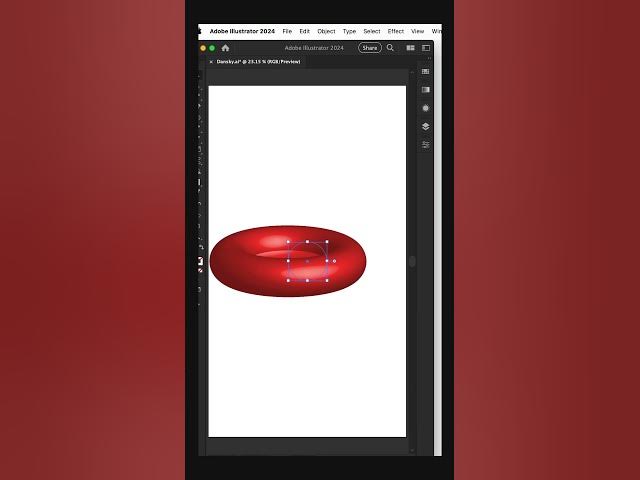
3D Object Wireframe Effect in Adobe Illustrator
Education

Introduction
If you're looking to create a wireframe effect for a 3D object in Adobe Illustrator, you're in the right place. This guide will walk you through the process step-by-step, using the classic 3D effect options in Illustrator. We will be working with a basic shape—a circle—to demonstrate how to achieve this look.
Step 1: Create a 3D Object
Start with a Circle: Open Adobe Illustrator and create a circle using the Ellipse Tool.
Convert to 3D Object: With the circle selected, navigate to the top menu. Instead of using the newer 3D features, opt for Effect > 3D > 3D Classic > Revolve.
Adjust the Settings: You will see options to adjust the revolved shape. Increase the offset to achieve a dome-like appearance. Be sure to rotate the shape along the X, Y, and Z axes according to your design needs.
Step 2: Set the Surface to Wireframe
Change the Surface Option: Before finalizing your 3D object, look for the Surface section in the 3D options panel. Select Wireframe. This will transform your object into a wireframe representation.
Appearance Panel: In the Appearance panel, you can see that the wireframe effect has been applied. Feel free to make any adjustments or modifications you'd like to personalize your design further.
Step 3: Expand Appearance
Final Touches: Before making further changes, center your wireframe object on the artboard.
Expand the Appearance: Navigate to the top menu and select Object > Expand Appearance. This converts the 3D object into a collection of editable lines, allowing you to manipulate the wireframe as you would with any regular shape in Illustrator.
Edit Stroke Properties: You can now edit stroke properties, change colors, and apply any additional effects to your newly created wireframe.
By following these steps, you'll successfully transform any basic shape into a detailed wireframe 3D object in Adobe Illustrator, ready for further editing and creativity.
Keyword
3D object, wireframe effect, Adobe Illustrator, circle, revolve, 3D classic, surface options, appearance panel, editable lines, stroke properties.
FAQ
Q1: What is the advantage of using the 3D Classic features over the new 3D options in Illustrator?
A1: The 3D Classic features in Illustrator provide more flexibility for specific adjustments when it comes to creating complex shapes without the limitations found in the newer features.
Q2: Can I use any shape to create a wireframe effect?
A2: Yes, you can use various shapes, not just circles. The method works similarly for different 2D shapes that you would like to turn into a 3D wireframe object.
Q3: How can I edit the wireframe after expanding the appearance?
A3: Once you have expanded the appearance, you can edit the stroke properties, change colors, and apply effects like gradient or pattern fills just like any other shape in Illustrator.
Q4: Is there a shortcut for selecting the wireframe option in the 3D settings?
A4: The wireframe option is found within the 3D options panel and must be selected manually; there isn't a shortcut for this specific action.

