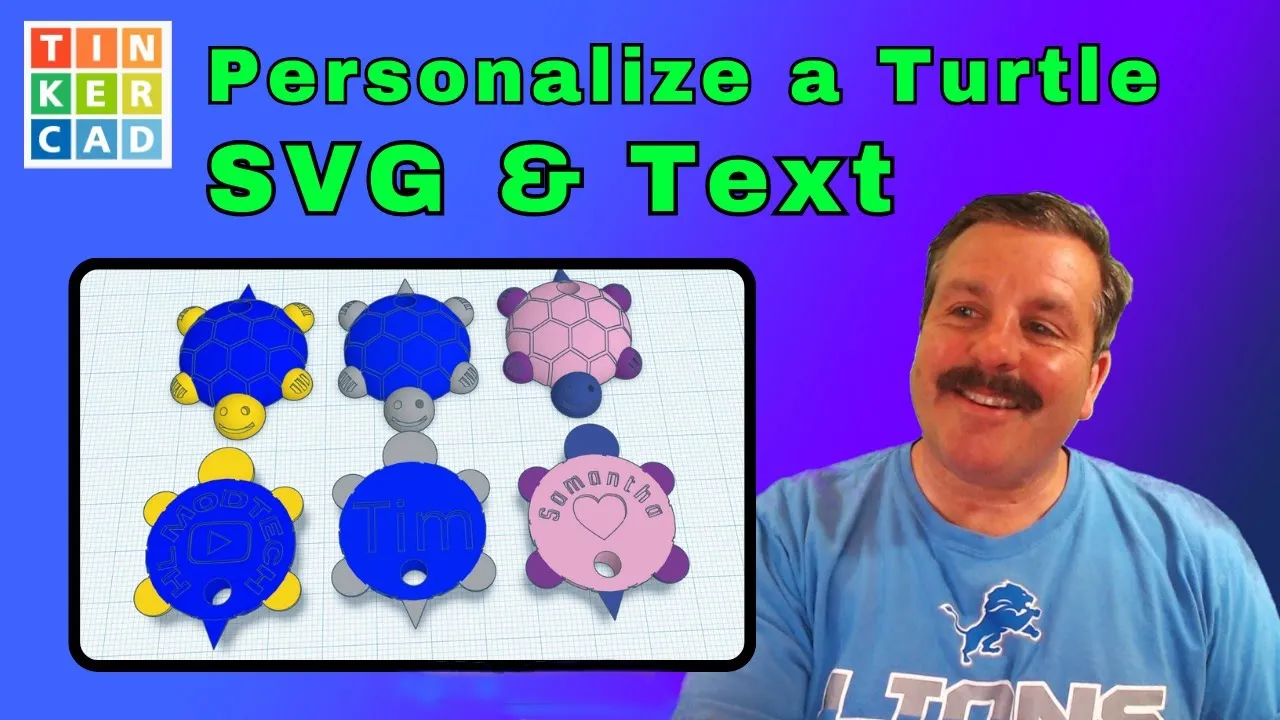
3D Print Tinkercad Turtles with Text & SVG Classroom Ready Tricks
Education

Introduction
Creating personalized Tinkercad turtles can be an exciting project for students in the classroom. In this article, we'll guide you through the process of customizing your turtle designs with text and SVG files, making the project both educational and engaging.
Step 1: Building the Turtle
Before personalizing your turtle, you need to create it in Tinkercad. You can quickly find the tutorial by searching for "bit.lhl Turtle." Once the turtle is built using simple shapes and fun patterns, you can start the personalization process.
Adding Custom Text
- Select the Turtle: Make sure your turtle is complete before starting to add text.
- Ungroup Components: Click on the body of the turtle and ungroup it to access the inner components.
- Create Text: Use the text tool to insert initials or a name. For instance, if a student’s name is Tim, you can add that as text.
- Adjust the Text: Change the text to a hole and select a font. Use the shift key to resize it to fit the turtle's body while ensuring it stays below 27mm in height.
- Positioning: Align the text centrally with the turtle’s shell and ensure it is backward by flipping it appropriately.
- Set Depth: Make sure the text cuts into the turtle’s body by setting a depth of 1mm.
- Group Elements: Select the entire design and group it using
Control + G. This finalizes the changes.
Exporting for 3D Printing
- Click on 'Export' and select 'STL' to save your design. Use a naming convention that includes your name for easy identification, like "Tim G Turtle".
Step 2: Using Canva for Additional Customization
If you want to add more text, you can use an external program like Canva.
- Create Design in Canva: Sign in to Canva and create a new design using the Instagram square post.
- Add Personalized Text: Type a name, like "Samantha,” and choose a bold font.
- Add Effects: Use the effects feature to curve the text and space it out around the turtle's body.
- Export as SVG: Take a screenshot of the design, export it, and save the file as an SVG after converting it with a free online tool (like Pi svg.com).
- Import into Tinkercad: Return to Tinkercad, import the SVG, and resize appropriately.
Final Adjustments
- Position the new text correctly, ensuring all elements are aligned and cut into the turtle body at 1mm thickness. Group all components again before the final export.
Conclusion
With these steps, you can create personalized Tinkercad turtles that are both fun and educational. This project encourages creativity while teaching important design skills.
Keywords
Tinkercad, customization, 3D print, turtles, SVG, export, Canva, classroom project, text, design, personalization.
FAQ
Q: What is Tinkercad?
A: Tinkercad is an easy-to-use, browser-based 3D design and modeling tool suitable for all ages.
Q: How can I personalize my Tinkercad turtle?
A: You can personalize it by adding text (like initials) and importing SVG graphics created in Canva.
Q: What file format do I need for 3D printing?
A: You need to export your design as an STL file for 3D printing.
Q: Can I use different fonts for the text?
A: Yes, you can choose from a variety of fonts in both Tinkercad and Canva, ensuring they are thick enough for 3D printing.
Q: What depth should the text be set to for cutting into the turtle?
A: The text should usually be set to cut into the turtle to a depth of 1mm.

