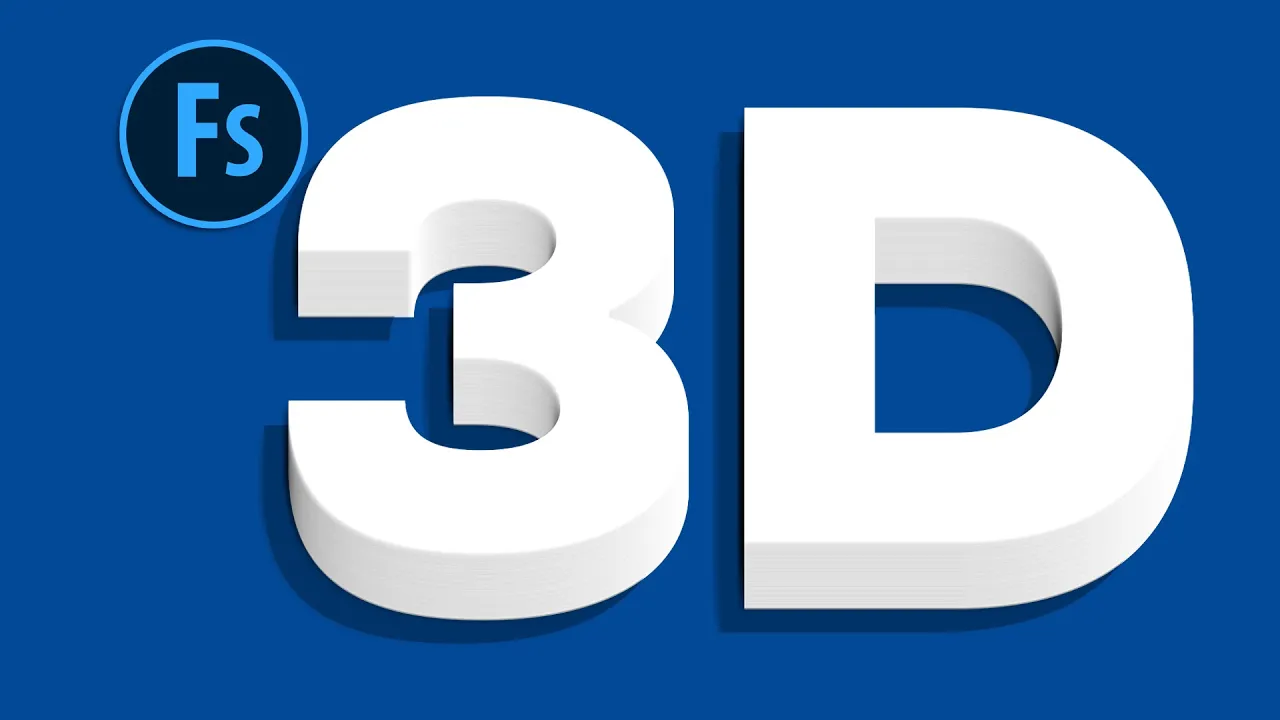
3D Text Effect in Photoshop | Tutorial for Beginners | Typography
Education

Introduction
Creating stunning 3D text effects in Photoshop can elevate your typography projects to the next level. This beginner-friendly tutorial will guide you through the steps of making 3D text that pops off the page. Follow along as we explore tools and techniques that will enhance your designs.
Step 1: Setting Up Your Document
Begin by creating a new document in Photoshop. Go to File > New, and set your preferred dimensions; a common size for typography work is 1920x1080 pixels. Ensure that the resolution is set to 300 DPI for high-quality output.
Step 2: Adding Text
Select the Text Tool (T) from the toolbar. Click anywhere on the canvas and type your desired text. Choose a bold font as this will help your 3D effect stand out. For this tutorial, we'll use a sans-serif font like "Helvetica Bold".
Step 3: Converting Text to Shape
To apply the 3D effect, you must first convert your text to a shape. Right-click on the text layer in the Layers panel and choose Convert to Shape. This step allows for more flexibility when applying effects.
Step 4: Adding 3D Extrusion
With your text layer selected, go to 3D > New 3D Extrusion from Selected Layer. This option will convert your text into a 3D object, giving it depth. Adjust the extrusion depth in the 3D panel that appears to achieve the desired look.
Step 5: Lighting and Material
Next, focus on the materials and lighting for your 3D text. Click on the 3D panel, where you can modify the material of the text. Change the color, texture, and shininess to enhance your text’s surface. Don’t forget to adjust the lighting to create shadows and highlights that enhance the 3D effect.
Step 6: Camera Angle
To showcase your 3D text effectively, adjust the camera angle. In the 3D panel, manipulate the camera to find the perfect angle that highlights your text’s qualities. Take your time here; the angle makes a significant difference in the overall perception of depth.
Step 7: Finalizing the Design
Once you're satisfied with your 3D text, rasterize the 3D layer if you want to add additional effects, such as a background or additional shapes. You might want to add a gradient background or incorporate some shapes to complete your design.
Step 8: Save Your Work
Finally, save your work by going to File > Save As. It’s a good idea to save an editable version as a PSD file and then export a flattened version in your desired format (JPEG, PNG) for sharing.
And there you have it! A complete guide to creating a stunning 3D text effect in Photoshop. With these steps, even beginners can create eye-catching typography.
Keywords
- Photoshop
- 3D text
- Typography
- Text Tool
- Extrusion
- Lighting
- Camera angle
- Material
- Save
FAQ
1. What is a 3D text effect?
A 3D text effect is a graphical technique that gives text depth and dimension, making it appear three-dimensional.
2. Can I use any font for the 3D text effect?
While you can use any font, it’s recommended to use bold fonts as they translate better to 3D effects.
3. How do I adjust the lighting for my 3D text?
You can adjust the lighting in the 3D panel by manipulating the light source, changing the intensity, and choosing different light types to enhance the appearance of your text.
4. What file formats can I save my work in?
You can save your finished design as a PSD for future editing, as well as export it in formats like JPEG and PNG for sharing.
5. Is this tutorial suitable for beginners?
Yes, this tutorial is designed for beginners, guiding you step-by-step through the process of creating a 3D text effect in Photoshop.

