

CINEMATIC COLOR GRADING for videos on Capcut [Tutorial]
Howto & Style
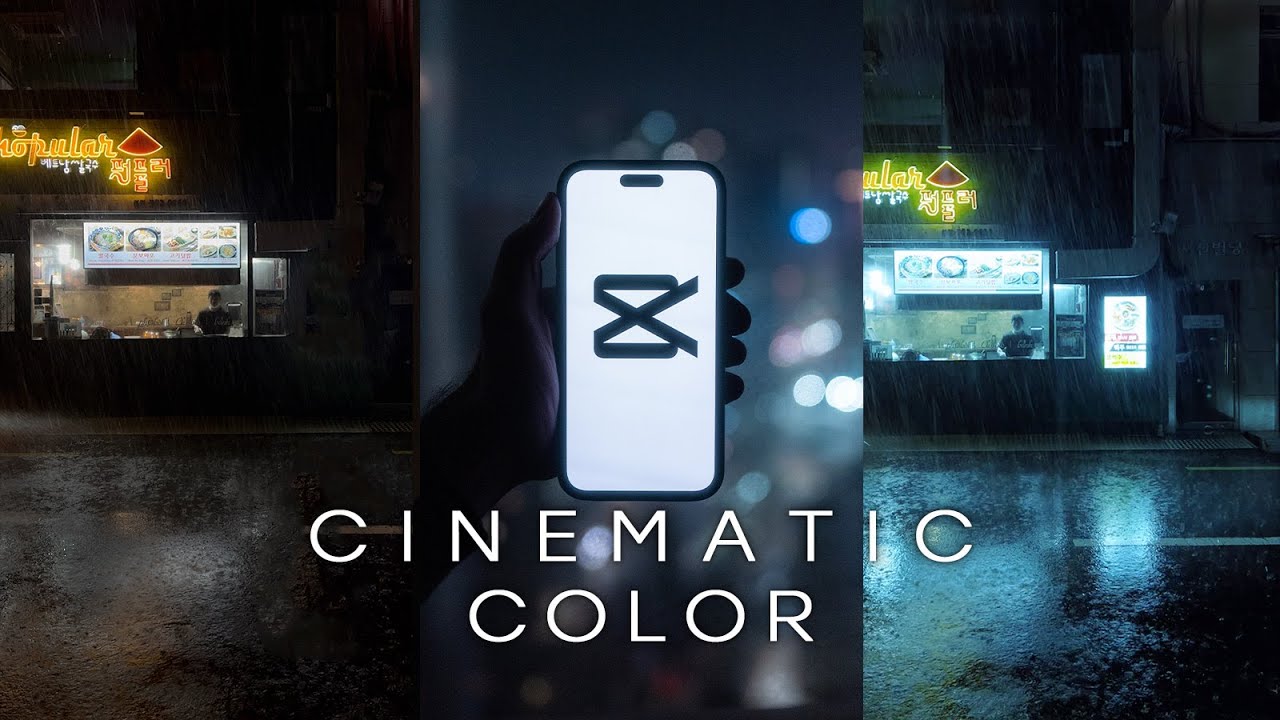
CINEMATIC COLOR GRADING for videos on Capcut [Tutorial]
In this article, we will discuss how to achieve a simple cinematic color grade using the CapCut app. The tutorial covers two methods to color grade videos on CapCut, one without presets or LUTs for more control and experimentation, and the other using LUTs for a quicker workflow.
To start, the tutorial demonstrates adjusting brightness to correct underexposed footage. Then, it dives into using the curves function in CapCut to manipulate colors in mid-tones, shadows, and highlights. The article explains how to adjust color channels individually to achieve the desired cinematic look. It also touches on using HSL adjustments for fine-tuning colors if needed.
Moreover, the article discusses the option of using LUTs in CapCut's desktop version for a simpler color grading process. It highlights the benefits of using LUTs for efficient editing, especially when working on multiple videos in a single session. Additionally, it touches on where to find and acquire LUTs for video editing purposes.
Keywords
CapCut, cinematic color grading, video editing, LUTs, curves function, color channels, HSL adjustments, fine-tuning, desktop version.
FAQ
- Can CapCut's desktop version be used for applying LUTs to videos?
- What are the benefits of using curves for color grading in CapCut?
- Where can one find and purchase LUTs for video editing?
- How important is the source footage in achieving cinematic color grades?
- Is it recommended to use LUTs for quick editing workflows in CapCut?