Create Drone-Style Videos for FREE with Google Earth Studio
Education

Create Drone-Style Videos for Free with Google Earth Studio
Introduction
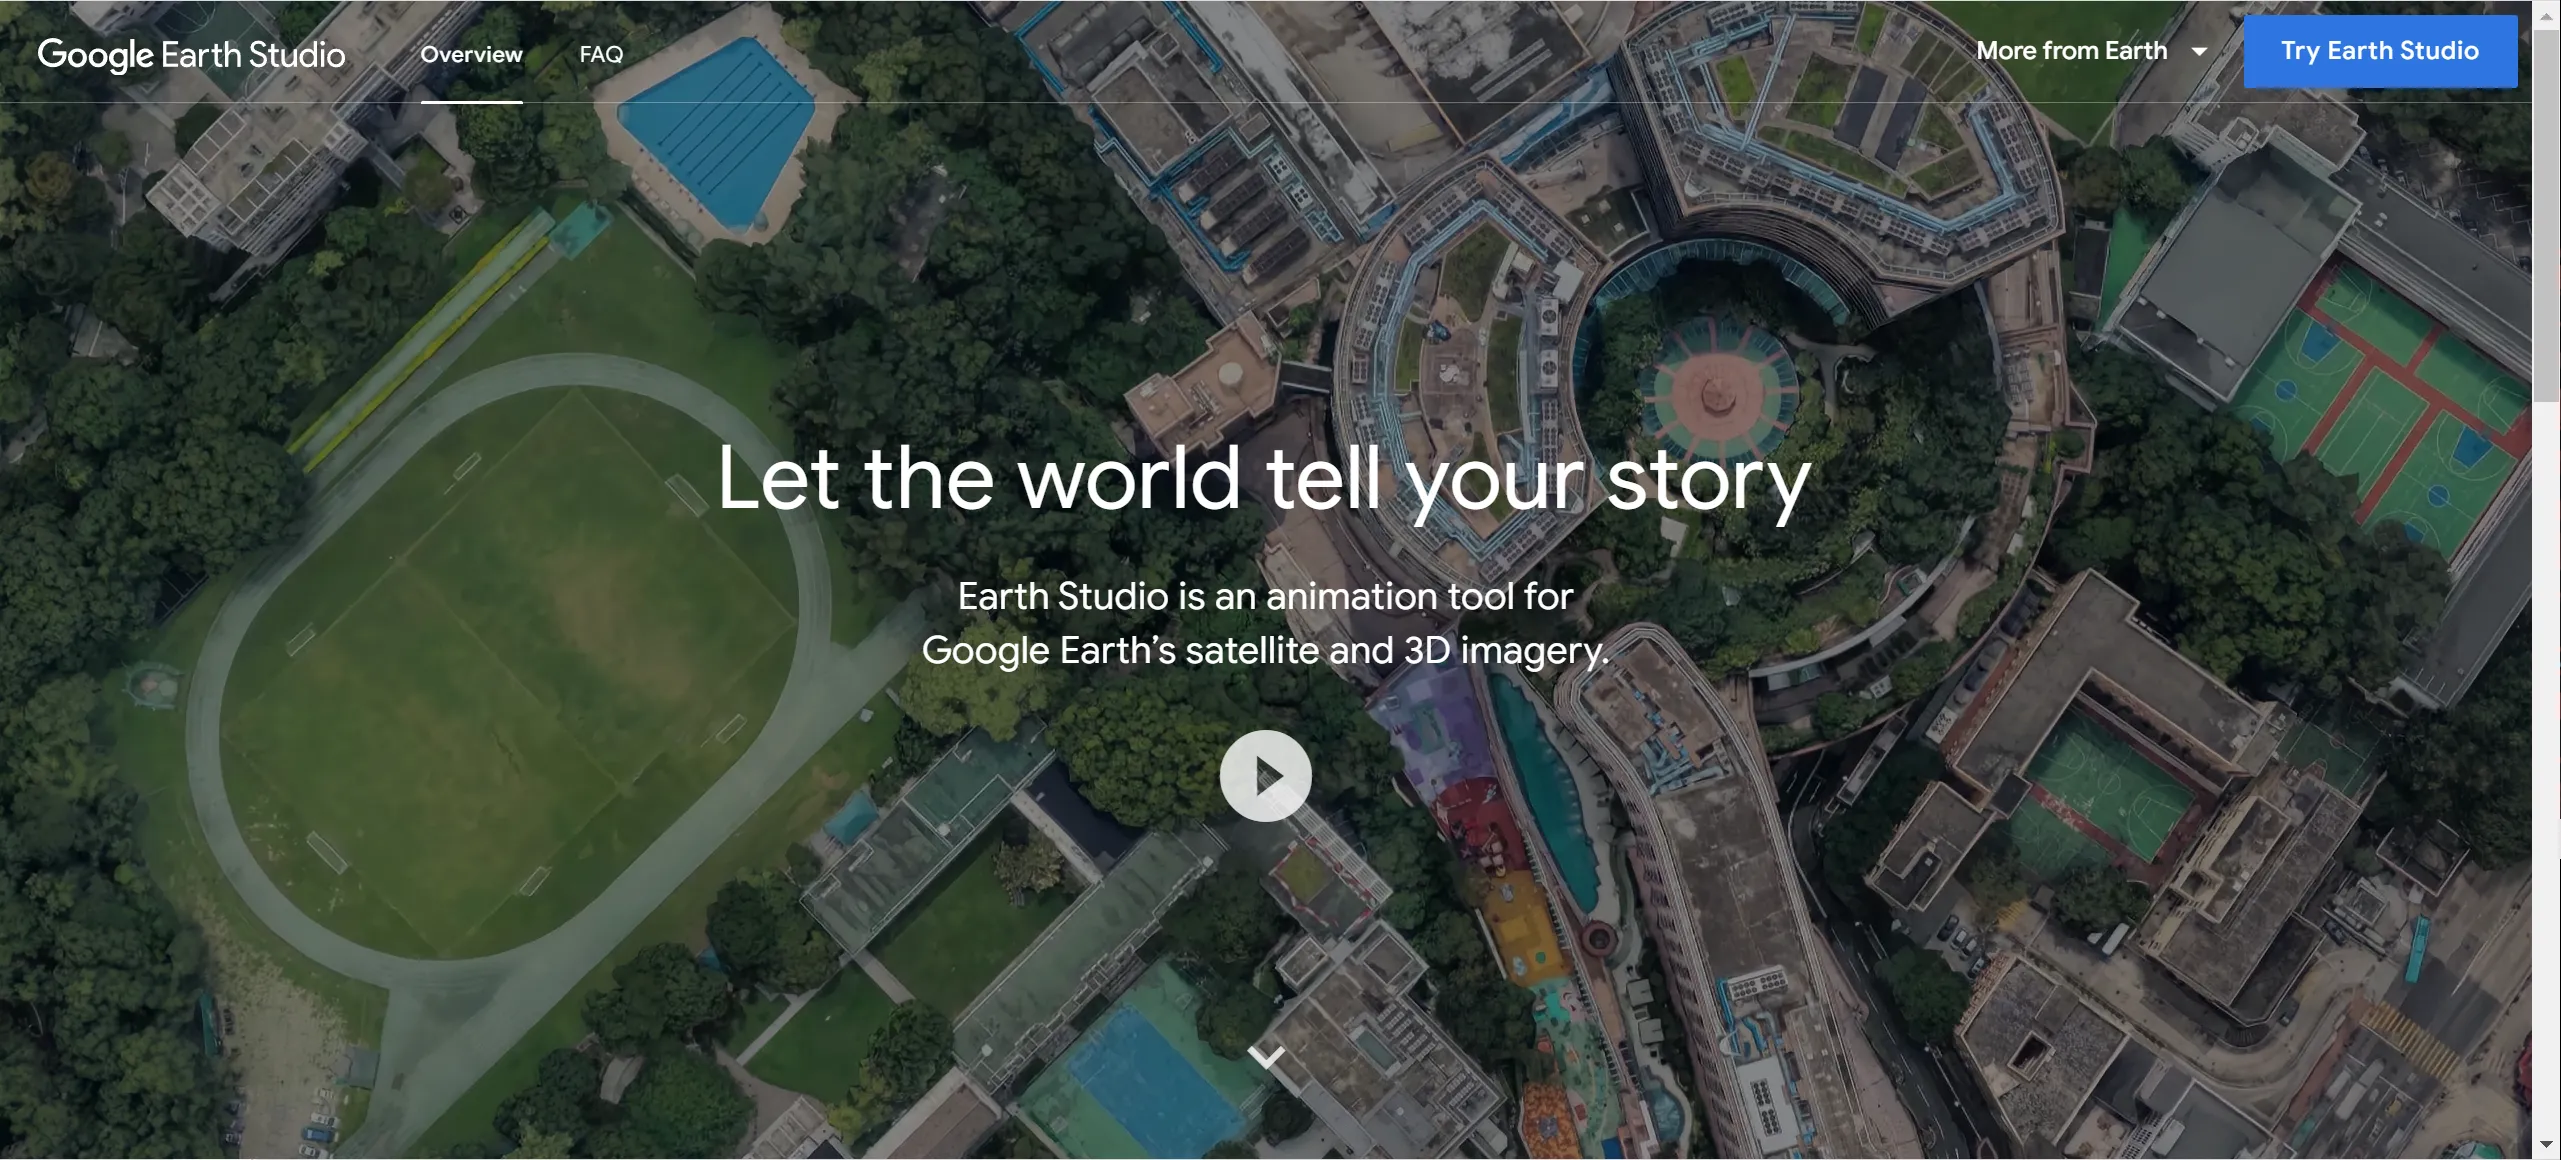
In this blog post, I will show you how to create stunning drone-style footage without needing a drone, using Google Earth Studio. This tool is completely free and allows you to create custom videos that you can download as MP4s and edit further in your preferred video editor.
Getting Started with Google Earth Studio
Google Earth Studio is a powerful tool available for free. To access it, you need to sign up and wait for about a day to get access. Once you have access, you can create individual custom videos that look like they were shot with a drone. These videos can be downloaded and edited just like any other video.

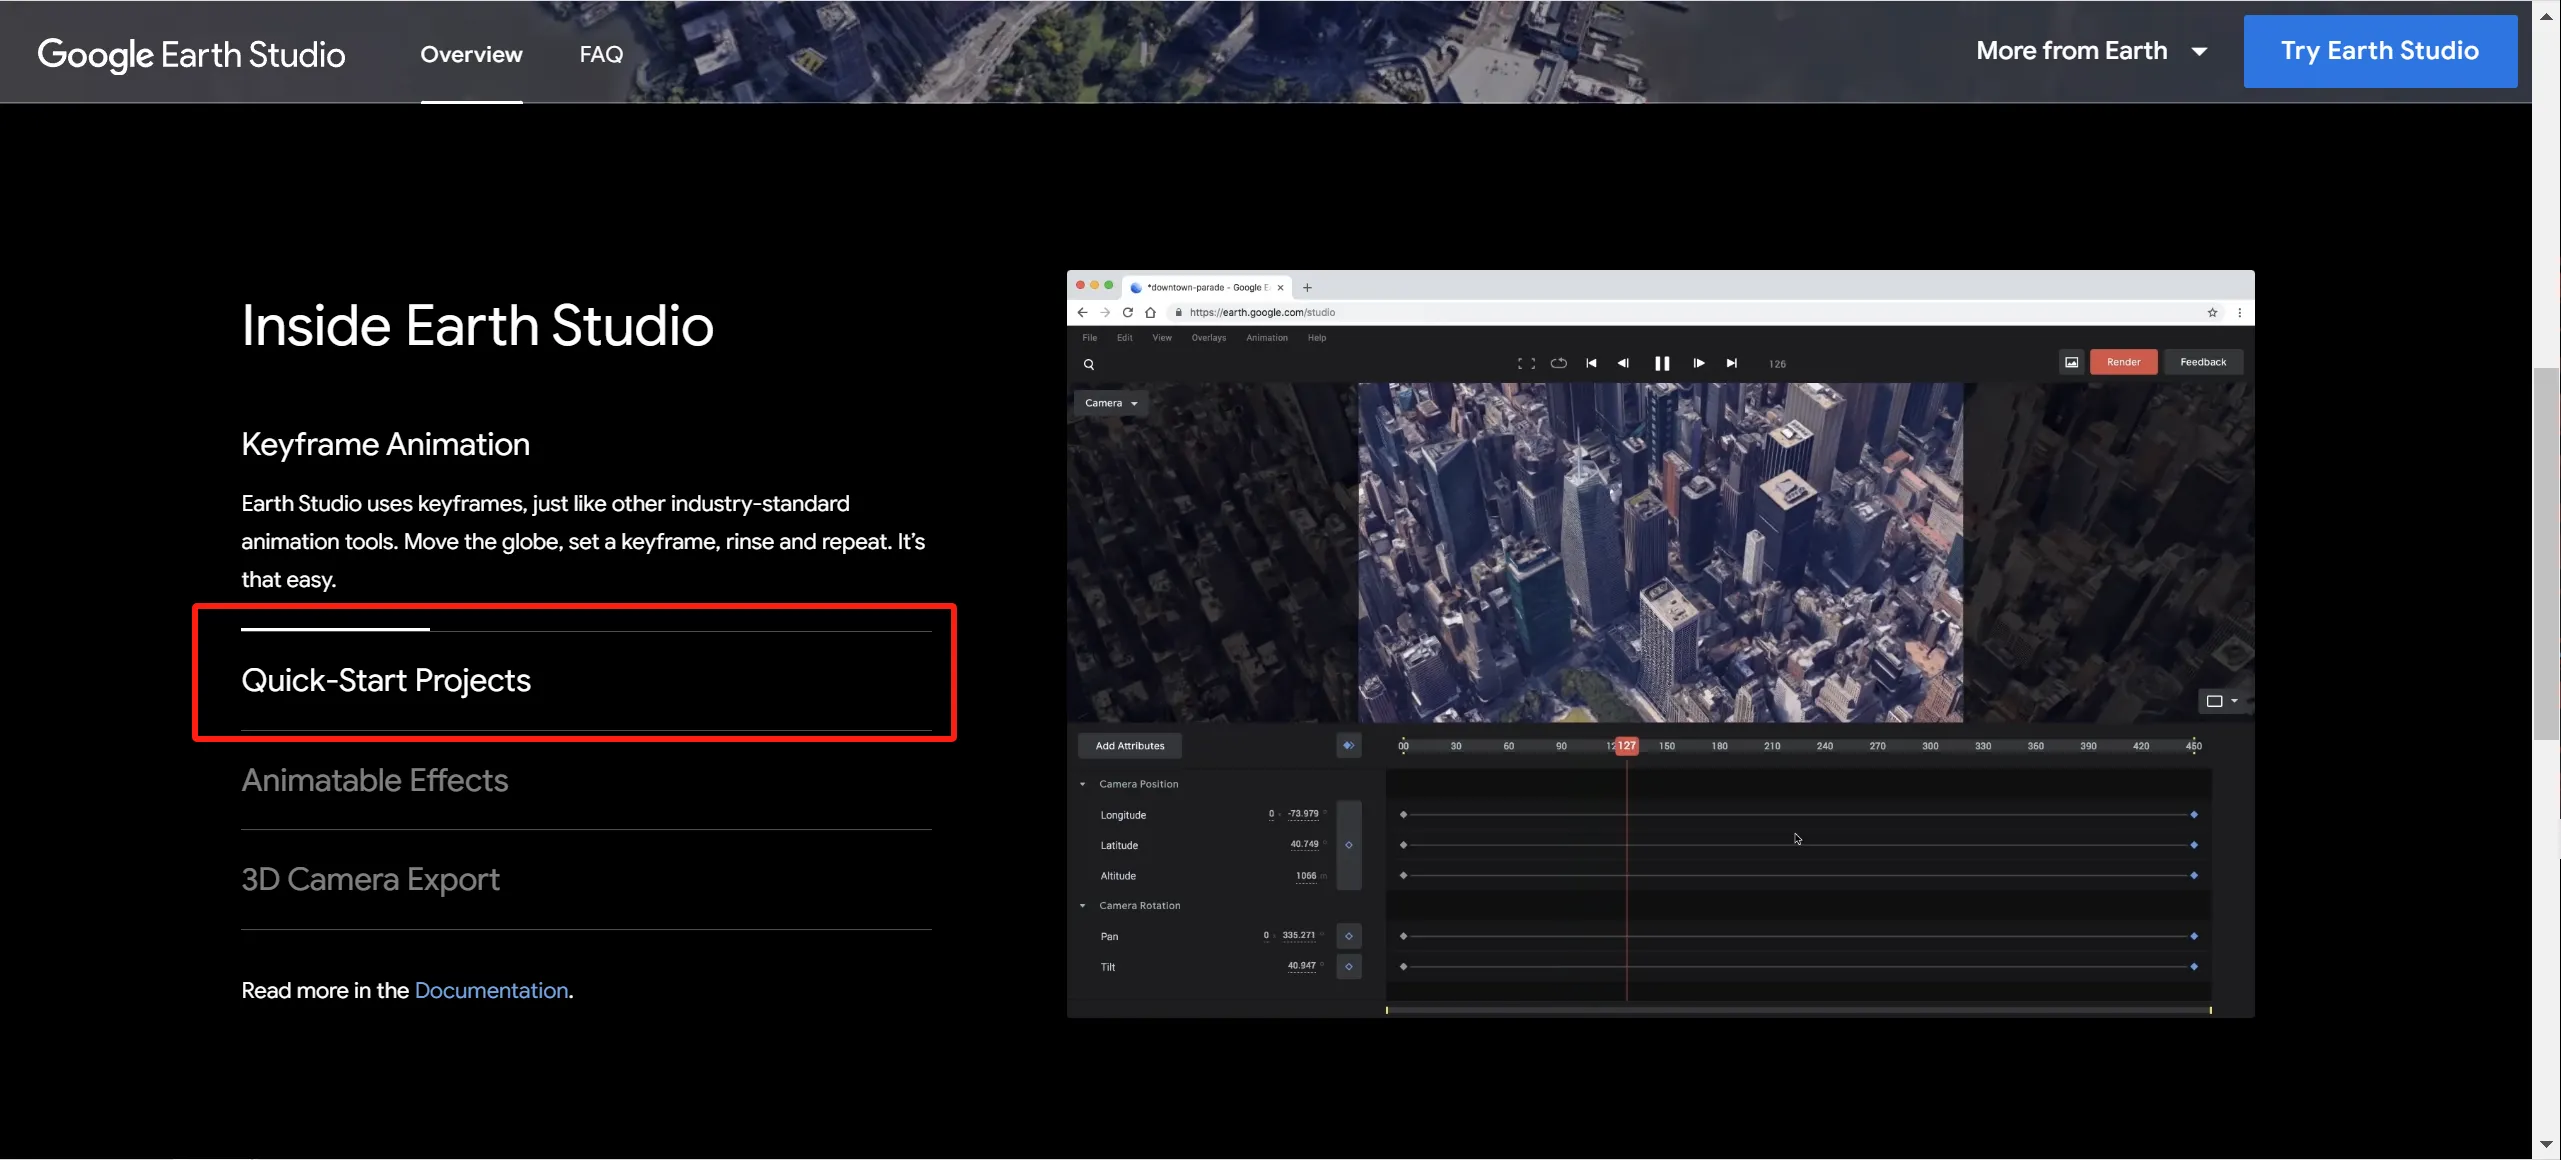
Using Quick Starts
When you first log in to Google Earth Studio, you have the option to create a blank project or use Quick Starts. If you are new to this tool, I recommend starting with Quick Starts. These pre-made templates help you understand how to create different types of shots, such as zoom, orbit, fly-to, and more.

Creating a Quick Start Project
- Choosing a Template: Select a Quick Start template like "Fly to and Orbit". This will give you a pre-made action to work with.
- Setting the Location: Enter a location, such as New York, and the tool will center the orbit point in the frame.
- Adjusting Settings: Customize the flight path, end altitude, orbit radius, target altitude, and approach angle. You can also choose the direction of the orbit and set the duration of the video.
Adjusting the Flight Path
In the viewport layout, you can see the path your camera will follow. You can adjust this path by dragging the white circles to cover a larger area or change the focus point. The camera will always look at the selected focus point, ensuring consistent framing throughout the shot.
Adding and Adjusting Keyframes
Keyframes are essential for customizing your video. They allow you to change the camera's position, altitude, and focus point at different times. You can add new keyframes or adjust existing ones to create smooth transitions between different points.
Adding More Attributes
Google Earth Studio allows you to add various attributes to your project, such as field of view, time of day, clouds, and 3D buildings. These attributes can be adjusted to create the perfect look for your video. For example, you can change the time of day to capture a night scene in New York.
Rendering Your Footage
Once you are satisfied with your project, you can render the video. Google Earth Studio offers options to render as an image sequence or a video. Choose MP4 for video and customize the dimensions and other settings. After rendering, you will receive an email with a link to download your video.
Creating a Blank Project
For more advanced users, starting with a blank project allows for complete customization. You can choose your location, set keyframes, and adjust all attributes manually. This is ideal if you have a specific vision in mind and want full control over the video creation process.
Conclusion
Google Earth Studio is an incredible tool for creating drone-style footage without the need for expensive equipment. Whether you are making YouTube videos, shorts, or other projects, this tool offers endless possibilities for creativity.
Keywords
- Drone-style videos
- Google Earth Studio
- Free video creation
- Customize flight path
- Keyframes
- Adjusting attributes
- Rendering options
- MP4 download
- Video editing software
FAQ
Q: What is Google Earth Studio?
A: Google Earth Studio is a free tool that allows you to create custom videos using satellite imagery and 3D data from Google Earth.
Q: How do I get access to Google Earth Studio?
A: You need to sign up on the Google Earth Studio website and wait for about a day to get access.
Q: Can I use Google Earth Studio for free?
A: Yes, Google Earth Studio is completely free to use.
Q: What are Quick Starts in Google Earth Studio?
A: Quick Starts are pre-made templates that help you create different types of shots, such as zoom, orbit, and fly-to, making it easier to get started.
Q: How do I render my video in Google Earth Studio?
A: Once you are satisfied with your project, click on the render button, choose your settings, and submit. You will receive an email with a link to download your video as an MP4.

