How To Edit Videos in Canva For Beginners (Canva Video Tutorial)
Howto & Style
Introduction
Are you looking for a simple and user-friendly video editor? Look no further. Canva not only offers a video editor but has recently added AI features that make creating professional-looking videos even easier. In this step-by-step tutorial, we will guide you through the process of using Canva's video editor and utilizing their new AI features.
Step 1: Getting Started
To begin, open Canva and select the video design option. We recommend using the standard 1920x1080 pixel resolution for HD videos. On the left-hand side, you will see various templates that can be customized. While you can choose a template, we will start from scratch using a blank design.
Step 2: Navigating the Editing Interface
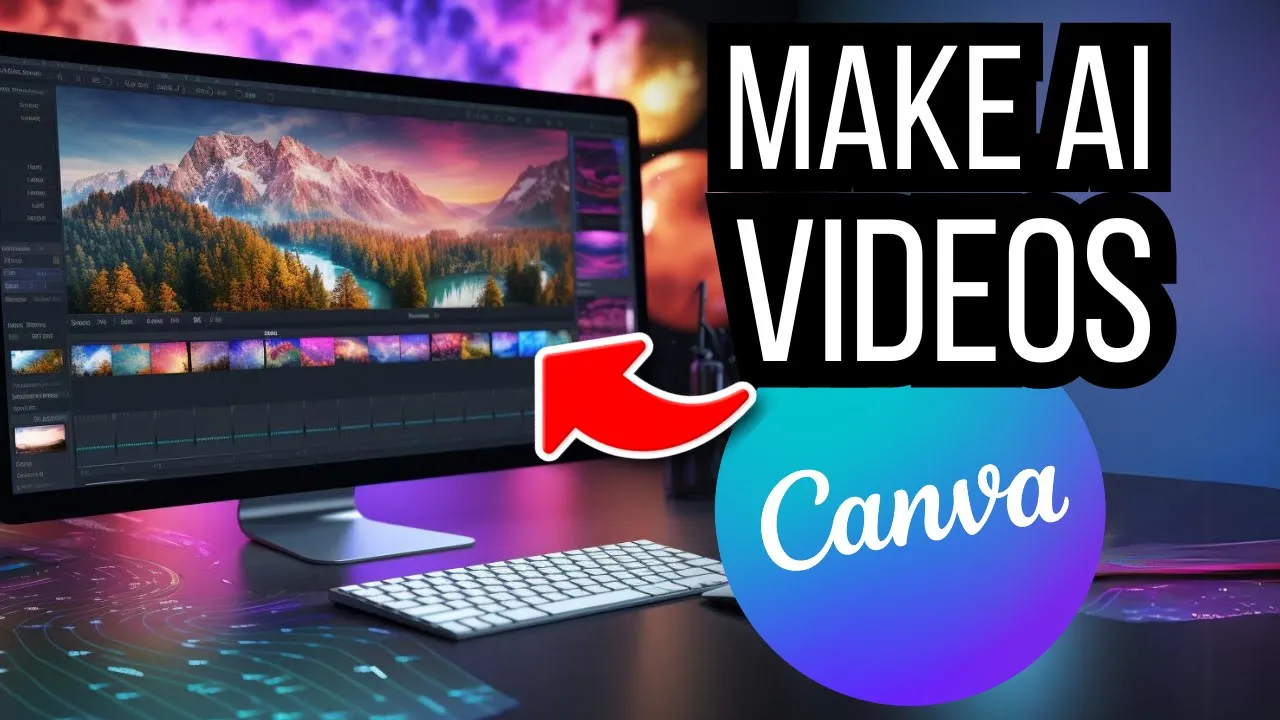
If you are new to video editing, it's important to familiarize yourself with the editing interface. Canva's video editor provides a preview window where you can compose your videos and add elements such as videos, audio, and text. The left-hand side offers media tabs where you can find assets to add to your video.
Step 3: Adding and Editing Videos
To add a video, click on the "Uploads" tab and select "Video." You can then upload your desired video file. Once the video is uploaded, you can click and drag it onto the timeline or the preview window. You can crop and trim the video, adjust playback speed, and even remove backgrounds using Canva's AI features.
Step 4: Customizing Text and Graphics
Canva allows you to add text and graphics to your videos. You can select the "Text" tab on the left-hand side to choose pre-made text designs or use the keyboard shortcut "T" to add your own text. You can customize the font, color, and size of the text. Effects and animations can also be applied to make your text stand out.
To add graphics, click on the "Elements" tab and search for the desired graphic. Drag and drop it onto the page, and you can then apply animations and transitions to bring your graphics to life.
Step 5: Adding Audio and Sound Effects
To enhance your video, you can add audio and sound effects. Canva allows you to upload your own audio files or select from their library of sound effects. Simply click and drag the audio file onto the timeline. You can also trim and adjust the timing of the audio to synchronize it with your video.
Step 6: Managing Layers and Timing
Layers play a crucial role in video editing. Canva offers a layer feature to control the position and visibility of elements on the timeline. By clicking on the "Position" button, you can access the layer view and adjust the order of elements. Additionally, you can control the timing of when elements appear on the screen by using the "Show Timing" feature.
Step 7: Applying Transitions and Custom Animations
Canva provides a variety of transitions and animations to make your videos visually appealing. You can add transitions between clips by clicking on the gaps in the timeline. Canva's AI feature, Magic Animate, can automatically apply animations to your elements. If you prefer custom animations, you can drag elements across the canvas to create your desired effect.
Step 8: Exporting and Sharing Your Video
Once you have finished editing your video, you can download it by clicking on the "Share" button and selecting "Download." Choose the desired format and quality, and Canva will generate the video file for you to save on your device. You can share your videos on social media or use them for various purposes.
Congratulations! You have learned how to edit videos in Canva and utilize their AI features to create stunning videos. With Canva's user-friendly interface and extensive features, video editing has never been easier.
Keywords
Canva video editor, AI features, professional-looking videos, video design, templates, editing interface, preview window, media tabs, adding videos, cropping videos, trimming videos, adjusting playback speed, removing video backgrounds, adding text, customizing text, adding graphics, applying animations, adding audio, managing layers, controlling timing, applying transitions, creating custom animations, exporting videos, sharing videos.
FAQ
Q: Can I use Canva's video editor for free? A: Yes, Canva offers a free version that includes basic video editing features. However, some advanced features may require a Canva Pro subscription.
Q: Can I record myself within Canva's video editor? A: Yes, you can record yourself using Canva's built-in recording feature. You can choose to record your camera, your camera and screen, or just your screen.
Q: Can I collaborate with others on video editing projects in Canva? A: Yes, Canva allows you to share your video designs with others for collaboration. You can set permissions to control who can edit, comment, or view the project.
Q: Can I create video templates in Canva and sell them? A: Yes, Canva allows you to create and share video templates. You can generate a template link and provide it to others to use as a starting point for their own videos.
Q: Are there any size limitations for videos in Canva? A: Canva has specific file size limitations for videos. The maximum file size for free users is 5GB, while Canva Pro subscribers can upload videos up to 100GB in size.
Q: Can I use Canva's video editor on mobile devices? A: Yes, Canva's video editor is available for mobile devices. You can download the Canva app from your device's app store and access the video editor on the go.