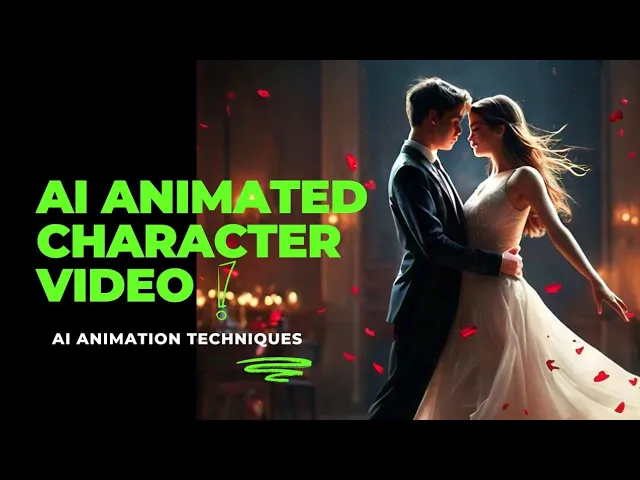
AI Animation for Realistic Character Movement:Free Animation
Film & Animation

Introduction
Welcome, friends! Today, we delve into the world of technology and video editing, focusing on how to create captivating videos using AI-generated animations. This guide will take you through the steps needed to generate images, convert them into videos, and edit them using the CapCut Video Editor. Let's get started!
Generating AI Images
First, we begin by generating the images for our video promotion. Make sure to adjust any details in your promotional images as required. After making the necessary changes, click on the generate button. The AI will prepare images based on your specified modifications.
Once your images are ready, download each one by clicking on the download button. Save the images to your mobile gallery in preparation for the next step.
Converting Images into Videos
With your images saved, it's time to transform them into videos. Select your images and click on the generate button again. In just a few seconds, your images will be converted into video formats. Don't forget to download and save these videos to your mobile gallery.
As you prepare to edit, ensure that you write a script or promotion related to the visuals so that the video reflects your creative vision seamlessly.
Editing with CapCut
Next, we’ll use the CapCut Video Editor for editing. Open CapCut, create a new project, and import the videos you just downloaded. Once the videos are on the timeline, it's time to add music.
To avoid copyright issues, download an appropriate music track or remix a video song. Add the music as an overlay by clicking on the overlay function, then select the audio from your gallery. After adding the music, remove any original audio from the video by separating it and deleting it.
Enhancing Video Length and Content
To make your video longer, duplicate any segment and use the reverse feature to create a smooth transition. This way, the second video will follow seamlessly from where the first one ends.
You can also enhance your montage by adding sound effects. CapCut offers a variety of sound effects, which you can incorporate to enrich your video by clicking on the sound effects button.
Using Video Effects
For additional flair, use video effects between clips. Place your cursor in the timeline's gaps, click on the effects button, and explore various available options. Select the effects that best suit your video's tone and apply them accordingly.
Remember, although CapCut isn't available on the Play Store, you can easily download it from the link provided in the description box.
Finalizing Your Video
Once your editing is complete, before exporting, make sure to increase the video resolution to 4K for a high-quality output. Adjust the frame rate and bitrate to ensure excellent quality. Finally, click the export button and save your video in your mobile gallery.
If you enjoyed this tutorial, please like and subscribe! The CapCut download link is given in the description for easy access. Elevate your creativity and stay tuned for more!
Keywords
- AI Animation
- Video Editing
- Image Generation
- CapCut
- Sound Effects
- Video Effects
- High-Quality Resolution
- Export Video
- Mobile Gallery
FAQ
Q1: What is AI Animation?
A1: AI animation refers to using artificial intelligence to generate or enhance animations, allowing for more realistic character movements and visuals.
Q2: How do I generate images for my video?
A2: You can generate images by uploading your promotional content and utilizing AI tools to modify and create images based on your specifications.
Q3: Is CapCut a free video editing app?
A3: Yes, CapCut is available for free, though it may not be found on the Play Store. However, download links are available through various sources.
Q4: How can I add music to my video?
A4: You can add music by downloading a track, remixing it, and using CapCut's overlay feature to integrate it into your video.
Q5: What are the steps to ensure high video quality?
A5: Before exporting your video, increase the resolution to 4K, adjust the frame rate, and set a high bitrate to enhance the overall quality.

