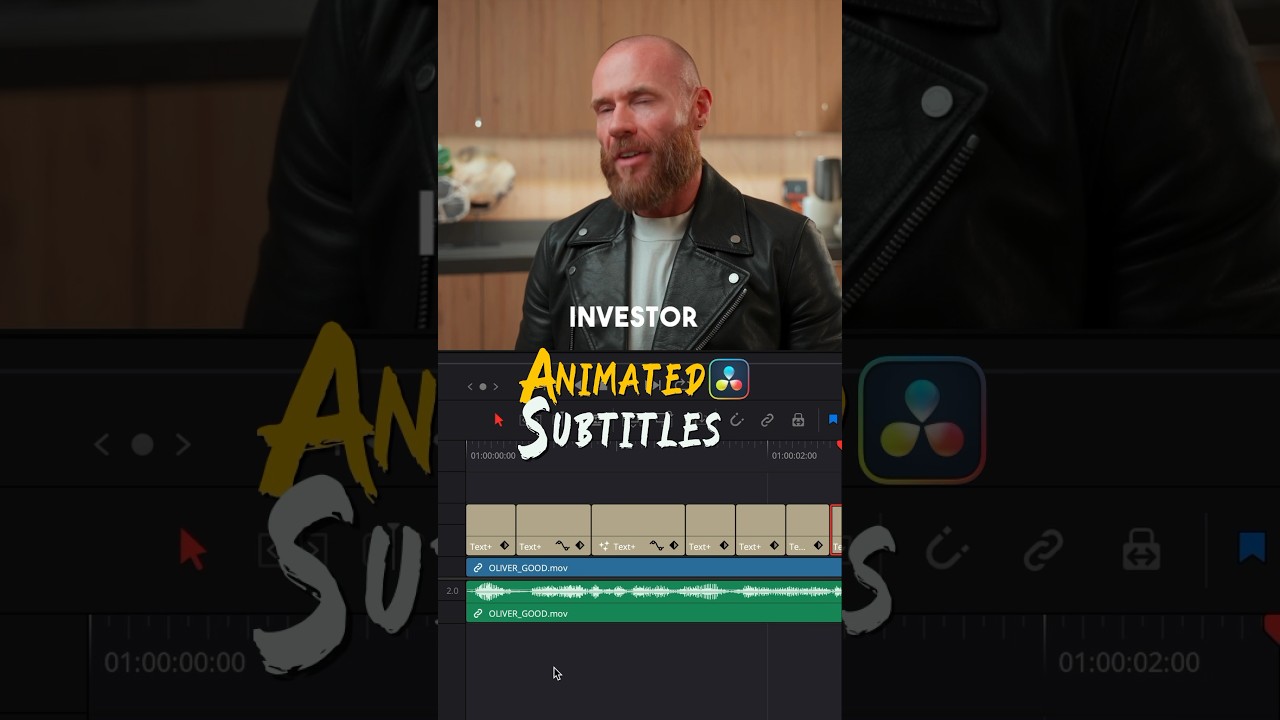
Animated subtitles in DaVinci Resolve
Film & Animation

Introduction
Creating engaging and dynamic subtitles or captions can significantly enhance the quality of your video content, especially for social media. Here's a detailed guide on how to create animated social media captions using DaVinci Resolve. We'll walk through the steps using the Text+ feature and Fusion tab to add animations and transforms.
Step-by-Step Guide
Step 1: Create a Text+ Layer
Add a Text+ Layer:
- In DaVinci Resolve, create a new Text+ layer above your first line of the footage.
Adjust Font and Style:
- In the Inspector panel, change the font and style of the Text+ layer to match your desired look.
Step 2: Enter Fusion Tab
Navigate to Fusion Tab:
- Press the Fusion Tab button to switch to the Fusion workspace.
Add Transform Node:
- Press Shift + Spacebar to open the select tools dialog box.
- Search for "Transform" and select the one without the XF notation.
Step 3: Animate the Text
Start Animation:
- Hover your playhead to the start of the clip.
- Keyframe the Zoom setting.
Zoom Adjustment:
- Move the playhead three frames forward and increase the zoom to approximately 1.2.
-
- In the Transform node's animation settings, increase the Motion Blur to around 5.
Step 4: Fine-Tune Animation
Open Spline Editor:
- Go to the Spline panel.
- Toggle on the Transform properties.
Fit and Adjust Keyframes:
- Press the "Zoom to Fit" button.
- Press "S" on your keyboard to smooth out the keyframes.
- Adjust the lines in the spline editor for a smoother animation curve.
Step 5: Duplicate and Adjust Text
Duplicate Text+ Clip:
- Go back to the Edit page.
- Select your Text+ clip, hold the Option key (Alt on Windows), and drag to duplicate it above the rest of your lines.
Adjust Text Content:
- Select each duplicated Text+ layer.
- Adjust the text content in the Inspector panel to overwrite with your desired subtitles.
With these steps, you can create visually appealing animated subtitles that can make your social media videos stand out.
Keywords
- DaVinci Resolve
- Text+ Layer
- Fusion Tab
- Transform Node
- Animation
- Zoom
- Motion Blur
- Spline Editor
- Keyframe
- Duplicating Text
FAQ
Q: What is the purpose of the Transform Node?
A: The Transform node is used to apply transformations such as zooming, rotating, and moving your text layer, which is essential for creating animations.
Q: How do I smooth out the animation?
A: In the Spline editor, use the "Zoom to Fit" button and press "S" to adjust the keyframes for a smoother animation curve.
Q: Can I use this method for other text animations?
A: Yes, while this guide is optimized for creating social media subtitles, the same principles and steps can be applied to other text animations in DaVinci Resolve.
Q: What if my motion blur seems too high or too low?
A: You can always go back to the Transform node's animation settings and adjust the Motion Blur value according to your preference.
Q: Is there a shortcut for duplicating the Text+ layer?
A: Yes, you can duplicate the Text+ layer by holding the Option key (or Alt on Windows) and dragging the layer to its new position.

