

Avatars Stream Overlay Set-Up ~ Tutorial Setting Discord Streamkit Karakter Kalian Dengan Mudah!!
Entertainment
Introduction
In this tutorial, I will guide you through setting up a Discord stream overlay using Streamkit for your avatars. This is a fantastic way to enhance your streams, especially for those who are starting out or using a low-spec PC. Let’s dive into the steps required to successfully implement this overlay.
1. Preparing Your Materials
Before we start, ensure you have the following materials ready:
- CSS file (a stylesheet to use for customization).
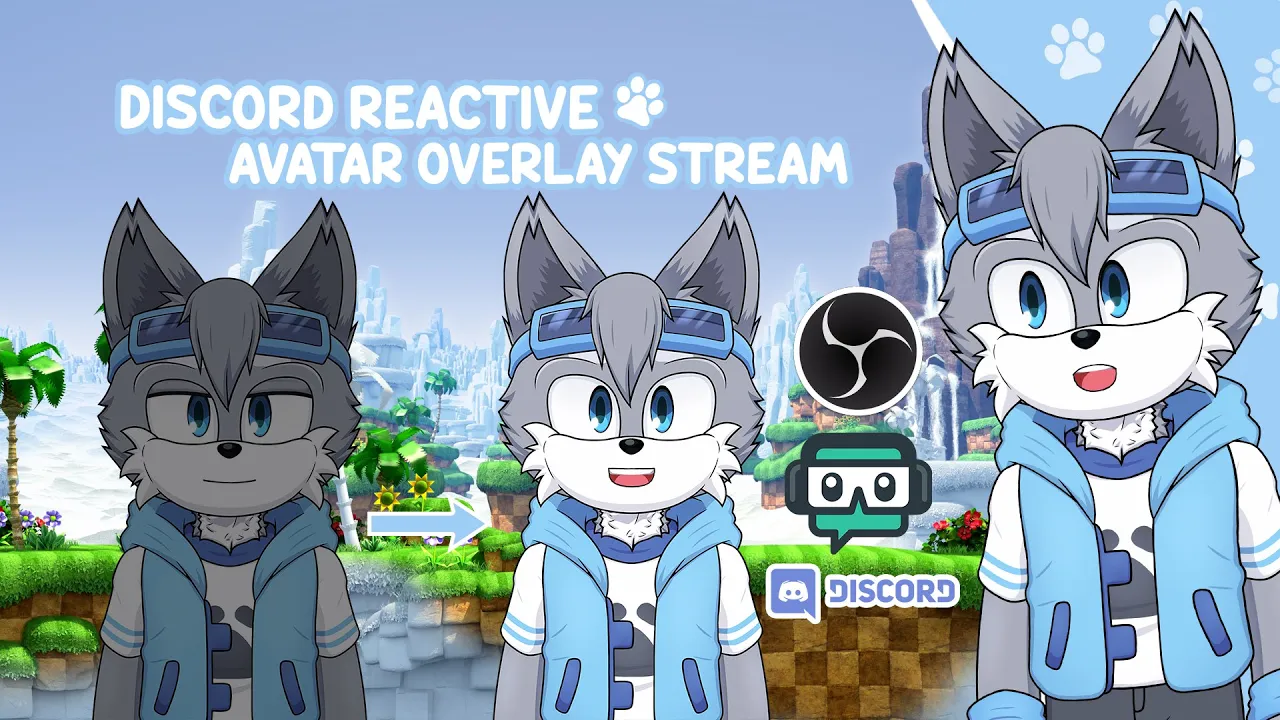
- Avatar images (choose images that represent your character; they can either have an open or closed mouth).
- Streamkit by Discord.
2. Accessing Streamkit
- Open your web browser and go to Streamkit.
- Once there, choose the option appropriate for OBS (Open Broadcaster Software).
3. Selecting Your Options
- Click on the “Voice Widget”.
- You’ll be prompted to select a Discord server and voice channel. Choose the one you wish to use.
- Ensure that you save the provided link for the Streamkit Discord Overlay.
4. Integrating With Streamlabs OBS
- Open Streamlabs OBS.
- Select “Add”, choose “Browser Source” to share your Streamkit link.
- Paste the previously saved Streamkit link into the URL section.
5. Customizing Your Overlay
Open your CSS file to customize how your avatars will display on your stream.
Insert your Discord account ID and the links for your avatar images.
- For each avatar state (Idle and Talking), ensure you input the respective image links correctly.
Here’s an example of how your CSS code might look:
/* Custom CSS */
.avatar-idle (
    /* Your custom settings */
)
.avatar-talking (
    /* Your custom settings */
)
6. Finalizing the Setup
- Test your stream setup by talking within the selected voice channel. Your avatar’s status should change from idle to talking as you speak.
- Adjust the placement and size of your avatars on the stream as needed.
Conclusion
This method is incredibly user-friendly and can enhance your streaming experience significantly. I’ve included CSS and design tips to help you customize your overlays further. Don't forget to subscribe, like, and share this tutorial with your fellow streamers!
Keyword
- Streamkit
- Discord
- Avatar Images
- OBS
- CSS
- Stream Overlay
- Low-Spec PC
FAQ
What is Streamkit?
- Streamkit is a tool by Discord that allows users to create overlays for their streaming setups, enhancing visual interaction with viewers.
Do I need coding skills to customize the CSS?
- No, basic customization can be performed without advanced coding skills; just follow the provided examples.
Can I use any image for my avatar?
- Yes, you can use any image, but it's best that they represent your character effectively.
Is this setup resource-intensive?
- This method is suitable for low-spec PCs, ensuring that even users with minimal hardware can effectively use it.
Can I change the avatar images later?
- Absolutely! You can switch out the avatar images at any time by updating the links in your CSS file.