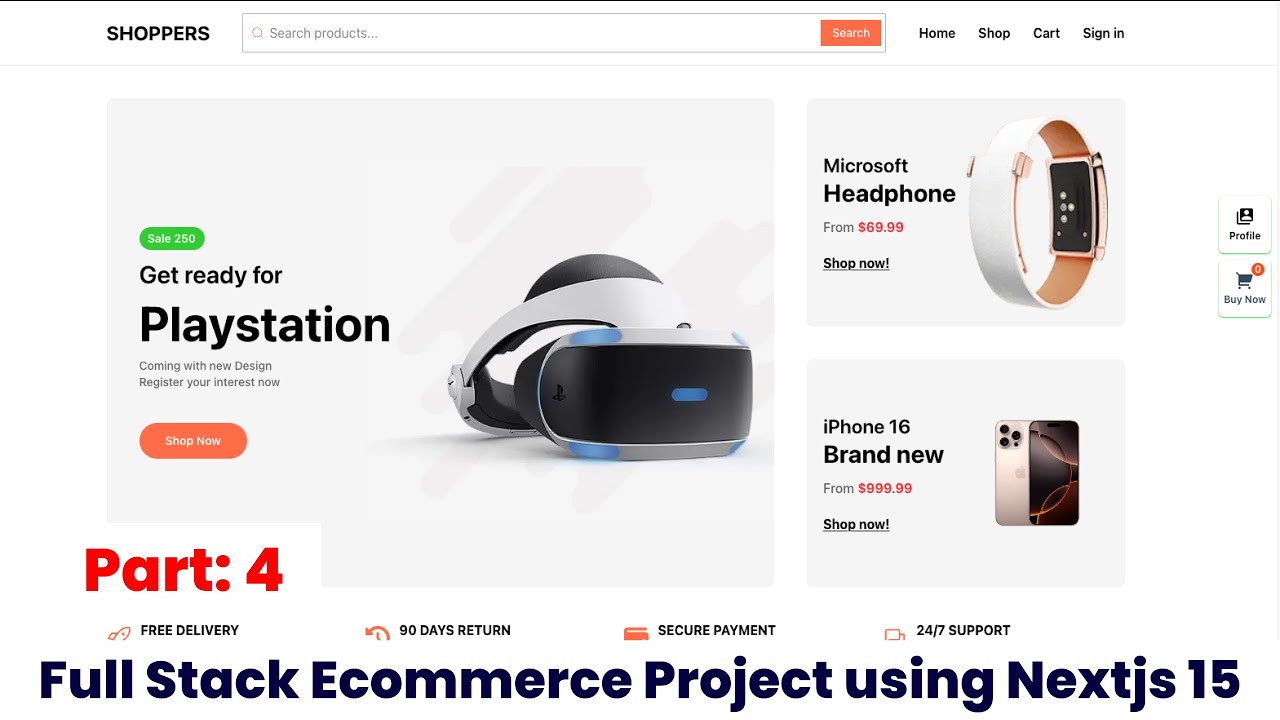
Build a Full-Stack eCommerce Website with Next.js 15, TypeScript, Sanity, Firebase & Stripe - Part 4
Science & Technology

Introduction
In this part of our series on building a full-stack eCommerce website, we will focus on creating the shopping cart functionality using Next.js 15, TypeScript, Firebase, and Stripe integration. This part will guide you through setting up a cart page, utilizing React components, and managing state effectively.
Setting Up the Cart Page
To get started, we need to create our cart page. This will be a simple setup that allows users to view their selected products. We start by creating a new folder named cart and inside, we create a cartPage.tsx file using a functional component structure.
// cart/cartPage.tsx
import ( useSelector ) from 'react-redux';
import ( useDispatch ) from 'react-redux';

// Our container will be defined here
const CartPage = () => (
  const cartItems = useSelector((state) => state.cart.items);
  const dispatch = useDispatch();

  return (
    <div className="container">
      {cartItems.length > 0 ? (
        <CartContainer items={cartItems) />
      ) : (
        <div>No items in your cart!</div>
      )}
    </div>
  );
};
This setup checks if there are items in the cart and conditionally renders a cart container or a message indicating that the cart is empty.
Creating the Cart Container
The CartContainer component will handle displaying the individual items in the cart. We will create a new file named CartContainer.tsx. Here, we will map through the cart items and display their details including product name, quantity, price, and subtotal.
// cart/CartContainer.tsx
import ( useDispatch ) from 'react-redux';
import ( removeFromCart ) from '../store/cartSlice';

const CartContainer = (( items )) => (
  const dispatch = useDispatch();

  return (
    <div>
      <h2>Products</h2>
      <div className="cart-items">
        {items.map((item) => (
          <div key={item.id) className="cart-item">
            <h3>(item.title)</h3>
            <p>Price: $(item.price)</p>
            <p>Quantity: (item.quantity)</p>
            <p>Subtotal: $((item.price * item.quantity).toFixed(2))</p>
            <button onClick=(() => dispatch(removeFromCart(item.id)))>
              Remove
            </button>
          </div>
        ))}
      </div>
    </div>
  );
};
Managing Cart State
To manage the cart state, we will utilize Redux with Redux Toolkit, allowing us to handle actions such as adding, removing, and updating quantities in the cart. Our Redux slice for managing the cart will look like this:
// store/cartSlice.ts
import ( createSlice ) from '@reduxjs/toolkit';

const cartSlice = createSlice((
  name: 'cart',
  initialState: {
    items: [],
  ),
  reducers: (
    addToCart: (state, action) => {
      const existingItem = state.items.find(item => item.id === action.payload.id);
      if (existingItem) {
        existingItem.quantity += 1; // increase quantity if item exists
      ) else (
        state.items.push({ ...action.payload, quantity: 1 )); // add new item
      }
    },
    removeFromCart: (state, action) => (
      state.items = state.items.filter(item => item.id !== action.payload);
    ),
    resetCart: (state) => (
      state.items = [];
    ),
  },
});

export const ( addToCart, removeFromCart, resetCart ) = cartSlice.actions;
export default cartSlice.reducer;
Implementing Cart Functionality in the UI
We will now link our "Buy Now" buttons from the product listings to redirect the user to the cart page. For the buttons, we will handle navigation using Next.js's Link component:
// product list button example
<Link href="/cart">
  <button onClick=(() => dispatch(addToCart(product)))>
    Buy Now
  </button>
</Link>
Handling Checkout
Once the cart UI is complete, we’ll implement the checkout process using Stripe for payment gateway integration. To ensure the checkout button is only enabled when the user is logged in, we can check their session state from NextAuth.js or Firebase.
In the checkout button component, we will conditionally disable the button based on user authentication:
// checkout button
const CheckoutButton = (( session )) => (
  return (
    <button disabled={!session) className=(!session ? 'disabled' : '')>
      (session ? 'Proceed to Checkout' : 'Sign In to Checkout')
    </button>
  );
};
Conclusion
In this part, we've implemented a fully functional shopping cart that allows users to view, add, and remove products from their cart. By utilizing Next.js, TypeScript, and Firebase, we set a solid foundation for the next part of our series, where we will incorporate Stripe for payment processing.
Keywords
- Next.js
- TypeScript
- Firebase
- eCommerce
- Redux
- Stripe
- Shopping Cart
- Authentication
FAQ
Q1: How do I set up Redux with Next.js?
A1: You can integrate Redux in your Next.js application by creating a Redux store, defining slices using createSlice from Redux Toolkit, and wrapping your application in a Redux Provider.
Q2: What is the purpose of using Firebase in this project?
A2: Firebase is used for authentication and storing user data. It allows us to seamlessly manage user sessions and securely store order information.
Q3: How do I handle authentication in Next.js?
A3: You can handle authentication in Next.js using either NextAuth.js or Firebase Authentication. Both methods allow you to manage user sessions easily.
Q4: How can I prevent users from accessing the checkout process without signing in?
A4: You can check the user session state using authentication libraries (like NextAuth.js) and conditionally render the checkout button based on whether the user is logged in.
Q5: What role does Stripe play in the eCommerce application?
A5: Stripe is integrated as the payment gateway that allows users to securely make transactions. It handles payment processing and provides API endpoints to manage payments efficiently.

