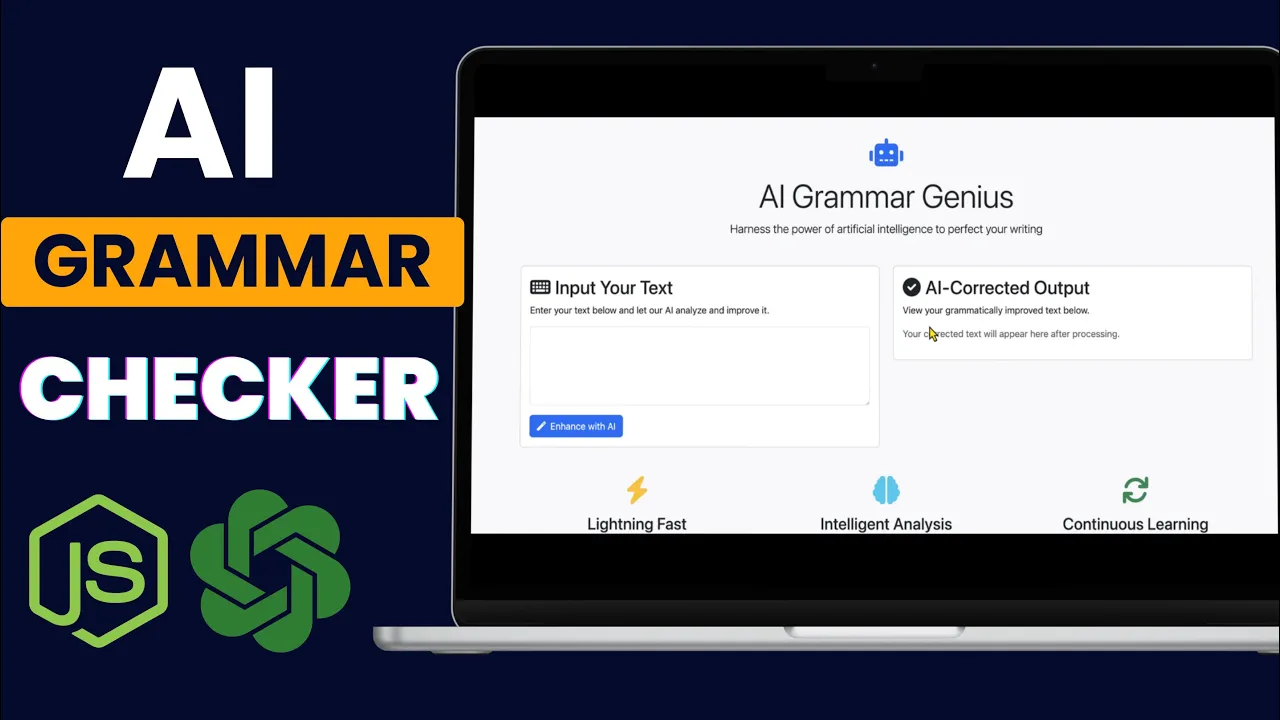
Build an AI Grammar Checker with Node.js & OpenAI API | Step-by-Step Tutorial
Education

Introduction
In this tutorial, we will build an AI-powered web application called "AI Grammar Genius." This application will correct grammatical errors in user-inputted text using the OpenAI API. We'll go through the necessary steps to set up the application using Node.js, Express, and the OpenAI API for grammar correction.
Getting Started
To begin, let’s create a directory for our application named AI Grammar Corrector Application. Open your terminal, navigate to this folder, and initialize a new Node.js project:
npm init -y
Next, we will install the required packages. We need Express for our server, Node-fetch for making HTTP requests, dotenv for handling environment variables, and EJS as our template engine. Install these packages by running:
npm install express node-fetch dotenv ejs
Project Structure
After installing the packages, we’ll structure our project as follows:
[AI Grammar Corrector](https://www.topview.ai/blog/detail/best-ai-grammar-checker) Application/
├── views/
│   └── index.ejs
├── .env
└── app.js
In the above structure:
views/will contain our HTML templates..envwill store our environment variables.app.jswill be the main entry point of our application.
Configuring the Express Server
Now, let’s set up our server in app.js. Here’s how to start creating our server:
require('dotenv').config();
const express = require('express');
const fetch = require('node-fetch');

const app = express();
const PORT = process.env.PORT || 5000;

app.set('view engine', 'ejs');
app.use(express.urlencoded(( extended: true )));

app.get('/', (req, res) => (
    res.render('index');
));

app.listen(PORT, () => (
    console.log(`Server is running on http://localhost:${PORT)`);
});
This sets up an Express server that listens on port 5000 (or any other port specified in your environment variables) and serves a basic home route that renders the index.ejs template.
Creating the Template
In the views folder, we will create an index.ejs file that serves as our HTML template. Here’s a basic structure:
<!DOCTYPE html>
<html lang="en">
<head>
    <meta charset="UTF-8">
    <meta name="viewport" content="width=device-width, initial-scale=1.0">
    <title>AI Grammar Genius</title>
    <link rel="stylesheet" href="https://stackpath.bootstrapcdn.com/bootstrap/4.5.2/css/bootstrap.min.css">
</head>
<body>
    <div class="container">
        <h1>Welcome to AI Grammar Genius</h1>
        <form action="/correct" method="POST">
            <div class="form-group">
                <label for="text">Enter text:</label>
                <textarea class="form-control" name="text" rows="5"></textarea>
            </div>
            <button type="submit" class="btn btn-primary">Correct</button>
        </form>
        <% if (correctedText) ( %>
            <h3>Corrected Text</h3>
            <p><%= correctedText %></p>
        <% ) else if (error) ( %>
            <p class="text-danger"><%= error %></p>
        <% ) %>
    </div>
</body>
</html>
This template includes a form for users to submit text for correction and displays the corrected text or an error message.
Integrating OpenAI API
To incorporate the grammar correction functionality, we need to use the OpenAI API. First, create an API key in your OpenAI account and store it in the .env file as follows:
OPENAI_API_KEY=your_api_key_here
Now, let’s add the logic to handle grammar correction by creating a new endpoint:
app.post('/correct', async (req, res) => (
    const text = req.body.text.trim();

    if (!text) {
        return res.render('index', { error: 'Please enter some text!' ));
    }

    try (
        const response = await fetch('https://api.openai.com/v1/chat/completions', {
            method: 'POST',
            headers: {
                'Content-Type': 'application/json',
                'Authorization': `Bearer ${process.env.OPENAI_API_KEY)`,
            },
            body: JSON.stringify((
                model: 'gpt-3.5-turbo',  // Replace with your preferred model
                messages: [
                    { role: 'system', content: 'You are a helpful assistant.' ),
                    ( role: 'user', content: `Correct the following text: "${text)"` }
                ],
                max_tokens: 100,
                n: 1,
                stop: null,
                temperature: 1,
            }),
        });

        const data = await response.json();

        if (!response.ok) (
            throw new Error(data.error.message);
        )

        const correctedText = data.choices[0].message.content;
        res.render('index', ( correctedText ));
    } catch (error) (
        res.render('index', { error: 'Could not correct the text. Please try again.' ));
    }
});
This POST request to /correct will handle the grammar correction. It checks for text input, makes a call to the OpenAI API for grammar correction, and renders the corrected text or any potential errors.
Final Thoughts
At this stage, your application should be operational. You can input sentences needing grammatical corrections, and the application will display the corrected version. Feel free to explore further improvements, such as styling, error handling, or additional features.
Happy coding!
Keywords
- AI Grammar Checker
- Node.js
- Express
- OpenAI API
- JavaScript
- EJS
- Web Application
FAQ
Q1: What is the purpose of the AI Grammar Checker?
The AI Grammar Checker is an application designed to correct grammatical errors in user-inputted text using the OpenAI API.
Q2: What technologies are used in this application?
This application utilizes Node.js, Express, EJS for templating, and the OpenAI API for grammar correction.
Q3: How do I set up the OpenAI API key?
You can set up the OpenAI API key by creating an account on the OpenAI platform, generating an API key in your user settings, and adding it to your .env file.
Q4: How can I run the application?
You can run the application by executing node app.js in your terminal. The server will start, and you can visit it in your web browser at http://localhost:5000.
Q5: Can I enhance this application further?
Absolutely! You can enhance the application by adding CSS frameworks for better design, implementing more features, or improving error handling.

