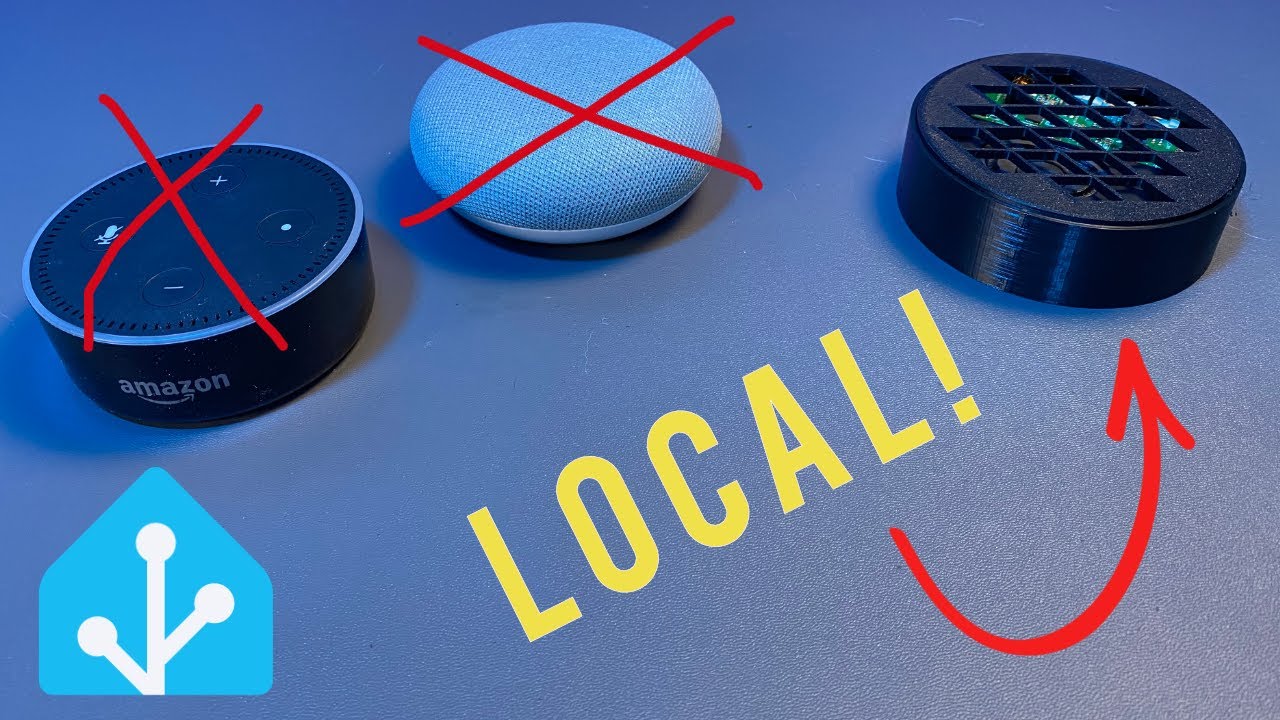
Build your own Local Echo for Home Assistant - Easier than you think!
Science & Technology

Build your own Local Echo for Home Assistant - Easier than you think!
In this guide, I'm going to show you how you can build your own voice assistant speaker running locally with Home Assistant. This project takes less than 45 minutes, requires no soldering or programming, and can be built for less than $ 50. By the end, you'll have your own local Echo that responds to voice commands.
Introduction
You might think this sounds overly technical, but I promise, even if you're not technically inclined, you'll manage just fine. Once done, your DIY local Echo will respond to your voice commands just like the commercial counterparts. Our local voice assistant will leverage Nabuk Casa Cloud for text-to-speech while making use of a Raspberry Pi and some affordable peripherals.
Supplies Needed
To undertake this project, here’s what you will need:
- Raspberry Pi 02W: Available for about $ 20 on Amazon. You might pay more if you get additional accessories.
- ReSpeaker 2-Mic Pi HAT: This adds microphones to your Pi and typically costs around $ 10.
- MicroSD Card: At least 64GB. A two-pack usually goes for about $ 14.
- Speaker: A 4-ohm speaker with a small footprint, price varies.
- Enclosure: Optional; can be 3D printed or customized.
Additionally, you'll need software to SSH into your Pi. On a Mac, you can use the command line. On Windows, you might need something like Putty.
Setting Up the Raspberry Pi
Install the OS:
- Flash the SD card with Raspberry Pi OS using the Raspberry Pi Imager.
- Configure the OS by setting the hostname, username, password, WiFi details, and enabling SSH.
Power it On:
- Insert the SD card into the Pi and power it up.
- Attach the ReSpeaker 2-Mic HAT.
Software Setup
SSH Into the Pi:
- Use the SSH command from your terminal to access the Pi remotely.
Install Software:
- Install necessary packages, clone the repos, and install drivers for the ReSpeaker 2-Mic HAT.
- Reboot the Pi.
Setup Wyoming Satellite:
- Use commands to update the OS, install dependencies, test audio recording/playback, and configure the Wyoming satellite services for Home Assistant.
Configure Home Assistant:
- Configure the new satellite under Home Assistant’s integrations and set the preferred Assist pipeline.
Additional Customizations:
- Set audio gain and noise suppression.
- Enable local wake word detection using additional repositories and scripts.
Testing and Enclosure
Test Everything:
- Ensure the wake word ("Hey Jarvis") functions as intended.
- Integrate LED feedback for visual indicators using services in Home Assistant.
Assemble the Hardware:
- Place the configured and tested components into the selected enclosure.
Adding Functionalities
Automations:
- Use automations to trigger responses and behaviors in Home Assistant.
Creating Custom Intents:
- Define functions and intents using YAML files for personalized interactions.
Conclusion
The setup is highly customizable and allows you to ditch dependency on cloud services. Play around to customize your setup and add functionality, and don’t hesitate to use this setup for fun and exciting home automation projects.
Keyword
- Home Assistant
- Raspberry Pi 02W
- Local Echo
- Voice Assistant
- ReSpeaker 2-Mic HAT
- SSH
- Nabuk Casa Cloud
- Automation
- Wyoming Satellite
- LED Feedback
- Enclosure
FAQ
Q1: Do I need any prior programming or soldering experience for this project? A1: No. The project requires no soldering or programming. The guide provides all necessary commands to copy and paste.
Q2: What kind of speaker should I use? A2: You need a 4-ohm speaker. The guide suggests both small and larger speakers based on your enclosure size preference.
Q3: How do I SSH into the Raspberry Pi? A3: For Mac users, use the command line terminal. For Windows, you might need to use a software like Putty.
Q4: What if I don’t have a 3D printer for the enclosure? A4: You could use a local maker space or use existing speakers like Google Home as speakers for your assistant.
Q5: What if the wake word detection fails? A5: Double-check the service configuration and ensure that the required software and dependencies are installed correctly.
Q6: Can I integrate this with a Google Home or Echo Atom? A6: Yes, you can use automations in Home Assistant to use external speakers for better sound output.

