Colorize Black & White Images in Python
Science & Technology

Colorize Black & White Images in Python
Welcome to this comprehensive guide on how to colorize black and white images using machine learning in Python. In this tutorial, we'll walk you through the steps to transform grayscale images into colorful ones using a pre-trained neural network model.
Preview of the Final Script
To showcase what you will achieve by the end of this tutorial, here's a preview:
- A black and white image of a lion gets converted to a colorized version, with the neural network providing a reasonably realistic output.
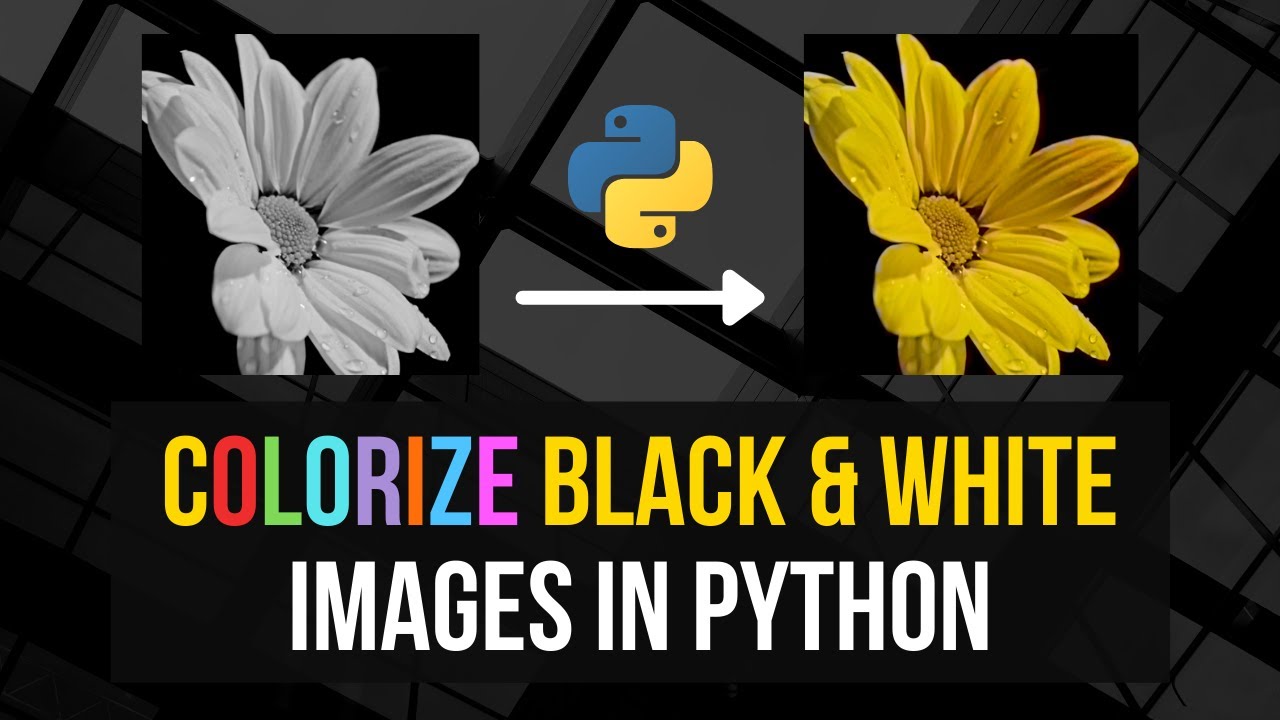
- Similarly, an image of a flower is converted, producing a colorful and visually appealing result.
While the accuracy may vary depending on the image, the output is generally quite impressive.
Installation and Importing Libraries
First, ensure you have the necessary libraries installed:
pip install numpy opencv-python
Then, import the required modules:
import numpy as np
import cv2
Models and Resources
We'll use pre-trained models for colorization. Download the following files:
colorization_deploy_v2.prototxtcolorization_release_v2.caffemodelpts_in_hull.npy
These files are available at the following GitHub repository:
Setting up Paths
Assign paths to the models and image files:
protoTxtPath = 'models/colorization_deploy_v2.prototxt'
modelPath = 'models/colorization_release_v2.caffemodel'
kernelPath = 'models/pts_in_hull.npy'
imagePath = 'images/lion.jpg'  # Or your desired image
Loading the Neural Network
Load the pre-trained network:
net = cv2.dnn.readNetFromCaffe(protoTxtPath, modelPath)
points = np.load(kernelPath)
points = points.transpose().reshape(2, 313, 1, 1)
net.getLayer(net.getLayerId('class8_ab')).blobs = [points.astype(np.float32)]
net.getLayer(net.getLayerId('conv8_313_rh')).blobs = [np.full([1, 313, 1, 1], 2.606, np.float32)]
Processing the Image
Load, normalize, and convert the image:
bwImage = cv2.imread(imagePath)
normed = bwImage.astype(np.float32) / 255.0
lab = cv2.cvtColor(normed, cv2.COLOR_BGR2Lab)
resized = cv2.resize(lab, (224, 224))
l = cv2.split(resized)[0]
l -= 50
Forwarding through Neural Network
Forward the lightness channel L through the network:
net.setInput(cv2.dnn.blobFromImage(l))
ab = net.forward()[0, :, :, :].transpose((1, 2, 0))
ab = cv2.resize(ab, (bwImage.shape[1], bwImage.shape[0]))
Combining Channels and Displaying the Result
Combine the L channel with the predicted ab channels and display the result:
l = cv2.split(lab)[0]
colorized = np.concatenate((l[:, :, np.newaxis], ab), axis=2)
colorized = cv2.cvtColor(colorized, cv2.COLOR_Lab2BGR)
colorized = (255 * np.clip(colorized, 0, 1)).astype(np.uint8)

cv2.imshow('Black and White Image', bwImage)
cv2.imshow('Colorized Image', colorized)
cv2.waitKey(0)
cv2.destroyAllWindows()
Conclusion
That's it! You have successfully built a script to colorize black and white images using Python and a pre-trained neural network. This method leverages machine learning to add realistic colors to grayscale images, enhancing their visual appeal.
Keywords
- Python
- OpenCV
- Image Processing
- Colorization
- Neural Networks
- Machine Learning
FAQ
Q1: What libraries are required for this colorization script?
A1: You need numpy and opencv-python.
Q2: Do I need to train the neural network from scratch? A2: No, we use pre-trained models downloadable from the provided GitHub repository.
Q3: Why do we convert images to the LAB color space? A3: The LAB color space is used because it separates lightness (L) from color (A and B), making it easier for the neural network to predict colors.
Q4: Can I use any black and white image for this script? A4: Yes, the script should work with any grayscale image, although results may vary depending on the image.
Q5: What if the colorized output looks unrealistic? A5: The quality of colorization can vary. Some images may not yield perfect results due to the model's training limitations.

