

ComfyUI Mimic Motion Workflow: Lip Sync |Create a AI Singing Avatar | Animate Diff Tutorial
Education
Introduction
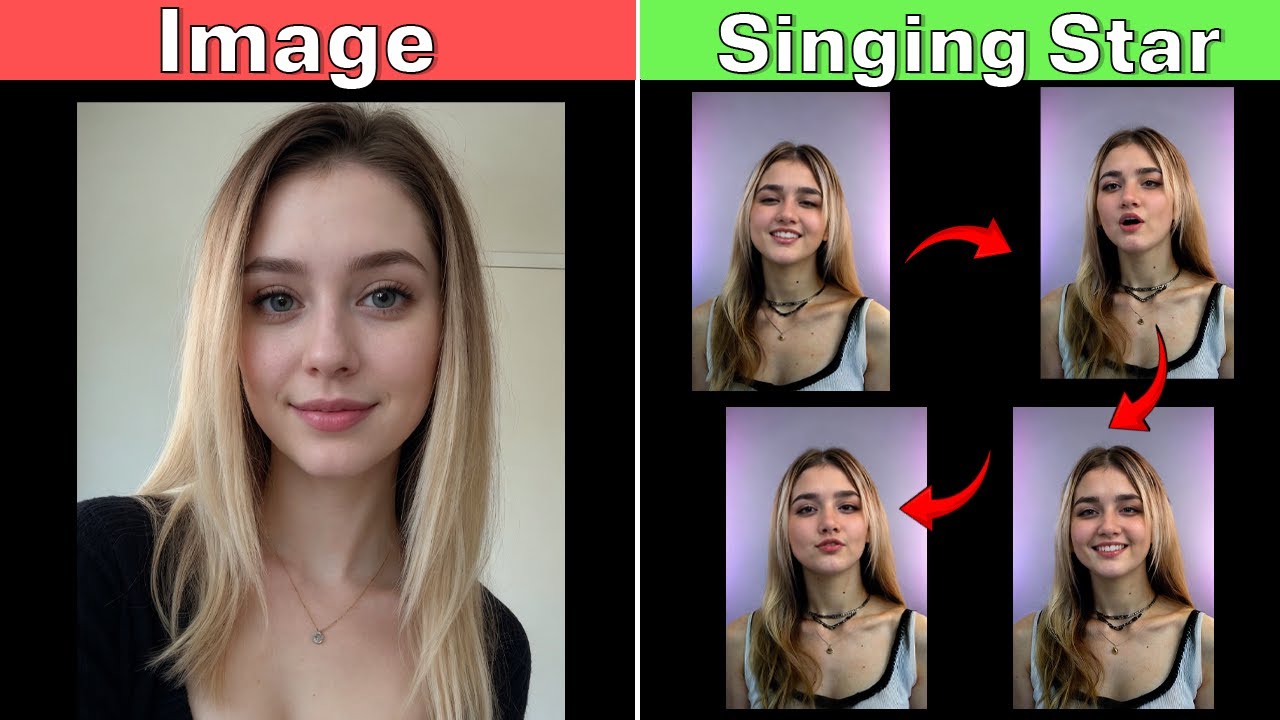
In this article, we will explore the Mimic Motion custom node for ComfyUI, designed to create an engaging singing avatar. This guide builds on feedback from my previous video, focusing specifically on improving lip sync functionality. A custom node is in development, which will be shared shortly. Let's dive into the detailed workflow.
Workflow Breakdown
The workflow consists of five interconnected groups, effectively processing the input video and image of your character.
Step 1: Load the Video
Begin by opening ComfyUI and loading your desired workflow. The first step is to load a reference video. In this instance, we’ve loaded a video by skipping 1,350 steps, meaning we started from frame 1,351.
Step 2: Resize the Image
After loading the video, use the Resize Image node to adjust the video’s width and height as per your requirements.
Step 3: Upload Character Image & Caption Detection
Next, upload the character image you would like to animate. Connect this image to the Florence node, which detects the image's caption automatically. We’ve opted to use the Realistic Vision v60b 1st 1.5 checkpoint, linking it to the IP Adapter Advanced to ensure the face aligns with the uploaded image.
Step 4: Maintain Posture with ControlNet
Integrate ControlNet to ensure the character's posture remains consistent. This connects to a K Sampler, which is set with a step value of 6, CFG of 1.5, and employs the DPM Plus+ 2 msde sampler with a scheduler.
Step 5: Process Through Mimic Motion
Here, the workflow generates the character image, ensuring both face and posture conservation before sending it to the Mimic Motion node. At this stage, the image and video postures are merged to produce the animated video. However, initial results may occasionally have facial discrepancies.
Step 6: Face Correction
This leads us to connect the output to the Reactor Face Swap node. This node selects the character and fixes any facial misalignment encountered during the mimicking process. For this, we utilized the gfp-gon V in ground same segment, including a prompt for facial correction with a threshold of 0.30.
Step 7: Enhancing Motion with Animation Diff
We then connect this corrected result to Animation Diff, which ensures smoother and more realistic transitions by refining movements between frames. Settings include an Animation LCMD value of 1.5, the Realistic Vision v60 B1 checkpoint, and parameters for Animation LCM S.V. and Beta Schedule LCM Average Square Linear.
Step 8: Final Adjustments with Live Portrait
In the final group, the output is linked to Live Portrait, focusing on synchronizing lip movements with the audio track. This process involves linking the source image to the result from the Animation Diff node and ultimately directing the output to the Live Portrait Cropper. Notably, we run this on the CPU to mitigate GPU overload, improving overall processing speed.
Conclusion
The outcome of this advanced workflow is an impressive lip sync that aligns with the source audio. Continued efforts will focus on refining this workflow even further.
If this content was helpful, consider liking the video and subscribing for more insightful tutorials!
Keywords
- ComfyUI
- Mimic Motion
- AI Singing Avatar
- Workflow
- Lip Sync
- Animation Diff
- Character Image
- Video Processing
FAQ
Q1: What is ComfyUI?
A1: ComfyUI is a user-friendly interface for building and customizing AI workflows, particularly for animation and image processing.
Q2: What does the Mimic Motion node do?
A2: The Mimic Motion node combines video postures with an uploaded character image to create animations that appear lifelike, including features such as lip syncing.
Q3: How can I improve lip sync accuracy in my animations?
A3: Ensure you utilize the Live Portrait node to link the source image with the animated video, enabling better alignment of lip movements to spoken audio.
Q4: Is it possible to share the custom node I've developed?
A4: Yes! A custom node will be shared in the future as it is developed and refined.
Q5: Can I run this workflow on a low-end system?
A5: While this workflow processes data primarily on the GPU, it can also use the CPU as a backup when the GPU is overloaded, allowing for greater flexibility in different system configurations.