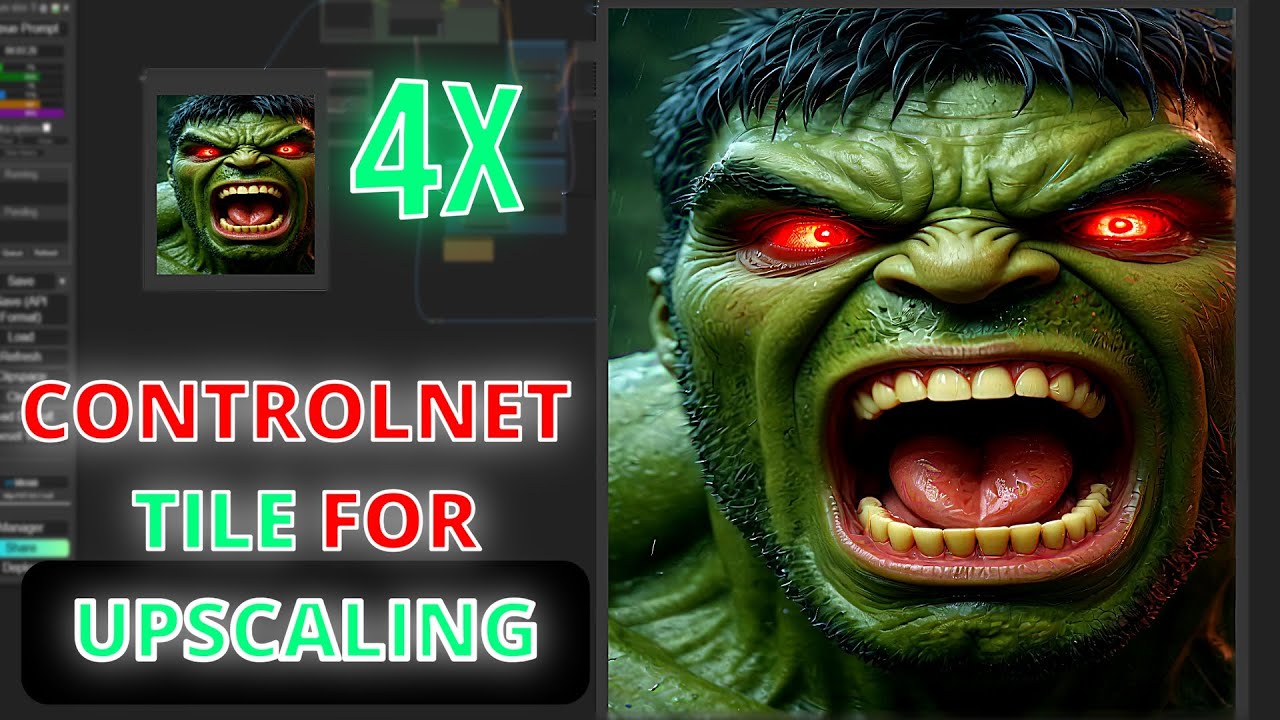
Comfyui Tutorial: Tile Controlnet For Image Upscaling #comfyui #comfyuitutorial #controlnettile
Film & Animation

Introduction
Upscaling images using AI models usually requires a lot of VRAM (Video Random Access Memory). Common workflows, like Super Workflow, produce high-resolution results but necessitate a powerful graphics card. Today, we'll explore a new method using the Tile ControlNet, recently released by the same author behind ControlNet Union. This new approach enables the creation of high-resolution images with low VRAM memory requirements.
If you're intrigued by the image upscaling process, let's dive right into the tutorial!
Required Downloads
Tile ControlNet Model
First, you need to download the Tile ControlNet model. The link to this model is available in the description. Download the Diffusion Byor model, navigate to your ComfyUI root folder, enter the 'model' directory, search for 'controlnet' and paste your model there. Rename it if you prefer; for instance, I named mine 'Ty_Sensor'.
Upscaling Model
Next, download the upscaling model from the provided link in the description. I opted for the 4x UPS scaler 'safe tensor' version. Once downloaded, go to your ComfyUI model folder, search for 'upscalemodel' and place it there.
Setting up ComfyUI
Start your ComfyUI and download my workflow. Load it, and you may encounter some missing nodes. To resolve this, enter the node manager and install the missing custom nodes. Once they are automatically installed, update ComfyUI and restart it. You can then start working with the upscaling nodes.
Workflow Overview
Our workflow comprises different main groups:
Load Image Group
Start by loading an image and plugging it into the 'upscale image' node to increase resolution by 2, and then downscale it to 1024 since we are using the SDXL model. This step might seem redundant but it delivers the best results.
Tile Size Calculation
The upscaled image is plugged into the tile size calculation, which considers the actual resolution followed by some simple math nodes to divide the height and width of the image by two, determining the tile resolution.
Everything connects to the tile diffusion nodes for tile creation, followed by the Tile ControlNet nodes. Load the 'Ty_Sensor' model, apply the ControlNet nodes with strength (sy) and end percentage (ep) both set to 1. Use an auto-prompt generator with the W_Tagger to auto-generate a prompt, linking it to the SDXL prompt styler connected to the clip text encode (both positive and negative).
Tile VA Encoder and Decoder
You'll need these nodes to encode and decode the created tiles. The default resolution is 64, but change it to 1024 for the SDXL version. Using low CFG scale and steps, apply the DPM Plus+ sampler in the key sampler steps.
Final Processing
Once the image is decoded, you'll get a 2K resolution image. Upscale it by 4x using the ultra-sharp model for final sharpening. Sometimes, tile control nets alter the image color, fixed by the image color match node to correct it based on the original image. Finally, this setup allows comparing between the original and upscaled versions.
Testing the Workflow
First Trial
The first trial using this method resulted in a 2K image closer to the original, upscaled to 4K. The sharpening and color correction improved it further. Direct 4x upscaling with the ultra-sharp model provided good results but lacked some fine details. This highlighted the effectiveness of the Tile ControlNet method in maintaining those details.
Further Trials
Continued tests revealed that Tile ControlNet performs better on close-up or portrait images. Environment images required parameter tuning, specifically changing the tile size calculation from dividing by 2 to dividing or multiplying by 1.
Conclusion
This tutorial demonstrated how to upscale images using Tile ControlNet in ComfyUI, providing an efficient method to achieve high-resolution results with limited VRAM.
Keywords
- VRAM
- AI models
- Image upscale
- Tile ControlNet
- ComfyUI
- Workflow
- SDXL model
- Ultra-sharp model
- Image sharpening
- Color correction
FAQs
Q1: Why do we need to downscale the image to 1024 when using the SDXL model? A1: Although it might seem counterproductive, this step improves the overall quality of the resulting image.
Q2: What is the Tile ControlNet method? A2: The Tile ControlNet method divides the image into tiles and processes them individually, enabling high-resolution image creation even with low VRAM.
Q3: Why does the image color sometimes change with Tile ControlNet? A3: Tile ControlNet nodes can sometimes alter the image color during processing. This can be fixed using the image color match node to restore original colors.
Q4: How do you resolve missing nodes when loading the workflow in ComfyUI? A4: Enter the node manager to automatically install the missing custom nodes, update ComfyUI, and restart it to resolve the issue.
Q5: Are there specific kinds of images where Tile ControlNet performs better? A5: Tile ControlNet generally performs better on portraits or close-up images; environment images may need parameter tuning for optimal results.

