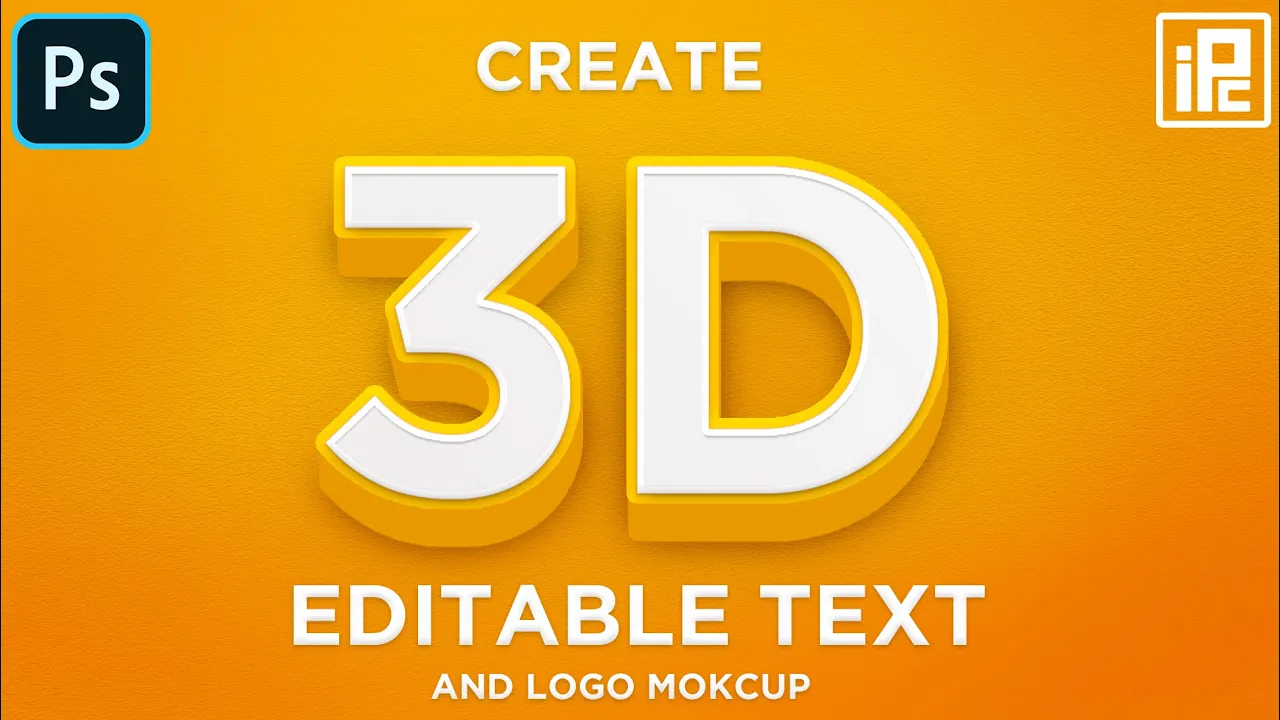
Create 3D Text without applying 3D effect in Photoshop. 3D text and Logo mockup tutorial. IPC
Education

Introduction
In today's tutorial, I will guide you through the process of creating an impressive 3D text or logo mockup in Photoshop without using the built-in 3D effect. This method involves applying various techniques and effects that mimic the appearance of 3D text. By following this tutorial step by step, you will gain the skills to produce stunning 3D text or logo mockups for your projects.
Getting Started
To begin, open Photoshop and create a blank document. You can choose any size that suits your project.
Step 1: Create the Background
- Duplicate the Background Layer: Right-click on the background layer in the layers panel and select "Duplicate Layer."
- Apply Texture: Navigate to Filter > Filter Gallery. In the gallery, select Texture and apply the Texturizer effect. Adjust the settings to your preference and hit OK.
- Colorize the Texture: Open the Adjustments Layer and select Solid Color. Choose a color you like—I recommend a yellow-orange shade—then change the blending mode to Multiply.
- Add Color Contrast: Create a new blank layer and use the Brush Tool to apply a darker color to the edges of the document.
- Create a Color Vignette: Select the Adjustments Layer again and apply a Levels Adjustment to darken the background, masking out the center to create a vignette effect.
Once your background is ready, group all the layers by selecting them, pressing Ctrl (or Command) + G, and giving the group a name. Lock the group for safekeeping.
Step 2: Create the 3D Text
Use the Type Tool: Select the Type Tool from the toolbar. Open the Character Settings by going to Window > Character if it's not visible.
Adjust Text Color and Size: Change the text color to white. Click on your document and type a letter of your choice. Press Ctrl (or Command) + T to resize it and choose the font Gotham in bold style.
Convert to Smart Object: Right-click on the text layer and convert it to a smart object for non-destructive edits.
Access Blending Options: Double-click the layer to open the Layer Style dialog. Here, you can apply various effects:
- Stroke: Adjust the stroke size and color.
- Gradient Overlay: Apply a gradient effect and adjust the settings.
- Bevel and Emboss: Create depth by adjusting the bevel effect.
- Inner Shadow and Drop Shadow: Add shadows to enhance the 3D look.
Duplicate Layers for Depth: Press Ctrl (or Command) + J to duplicate the text layer. Move this new layer below the original in the layers panel. Repeat the blending options process to adjust the effects as needed, changing the colors and positions.
Step 3: Final Adjustments
- Creating the 3D Effect: To enhance the 3D appearance, while holding the Alt (or Option) key, press the down arrow key to copy the layer multiple times. Leave two layers unselected, then group all of them using Ctrl (or Command) + G.
- Shadow Effects: Apply further drop shadow effects to the last several layers to create realistic depth.
- Edit for Logo Mockup: Double-click on a text layer thumbnail to open a new document. Change the text to the desired name, adjust as needed, save, and close the document. The changes will reflect in the original mockup.
Conclusion
Now you have successfully created 3D text without applying the 3D effect in Photoshop. You can use this technique to produce professional-looking logo mockups easily. Feel free to download the mockup for free and customize it further. If you found this tutorial helpful, be sure to like, share, and subscribe for more great content. If you have any questions or suggestions, please leave your comments below!
Keywords
3D text, logo mockup, Photoshop, effects, tutorial, text layer, blending options, smart object, gradient overlay, drop shadow.
FAQ
Q1: Can I use other fonts for the 3D text creation?
A1: Absolutely! You can use any font that you prefer, though some fonts work better for achieving a 3D effect than others.
Q2: What if I want to change the color of the text later?
A2: Since your text is a smart object, you can easily reshape, scale, or change its color by double-clicking on the layer.
Q3: Can I export the 3D text for use in other projects?
A3: Yes, you can easily export the text as a PNG or JPEG file after finalizing your mockup.
Q4: Is this method suitable for beginners in Photoshop?
A4: Yes, this tutorial is designed to be beginner-friendly, with step-by-step instructions that are easy to follow.

