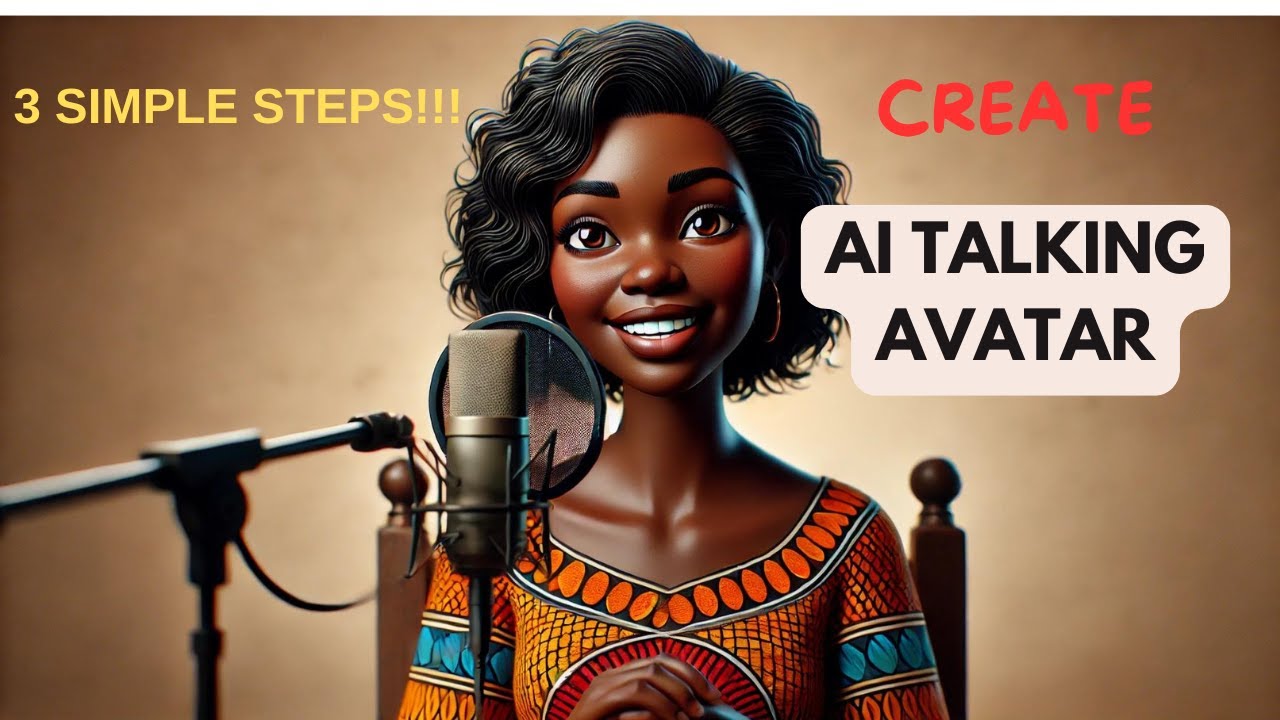
Create AI Talking Avatar in 3 Simple Steps
Education

Introduction
Creating a talking avatar can be an exciting project. With advancements in technology, particularly in AI tools, you can effortlessly design a personalized avatar that can speak and engage your audience. Here’s a detailed guide broken down into three simple steps.
Step 1: Get Your Image
To create your avatar, you'll need a compelling image. The best way to obtain this image is by using a text-to-image generator. Depending on your needs and preferences, there are various platforms available: ChatGPT, MidJourney, and Leonardo AI are a few popular choices.
When using a text-to-image generator, crafting a detailed prompt is crucial. Here’s an effective example prompt you can use:
"A dark-skinned African woman around 30 years old seated at a simple wooden desk, speaking into a microphone, looking directly at the camera, with an engaging smile and visible teeth."
Feel free to modify this prompt based on your desired avatar characteristics, such as colors, environment, and even the aspect ratio. Including the right aspect ratio from the beginning will save you time and ensure your final image fits your intended use.
Step 2: Get Your Audio
Once your image is ready, it's time to generate the audio. You have two main options: recording your own voice or using AI-generated voices. ElevenLabs is highly recommended for its realistic voice options.
To get started with ElevenLabs:
- Navigate to the 'Voices' section and browse through the library for various voice options.
- Select the desired language and accent based on your preferences.
- Once you have selected a voice, head to the text-to-speech feature and input your desired text, such as “Welcome to AI Simple Guide.”
You can generate the audio and listen to the result. If necessary, fine-tune your input with punctuation and spacing to better convey emotions or inflections. ElevenLabs even allows you to clone your voice for more personalized projects.
Step 3: Sync the Audio with the Image
The final step is to sync your created audio with the image. Two great tools for this are Runway ML and HERA, each with unique benefits.
Using Runway ML
- Access the tool and navigate to the 'All Tools' section.
- Select the 'Lip Sync Video' option.
- Upload your image and audio file. You can generate audio from within the platform or upload your own.
Runway ML is advantageous for its capacity to support multiple speakers, making it ideal for dialogues.
Using HERA
Similar to Runway ML, HERA allows you to upload your character's image and either generate or import audio.
In terms of user experience, you may find that the output from HERA is more expressive, though this can result in excess movement that affects microphone stability.
Conclusion
By following these simple steps, you can create a unique talking avatar that suits your needs.
Keywords
- AI
- Talking Avatar
- Text-to-Image Generator
- ElevenLabs
- Lip Sync
- Runway ML
- HERA
- Image
- Audio
- Voice Cloning
FAQ
Q: What is the first step in creating a talking avatar?
A: The first step is generating an image using a text-to-image generator by crafting a detailed prompt.
Q: Can I use my own voice for the talking avatar?
A: Yes, you can record your own voice or use AI-generated voices from platforms like ElevenLabs.
Q: How do I sync the audio with the image?
A: You can use tools like Runway ML or HERA to upload your image and audio, allowing you to sync them seamlessly.
Q: What if I don't like the generated audio voice?
A: You can regenerate the audio in ElevenLabs until you find a voice that suits your needs.
Q: Are there any considerations for the aspect ratio of the image?
A: Yes, always include an appropriate aspect ratio in your prompt to avoid complications during the generation process.

