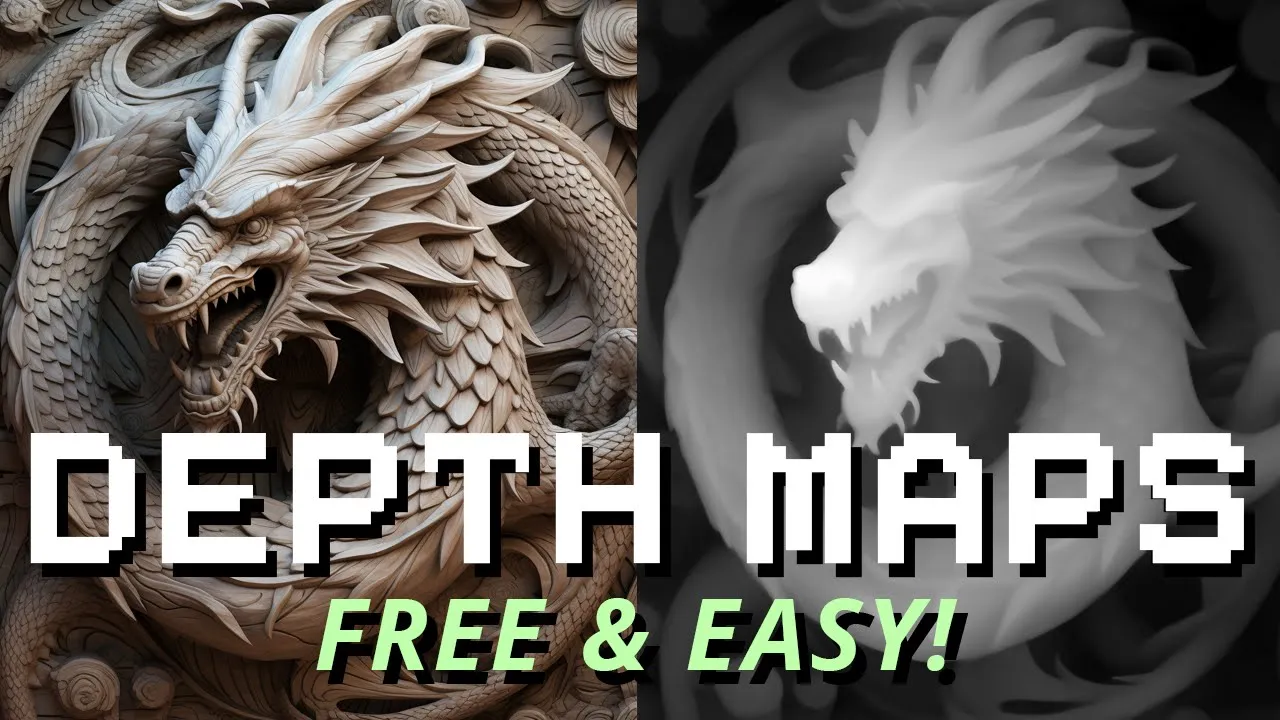
Create DEPTH MAPS from AI images for 3D LASER ENGRAVING
People & Blogs

Introduction
Generating depth maps has been a hot topic lately, so let me show you how I take AI-generated images and transform them into depth maps for 3D-style laser engraving. The best part is, it takes just one click! Here’s a step-by-step guide to get started.
What You Need
1. AI App of Choice
I'm using MidJourney, but if you don’t have any AI access, you can find sample images to use online. Simply search for "AI boss relief image" or something similar.
2. Google Account and Google Chrome
This is required because we’ll be using Google servers to generate the depth maps for us.
Step 1: Generate Your AI Image
The world is your oyster here, but to get the best results, add the words "boss relief" to your prompt. Boss relief style images are ideal for creating depth maps. If you don’t have AI access, perform a Google search for "AI boss relief image" to find suitable examples.
Step 2: Open the Program Link
There's a project called Tiling Zod Dev by Bill F. Smith, accessible through a link in the video description. Click on the latest version available, which is currently V3. This is where your Google account comes into play.
Connecting to Google Collab
Launch Google Collab: Make sure you’re using Chrome and signed in. Clicking the link will take you to the Google Collab environment.
Connect: Navigate to the right-hand side and click "connect."
Set Runtime Environment: Click the arrow and select "change runtime environment." Make sure T4 CPU is selected and exit.
Running the Sequence
Initiate Sequence: Click inside the document, then hold Control and hit F9 to start the sequence.
Access Warning: An access warning will appear, click "run anyway."
Upload Your File: Choose the AI-generated file to upload. The Google server will download and install various packages and dependencies. This could take several minutes.
Obtaining Your Depth Maps
Once the process finishes, you’ll receive two versions of your depth map: a low-res and a high-res version. The high-res version will automatically download to your Google downloads folder.
Make sure to disconnect when you're done to avoid being temporarily banned by Google for wasting server resources.
Step 3: Using Your Depth Map
There are various ways to use your depth map, but I’ll cover a couple of common tools:
For Lightburn or XTool Creative Space with a CO2 Laser
- Select Grayscale Image Mode: This will ensure proper processing for your 3D design.
For Fiber Laser with Lightburn
- Select 3D Sliced Image Mode: This will modulate power based on shading, producing the intended effect.
Below is a sample of a 3D engraving on wood using an xTool P2 and Creative Space. Unlike standard flat laser engravings, this one has a pop-out effect. Note that fine details might suffer on wood, but these files are better suited for engraving metal, as seen in custom coin-making with fiber lasers.
For more inspiration, follow Limitless Engraver on Instagram.
If you found value in this article, a like would be greatly appreciated. Thanks for reading, now go create some stunning 3D engravings!
Keywords
- Depth Maps
- AI Images
- 3D Laser Engraving
- Boss Relief
- Google Collab
- Tiling Zod Dev
- Lightburn
- XTool Creative Space
FAQ
1. What is a depth map?
A depth map is a grayscale image where the intensity of each pixel represents the distance from the viewpoint, allowing for 3D visualization.
2. Why use 'boss relief' for AI image prompts?
Boss relief style images are optimal for creating depth maps because their aesthetic translates well into 3D space, providing better engraving details.
3. Can I use images without AI access?
Yes, you can use images found through a Google search for "AI boss relief image."
4. Why do I need a Google account and Chrome?
We use Google Collab, which requires a Google account and works best through Google Chrome to leverage Google's servers for processing.
5. What if Google temporarily bans me?
Avoid wasting server resources by disconnecting from Google Collab when you’re done to prevent temporary bans.

