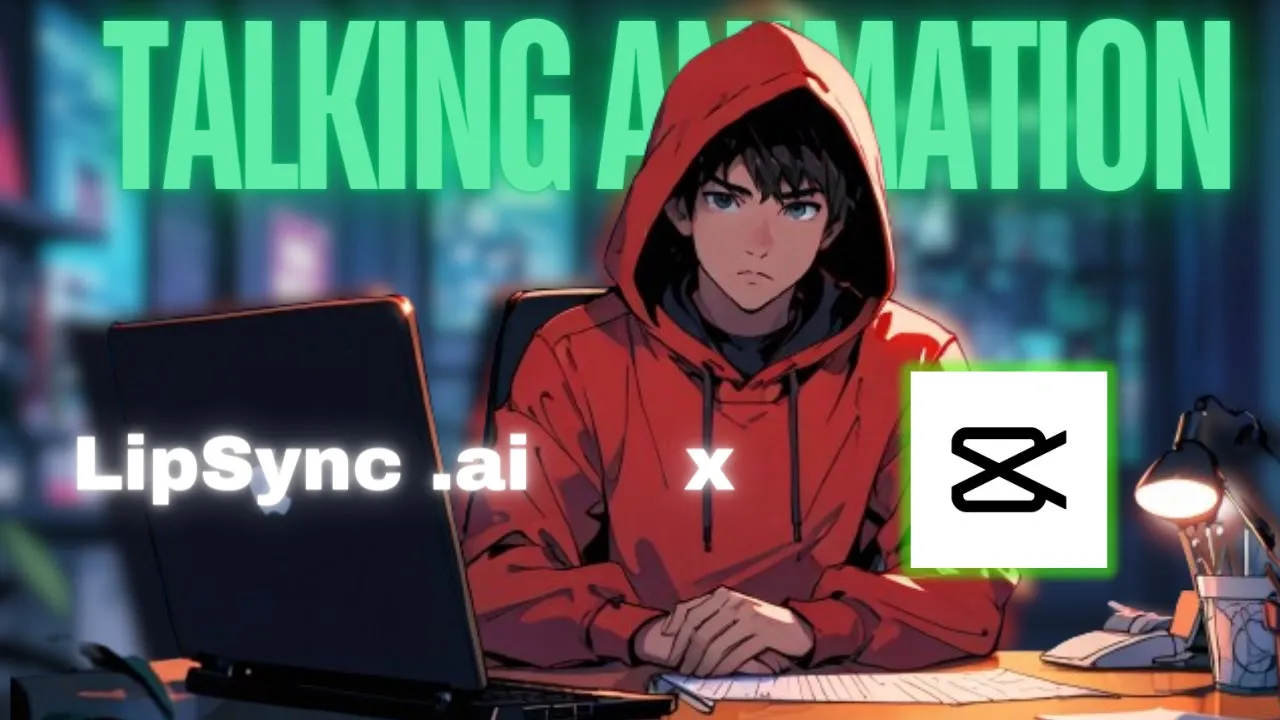
Create TALKING ANIMATION With this Free LIPSYNC AI (mouth animation for free)
People & Blogs

Introduction
Faceless talking avatars are gaining immense popularity, and many creators are turning to these innovative solutions to enhance their content. While traditional methods, like using green screen technology for mouth animation, often fall short in terms of lip synchronization, a new AI tool is set to change the game. In this article, we will explore how to create engaging talking animations using a free AI tool designed for lip-syncing.
Getting Started
To begin, open your Chrome browser and search for "Leonardo." Click on the first link that appears in your search results. If you don’t already have an account, you’ll need to create one or log in if you do.
Steps to Create Your Talking Animation
- Input Your Prompt: After logging in, paste your prompt into the designated area.
- Select Presets: Choose the 'anime' preset and set your canvas to a 16:9 ratio.
- Negative Prompt: Check the option for a negative prompt and input your specifications.
- View Options: Click on the view tab and select ‘view more.’
- Image to Image: Next, select the 'image to image' option and use a reference image for your character. You will find the reference image at the end of this article, so stay tuned!
- Adjust Strength: Increase the strength slider to about 7.
- Generate Image: Click on ‘generate’ and once you are satisfied with the output, download the image.
Image Editing
- Open Photo Editing Software: Now, head over to your preferred photo editing software, like Photoshop or GIMP.
- Character Preparation: Import your character image and use the spot healing tool to brush over the mouth area. This will help in creating a seamless look when we animate it later.
- Exporting the Image: Once edited, export the image as a PNG file.
Animation Creation with Adobe
- Adobe Animate: Open Adobe Animate. This software is free upon logging in.
- Character Setup: Click on ‘start now,’ then go to ‘all people’ and select the character named Ricky. Choose a transparent background and resize the character appropriately.
- Audio Input: You can either bring in your audio file or record your voice directly.
- Change Background: If you encounter issues downloading due to a background, go back and change the background.
- Download: After all adjustments, simply download your animation.
Video Editing with CapCut
- Import Images: Bring in your no-mouth PNG and the Adobe Animate character into CapCut.
- Remove Background: Select the Adobe character and click on ‘remove BG.’ Use the color picker to select the character’s skin tone.
- Adjust Settings: Increase the intensity to 25 and shadow to 50 for better visibility.
- Masking: Head over to the 'mask' option, select 'rectangle,' and adjust it to cover the mouth area of your character.
- Audio Replacement: To update the audio, click on the ‘replace audio’ option and synchronize your new audio with the mouth animation.
By following these steps, you’ll create captivating talking animations easily and for free.
If you enjoyed this guide, consider liking and subscribing for more valuable tutorials like this one!
Keyword
* Talking avatars * Lip-sync AI * Free animation tool
- Green screen technology * Adobe Animate
- CapCut * Image editing
- Character animation
FAQ
Q: What is the best AI tool for creating talking animations?
A: Leonardo is a recommended free tool that allows you to create talking animations with lip-sync features.
Q: Can I use my voice in the animation?
A: Yes, you can either upload an audio file or record your own voice directly in Adobe Animate.
Q: Are there any costs associated with the tools mentioned?
A: All the tools discussed in this article, such as Leonardo, Adobe Animate, and CapCut, are accessible for free with an account.
Q: What if my character's mouth doesn't sync well?
A: Ensure you follow the detailed steps for editing the mouth area using photo editing software before animating.
Q: Can I use these animations on my YouTube channel?
A: Yes, these animations can be integrated into your videos, making them more engaging for your audience.

