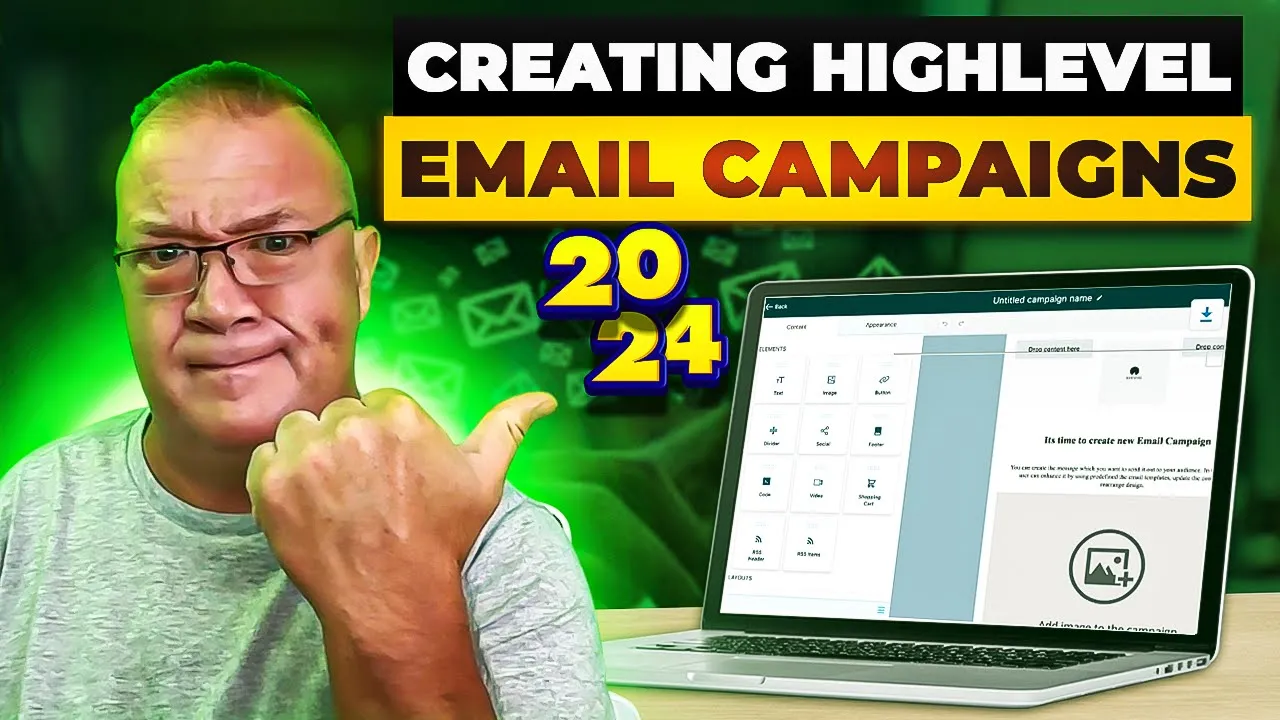
Creating Email Campaigns with GoHighlevel Updated 2024 : A Step-by-Step Tutorial
Education

Introduction
In this article, we'll take an in-depth look at how to create email campaigns using the GoHighlevel platform. There have been significant improvements in the platform over the last year, making it even easier to develop effective email marketing strategies. This guide will cover everything from setting up email templates to building your campaigns step by step. Let's dive in!
Step 1: Set Up Email Templates
To begin, we need to create email templates which will serve as the foundation for our nurture campaigns. Here’s how:
Access the Email Templates Area:
- Navigate to the Marketing section on the left sidebar and click on Email Templates.
Create a New Template:
- Click on New, then select Blank Template.
- You'll have several design options:
- Design Editor: Use this for a robust HTML design with images and buttons.
- Code Editor: If you prefer coding your own email.
- Plain Text Editor: For basic text-only emails.
Utilize the Design Editor:
- In the Design Editor, you can drag and drop various elements such as text, images, videos, and social media buttons to build your email.
- You can create complex layouts easily, like multi-column sections.
Save Your Template:
- Once you have designed your email template, give it a name and click Save.
Repeat this process for each template you plan to use in your nurture campaign.
Step 2: Create the Email Nurture Campaign Workflow
Now that you have your email templates, it’s time to build your email nurture campaign using workflows:
Access the Workflow Area:
- Navigate to the Workflows section.
- Create a new workflow for your email nurture campaign.
Set Up the Trigger:
- This trigger could be the submission of a contact form on your website. For example, when a user fills out a contact form, it activates the workflow.
Add Actions:
- After setting the trigger, you can add actions for your workflow:
- Add a Tag: Create a tag like "Website Contact Us" to easily identify these contacts in the future.
- Send Internal Notification: Notify your team that a new contact form has been submitted.
- Send Email: Start adding email actions where you can select the templates created earlier.
- After setting the trigger, you can add actions for your workflow:
Incorporate Wait Steps:
- Add wait times between your emails. For example, after sending the first email, wait a day before sending the next one.
Customize the Workflow:
- Modify the timing and sequence of your emails as needed. You can copy actions to make building faster.
Save and Publish the Workflow:
- After configuring all the desired actions, save and publish your workflow to make it live.
Step 3: Manually Add Contacts to the Campaign
If you need to add contacts who didn't fill out a form, you can do so manually from the Contacts area.
Select Your Contacts:
- Navigate to Contacts, select the contacts you want to add, and click on the robot icon ("Add to automation").
Choose Your Workflow:
- Select the customer nurture workflow you want to enroll them into.
Configure as Bulk or Drip Email:
- You can set a bulk email or use the drip option to send out emails progressively over time.
Step 4: Handle Replies and Stop Automation
Often, recipients may reply to your emails. You can set up a trigger to handle these replies:
Set Up Customer Reply Trigger:
- Configure a trigger for “Customer Reply” that checks for responses via email.
Notify Your Team:
- Set an action to notify your internal team whenever a response is received.
Remove from Nurture Campaign:
- If a contact replies, use an action to remove them from the email nurture workflow to prevent further emails.
Step 5: Generate Emails Using AI
For those who struggle with writing emails, AI can generate them for you. Use a platform like ChatGPT:
Craft Your Prompt:
- For instance, “You are a marketing expert for Digi Global Marketing agency. Create 6 nurture emails for web design services with variables like contact.first for names.”
Copy and Paste the Outputs:
- This allows you to generate personalized emails quickly, focusing on the elements you need.
Step 6: Conclusion
Now that you’re equipped with the knowledge of how to create a comprehensive email nurture campaign using GoHighlevel, you can efficiently reach out to potential clients and streamline your marketing efforts.
Keywords
- GoHighlevel
- Email Campaigns
- Email Templates
- Nurture Campaign
- Workflows
- Customer Reply
- AI Email Generation
- Contact Form
FAQ
What is GoHighlevel?
GoHighlevel is a comprehensive marketing platform that helps agencies manage their client relationships and marketing efforts efficiently.
How do I create a new email template in GoHighlevel?
Navigate to the Marketing section, click on Email Templates, then click on New and select Blank Template or one of the design options available.
What is a nurture campaign?
A nurture campaign is a series of emails sent to nurture leads and maintain ongoing communication until they are converted into customers.
How can I manually add contacts to my email campaign?
In the Contacts area, select the contacts you wish to add, then click the robot icon to initiate the automation process.
Can I use AI to generate email content?
Yes, using AI tools like ChatGPT, you can generate personalized email content based on your service offerings.
How do I stop a nurture email sequence if a contact has replied?
Set up a trigger for customer replies and use an action to remove the contact from the nurture campaign if they respond to your emails.

