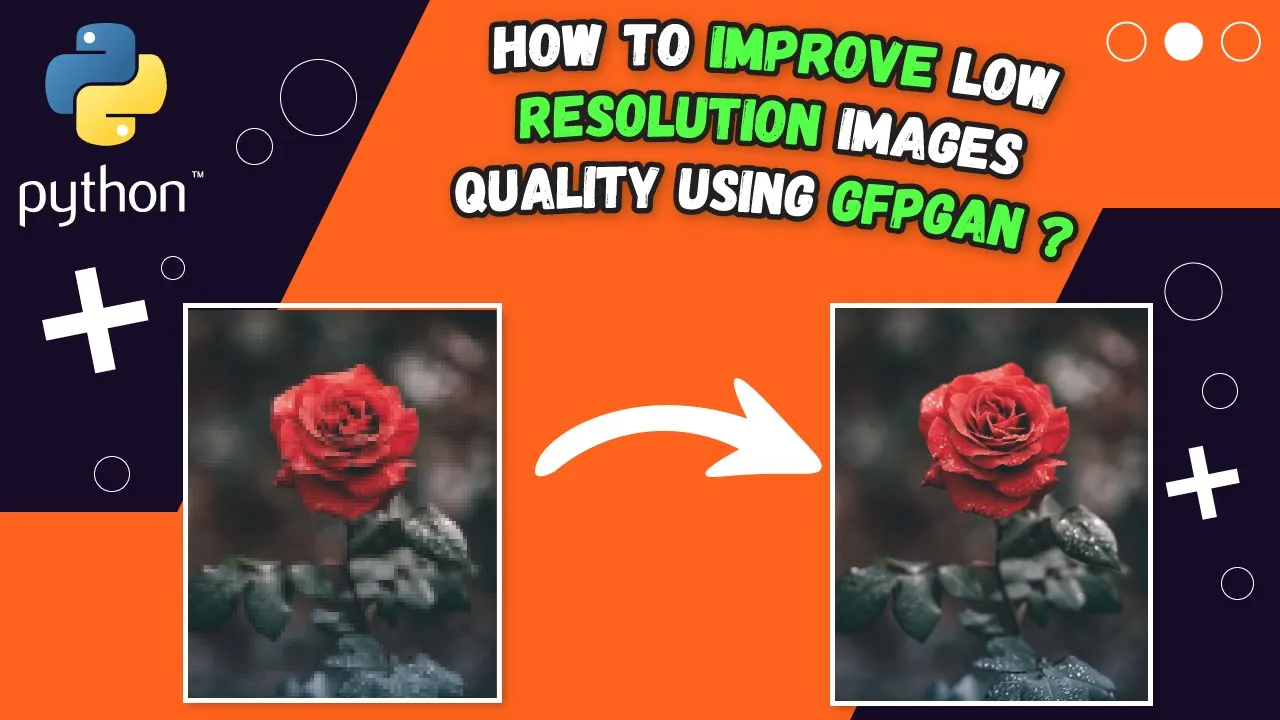
Enhance Your Images with GFPGAN: Low-Resolution Photo Restoration Tutorial ?
Science & Technology

Enhance Your Images with GFPGAN: Low-Resolution Photo Restoration Tutorial ?
[Music]
Hi everyone,
Today, I'm thrilled to introduce you to an amazing tool for image enhancement using GFPGAN (Generative Facial Prior GAN). We'll walk through the whole process, comparing before and after images to demonstrate the sharpness and clarity this model offers. Let's get started!
Comparing Images
First, let's look at some examples to see the difference GFPGAN makes:
- Here you can see the original image and the enhanced one, with remarkably sharper faces.
- Another example shows a similarly impressive improvement after applying GFPGAN.
Now, let's dive into the process of using GFPGAN to enhance your images.
Setup Instructions
Clone the GFPGAN Library:
git clone https://github.com/TencentARC/GFPGAN.gitCreate a Conda Environment:
Ensure you are using Python 3.9:
conda create -n gfpgan python=3.9
conda activate gfpgan
Check CUDA Version:
Depending on your GPU’s CUDA version, download and install the relevant Torch version:
conda install pytorch torchvision torchaudio cudatoolkit=11.0 -c pytorchInstall Required Libraries:
Next, install OpenCV and other necessary Python libraries:
pip install opencv-python
pip install -r requirements.txt
Run Library Setup:
Clone and set up the GFPGAN library:
cd GFPGAN
python setup.py install
Download the Model Weights:
Download from the GitHub page and ensure the model is saved in the correct directory:
python setup.py install
Enhancing Images with GFPGAN
Copy Images to the Media Directory:
Create a media folder and copy your original images there. For instance:
media/image1.pngmedia/image2.jpgmedia/image3.bmp
Run the Enhancement Process:
Use the following command to enhance the images:
python gfpgan/inference.py --upscale 2 --test_path media --save_root resultsThis command processes the images and saves the enhanced versions in the
resultsdirectory.Review Enhanced Images:
Open the results folder to examine the final output:
- The
comparefolder contains side-by-side comparisons of the original and enhanced images. - The
restorefolder includes the final enhanced images.
- The
You'll notice the remarkable improvements GFPGAN makes, particularly in sharpening facial features.
Conclusion
GFPGAN offers a straightforward way to enhance low-resolution photos. From installation to execution, the process is simple and rewarding. Don’t forget to share this tutorial and subscribe for more exciting content.
[Music]
Thank you!
Keywords
- GFPGAN
- Image Enhancement
- Low-Resolution Photo Restoration
- Python
- CUDA
- Conda Environment
- OpenCV
- Model Weights
FAQ
Q: What is GFPGAN used for?
A: GFPGAN is used for enhancing and restoring low-resolution and blurred images, specifically focusing on sharpening facial features.
Q: What Python version is required for GFPGAN?
A: GFPGAN is compatible with Python 3.9.
Q: How do I check my GPU's CUDA version?
A: You can check the CUDA version by running nvcc --version or using the relevant command in your terminal.
Q: Which libraries are needed to run GFPGAN?
A: You need OpenCV and several other libraries specified in the requirements.txt file provided with GFPGAN.
Q: Where are the enhanced images stored after processing?
A: Enhanced images are stored in the results directory, which includes folders for comparison images and final outputs.
Feel free to reach out if you have any more questions!

