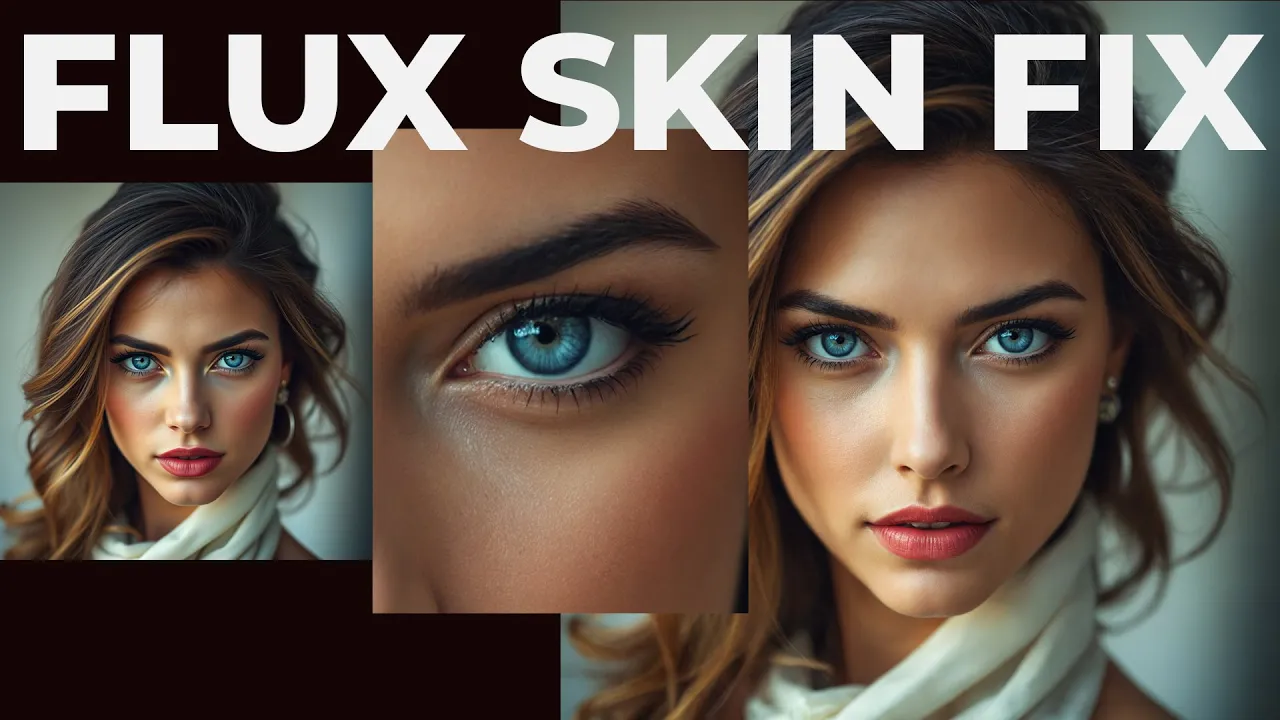
Flux Skin Fix and Upscale | ComfyUI Studio Tutorial
People & Blogs

Introduction
In this tutorial, we will show you how to quickly and easily correct skin texture in flux images. We will utilize a portrait that was rendered with the Flux Chel model. The initial image has a flat appearance with no texture and is relatively small in size. Our goal is to add skin texture and upscale the image efficiently.
Step 1: Prepare the Image
First, open the latent upscale workflow from The Comfy UI Studio portrait workflow pack. You will find a link in the description to access this resource.
Load the Image
- Drag and drop the portrait photo into the "Load Image" node.
- Set the image size to 2000 pixels.
- Adjust the Denoise strength to 0.5.
Set the Prompt
For the prompt, use the phrase "professional photo".
Step 2: Upscale the Image
Now it’s time to start the upscale process. Once the process is complete, you will have a perfectly refined 2000-pixel portrait photo featuring enhanced skin texture.
Conclusion
This technique is a great way to improve the quality of rendered portraits, making them appear more professional and visually appealing. There will be a link provided to download the final images, so be sure to stay tuned for more tutorials. Additionally, you can download the ultimate portrait workflow pack by following the link in the description.
Keywords
- Flux
- Skin Texture
- Image Upscale
- ComfyUI
- Portrait Workflow
- Denoise Strength
- Professional Photo
FAQ
Q: What is the main goal of this tutorial?
A: The tutorial aims to demonstrate how to correct skin texture on flux images and upscale them efficiently.
Q: What software or tools are required for this process?
A: You will need access to The Comfy UI Studio portrait workflow pack to follow along with the tutorial.
Q: How do I set the image size during the workflow?
A: After loading the image in the "Load Image" node, you can set the image size to 2000 pixels.
Q: What Denoise strength should I use for the best results?
A: A Denoise strength of 0.5 is recommended for optimal outcomes.
Q: How can I download the ultimate portrait workflow pack?
A: A link to download the ultimate portrait workflow pack is available in the description of the tutorial.

