

From Text to 3D : Bring Your 3D Characters to Life using AI & Spline
People & Blogs
Introduction
Creating and animating 3D characters has become more accessible with the integration of AI tools. In this tutorial, we will explore how to generate a 3D character using AI, add animations to it, and bring it into Spline for interactive experiences. Let's dive into the process step by step.
Generating Your 3D Character with AI
To kick things off, we'll head over to an AI website called Meshii. This platform allows you to generate 3D models using a text prompt. Here's how to get started:
Access Meshii: Navigate to the Meshii website and select the free plan, which provides a limited number of credits for creating models.
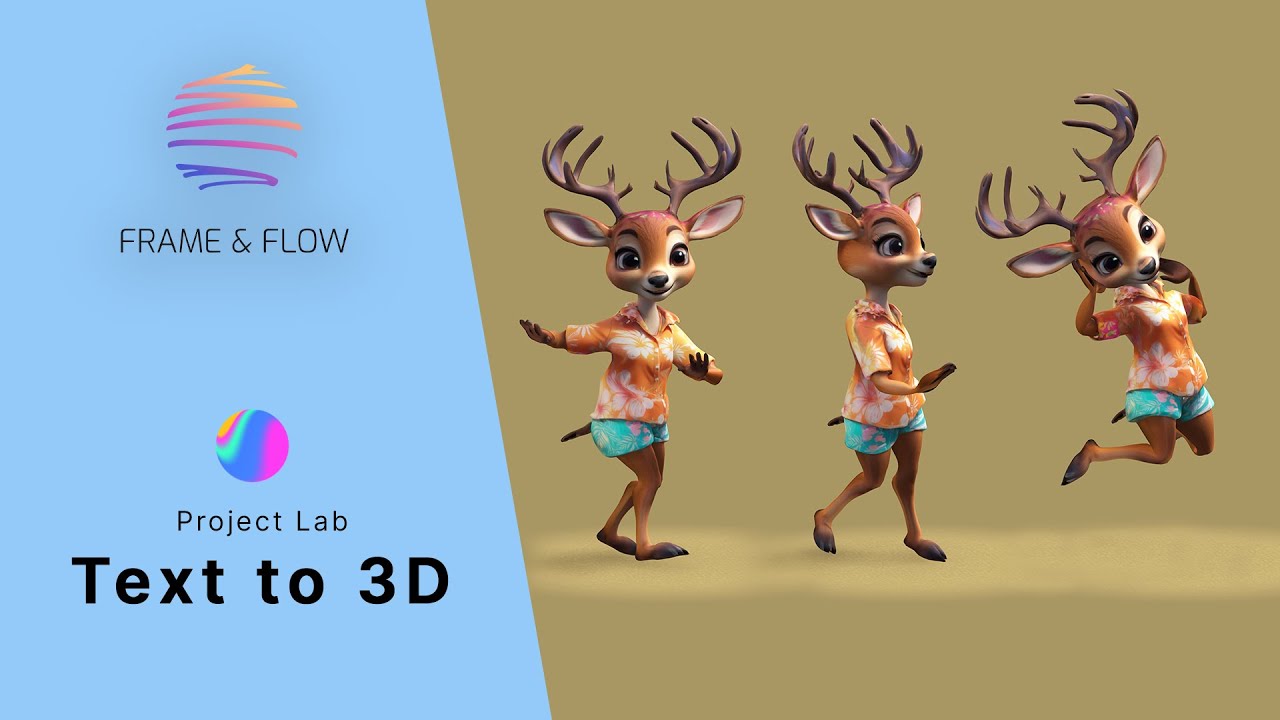
Community Exploration: Explore the community section for inspiration, where you can view various impressive 3D models that others have created.
Text to 3D Tool: Head to the "Text to 3D" tool and get familiar with the interface. You’ll find a panel on the left side that controls the character properties.
- Prompt Section: Input a descriptive prompt for the character you wish to generate.
- AI Model Selection: Choose between the latest Meshii 4 or the older Meshii 3 model.
- Art Style Options: Select from three art styles—realistic, sculptural (for a stony texture), or PBR (for photorealistic rendering with various maps).
- Target Poly Count: Adjust the polygon count (10K or 30K) based on your needs.
- Topology Settings: Decide on either quads or triangles and toggle symmetry settings.
Generate Your Character: For instance, you might enter "Deadpool" as your prompt and click "Generate." This process may take a few minutes, but you’ll be presented with four variations to choose from once the model is ready.
Texture the Model: If satisfied with one of the variations, click "Texture," and the platform will create a texture for the selected model. Once the texture is generated, download the model in FBX format, which will be contained in a zip file along with its texture.
Adding Animations with Mixamo
Next, we will add animations to our character using Mixamo, a platform offering a large library of animations to apply to your 3D models. Here’s how to proceed:
Upload Your Character: Sign up for Mixamo and upload the FBX file of your character. After processing, you’ll see a preview where you can add markers to identify different parts of the model based on provided guidelines.
Select and Apply Animations: Once your character is imported, click on various animations from the left side of the screen. You can search for animations, such as "run," and apply the desired one. Ensure to check the "in place" option if needed.
Download the Animation: When you’re satisfied with an animation, download it in FBX format. You can also add additional animations, like a dance move, by selecting "animation without skin" when exporting.
Importing to Spline
With your character animated, it’s time to bring everything into Spline:
Import Files: Drag and drop the downloaded files into Spline.
Test Animation: Play the animation by accessing the files. If the character’s position changes during animation playback, adjust its feet to the zero position on the Y-axis to fix jumps during the animation.
Combine Animations: To add another animation, click the plus button and select the second animation you downloaded. You can add as many animations as you’d like to the character this way.
Apply Materials: Finally, upload the texture from Meshii and apply it to your model in Spline. Your character is now fully textured and ready to be utilized in your project.
Finalizing the Project
In the concluding stages of your project, you’ll likely work on materials and interactivity within Spline. Create a realistic floor texture by layering color and noise effects, and set up buttons with click interactions that trigger animations for your character.
Material Creation
- Start with a base color layer.
- Add noise layers for realistic detail and blending.
- Use masks to create gradients and transitions seamlessly.
Button Interactivity
- Create buttons that transition between different animations when clicked.
- Ensure that when one button is selected, the others revert to their default states.
Conclusion
Creating your own character, adding animations, and importing it into Spline is now an easy and enjoyable process. This tutorial demonstrates the power of combining AI tools with artistic creativity, allowing for endless possibilities in character design and animation.
Keyword
- AI
- Meshii
- 3D Models
- Text to 3D
- Mixamo
- Animations
- Spline
- FBX Format
- Texturing
- Interactive Design
FAQ
Q1: What is Meshii?
A1: Meshii is an AI platform that generates 3D characters based on text prompts.
Q2: How do I add animations to my character?
A2: You can add animations using Mixamo by uploading your character and selecting animations from the library.
Q3: What format should I use to download my 3D character?
A3: The recommended format for downloading is FBX.
Q4: Can I use multiple animations on my character in Spline?
A4: Yes, you can add multiple animations to your character in Spline and switch between them.
Q5: Is it possible to texture my character in Spline?
A5: Yes, you can upload textures and apply them to your character models in Spline.