Getting Started with Luma AI: Guided Capture Mode
Science & Technology

Getting Started with Luma AI: Guided Capture Mode
Welcome to the Luma AI Beta
Welcome to the Luma AI beta! Let's walk you through creating your first Luma capture using our guided capture mode. Medium-sized objects are a good place to start. You'll need to be in a well-lit environment which allows you to freely move around your entire object. Avoid scenes where your movement will cast shadows on your object.
Preparing for the Capture
Always start by making sure your camera lenses are smudge-free. Next, open Luma and tap the plus button to begin a guided capture.
Defining the Object
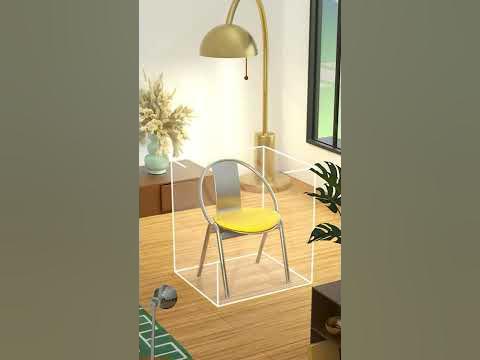
To define the object, point the crosshairs at the center of the object you want to capture and confirm with a tap. Move about 90 degrees around the object, point the crosshairs toward the center of the object, and tap again. Don't worry if the box that was created is incorrect; we can tweak it.
The dial along the bottom edge controls rotation, and the dial along the right edge controls how high above the ground the box is. You can increase or decrease the size of the box using the blue arrows. Adjust the box until it roughly encloses the object. Move around your object once more, making any required adjustments, and then tap confirm.
Capturing the Object
Now you're ready to capture. You'll see a series of loops projected around your object. These loops visualize where you'll need to position the phone. The aiming reticle along with the lines pointing inwards from the loops help guide your camera to always point inwards towards the center of the scene.
As you slowly move around the loop, Luma will automatically capture data from the most optimal positions. If the reticle turns orange, you might be going too fast or not looking in the right direction. Adjust your speed and position until it turns blue again. After you successfully capture a loop, it will fade away, allowing you to progress to the next layer of the scan until all loops have been completed.
Completing the Capture
If for any reason you cannot reach 100% coverage, you may still be able to hit the Finish button in the top right-hand corner if you have collected enough data to create a scene. You will get the best results when you capture data pointing at the center of your object from all required angles. All that's left is to upload the data and let Luma do the rest.
We look forward to seeing what you create with Luma.
Keywords
- Luma AI
- Beta
- Guided capture mode
- Medium-sized objects
- Well-lit environment
- Camera lenses
- Define the object
- Crosshairs
- Rotation
- Capturing the object
- Aiming reticle
- Completing the capture
FAQ
What type of objects should I start with? Medium-sized objects are a good place to start.
What kind of environment is best for capturing? A well-lit environment that allows you to freely move around the entire object is ideal.
How do I prepare my camera for capturing? Ensure your camera lenses are smudge-free.
How do I define the object to be captured? Point the crosshairs at the center of the object, confirm with a tap, and adjust the bounding box until it roughly encloses the object.
What do I do if the reticle turns orange during capture? You might be going too fast or not looking in the right direction. Adjust your speed and position until it turns blue again.
Can I complete the capture without 100% coverage? Yes, you may still be able to hit the Finish button in the top right-hand corner if you have collected enough data to create a scene.

