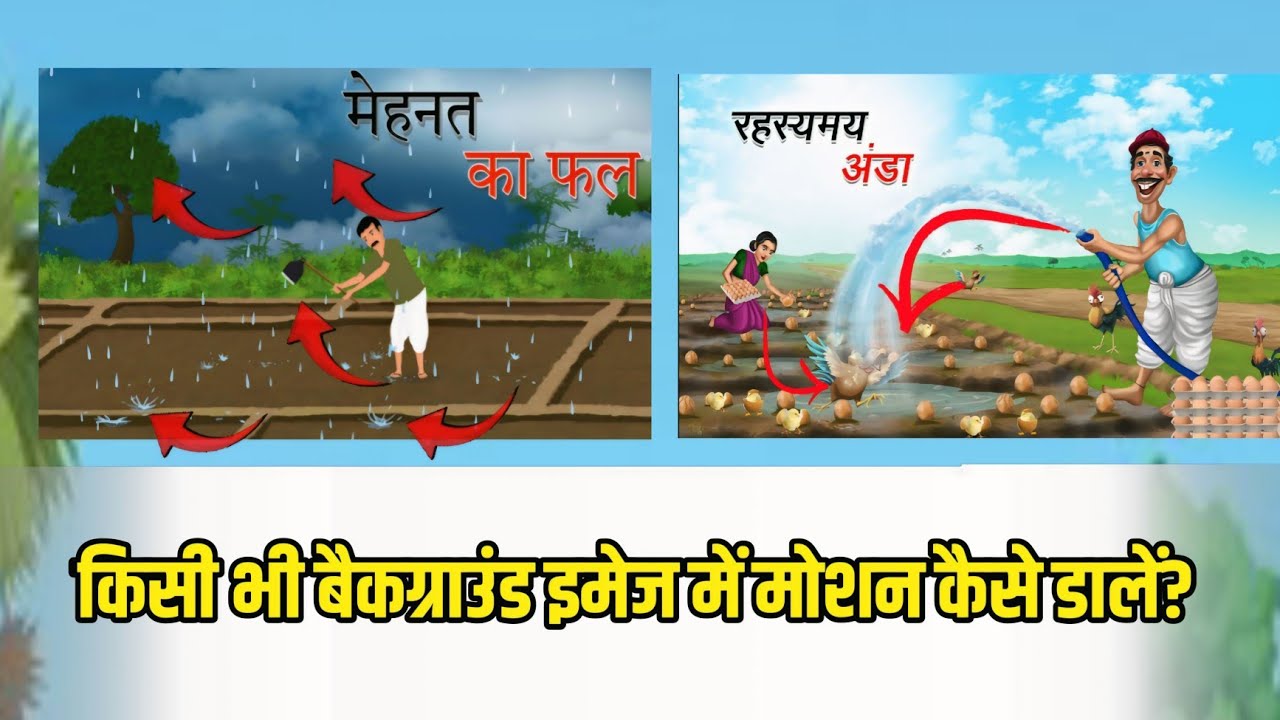
How to add motion to any background image?किसी भी बैकग्राउंड इमेज में मोशन कैसे डालें?
Science & Technology

Introduction
In today’s tutorial, we explore an exciting technique to add motion to background images, enhancing the aesthetic appeal of videos. This process includes creating animations that mimic the movement found in nature, like clouds drifting or leaves swaying in the wind. Let’s dive into the details of this application and discover how to make your backgrounds more dynamic.
Understanding the Basics
The foundation of our tutorial is a simple background image. To get started, you’ll open the application we recommend, where you can find numerous features and settings that you might not be aware of yet. By carefully following along, you’ll learn how to modify colors, adjust lighting, and overlay animations.
We’ll demonstrate how clouds can move across the screen, akin to smoke. You’ll also observe how the entire scene interacts seamlessly, with elements like cards moving to showcase the animation effect.
Step-by-Step Animation Creation
Open the Application: Launch the application and select an appropriate background. Your initial image does not need to have motion; it can simply be a still photograph.
Select Features: After choosing the background, numerous settings will appear. Experiment with color adjustments to suit your desired atmosphere. It’s crucial to explore different color palettes to make your animation visually appealing.
Incorporate Movement: Focus on cloud movement. Using the tools provided, you can animate the clouds to flow across the canvas. This involves applying a motion effect to create the illusion of wind or weather elements interacting with the environment.
Enhance the Scene: You can also introduce other elements like raindrops or night scenes. The application allows you to modify the background with features that simulate natural phenomena such as storms or clear skies.
Add Details: Attention to detail is key. Consider adding birds flying across the screen or leaves rolling in the wind. You can pin certain objects to keep them stationary while allowing others to move freely.
Adjust Animation Speed: Modify the speed of your animations to create more realistic movement. Slower motions may work well for gentle scenes, while faster speeds might be appropriate for more dynamic, stormy backgrounds.
Finalizing Your Video: After making all adjustments and animations, save your project in the highest quality possible. This will ensure that your hard work pays off when viewed on platforms like YouTube.
Conclusion
By following these steps, you can craft stunning animations that breathe life into any background image. Whether it’s for a video or a multimedia project, the ability to add motion appeals to a wide audience, making your creations stand out.
Keywords
- Animation
- Background image
- Motion effects
- Clouds
- Nature simulation
- Video creation
- Scene details
- Pinning objects
- Animation speed
FAQ
Q: What application should I use to create motion animations?
A: We recommend using a versatile animation application that offers various settings and features to enhance your background images.
Q: Can I add different effects like rain or wind?
A: Yes! The application allows you to simulate various natural effects, including rain and wind movements.
Q: Is it necessary to have experience in animation to follow this tutorial?
A: Not at all! This tutorial is beginner-friendly, and by following the steps, anyone can learn to add motion to background images.
Q: How do I ensure the quality of my video remains high?
A: Always save your final project in the highest quality settings available in the application before exporting it.
Q: Will this technique work for any type of background image?
A: Yes, you can apply motion effects to various types of images, whether they are photographs or digital designs.

