

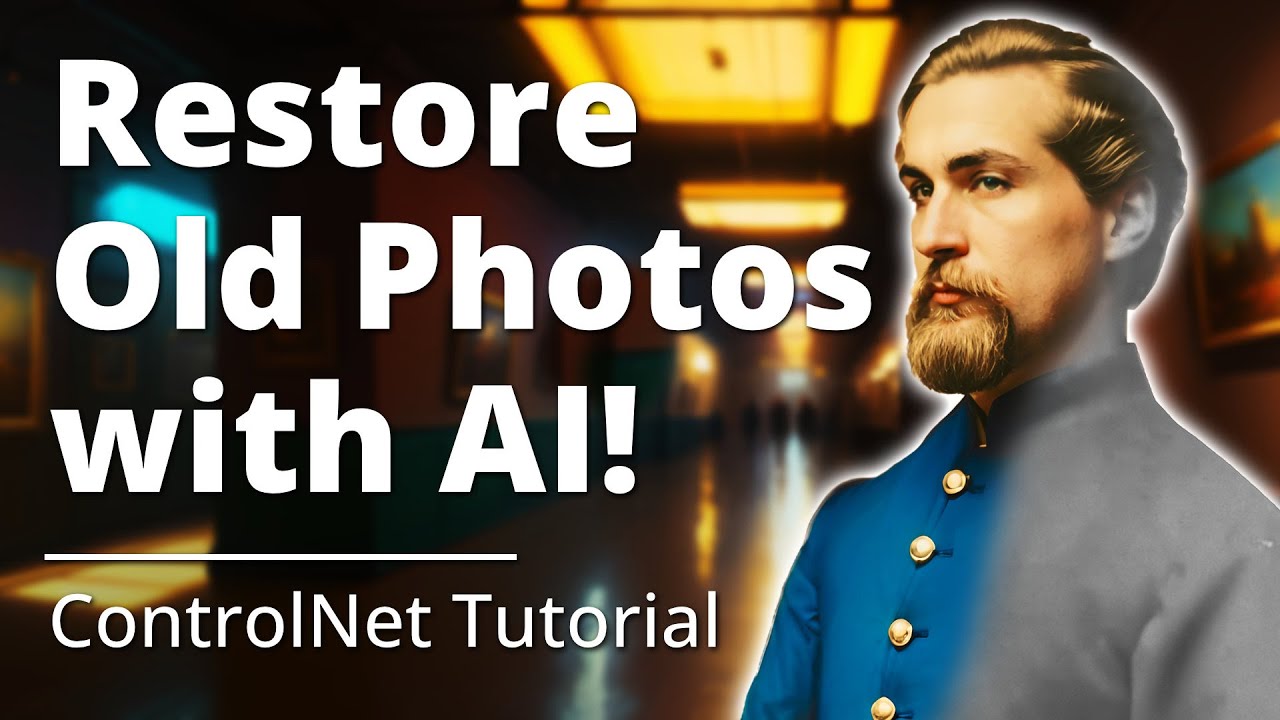
How to Colorize Photos with AI - Stable Diffusion + ControlNet Tutorial 2023
Education
Introduction
In the field of photo restoration and colorization, the process of restoring and colorizing old historical photos is considered an art in itself. However, thanks to advancements in AI technology, specifically Stable Diffusion using ControlNet, the process can be made easier and more efficient. While achieving accurate colorization still requires some manual work and historical research, AI can serve as an excellent starting point, providing great results with enough time and effort.
Setting Up for Colorization
To begin the colorization process, you will need to have some basic knowledge of image editing and install the Stable Diffusion web UI. If you don't have it installed, you can follow a guide provided in the description of the tutorial video. Additionally, an Nvidia Windows computer is required for this process.
You will also need to download a specific checkpoint called Realistic Vision version 2.0 and place it in the Stable Diffusion web UI folder. Furthermore, the installation of VAE and control net extensions is necessary for this tutorial. These extensions can be installed easily by following the provided URLs and instructions.
Once you have everything set up, it's time to prepare your image for colorization.
Preparing and Editing the Image
In your preferred image editing software, such as Affinity Photo or Photoshop, open the historical photo you want to colorize. Crop the image to focus on the subject you want to colorize. It is recommended to use a custom ratio that works well with Stable Diffusion, such as 512x768.
Next, resize the document to the desired final size. Since the image will be resized later, it is not necessary to worry about the exact dimensions at this stage. Clean up the image, removing any artifacts or spots that may interfere with the Stable Diffusion process. Use tools like the Clone Brush tool to achieve this.
Apply denoising filters to remove noise from the image, and make any necessary adjustments, such as desaturating the image and adding contrast. The goal is to create a clean, high-quality image for the colorization process. Save the edited image as a PNG file.
Colorization with Stable Diffusion and ControlNet
Open the Stable Diffusion web UI and import your edited image into the ControlNet tab. Enable the preprocessor for depth and set the model to depth. This will create a depth map of the image. Repeat the process for the Canny preprocessor and model to create a Canny map. Finally, enable the preprocessor and model for open pose to ensure accurate pose detection.
Adjust the threshold settings for the Canny map to achieve the desired level of detail. Play around with the values to find the optimal settings for your specific image. Take into consideration that a lower threshold may result in more detail but also more noise.
Compose a prompt for the Stable Diffusion process by using the features recognized by the AI. Add details specific to the historical context of the image, such as color descriptions of uniforms or other relevant elements. Include positive and negative prompts to guide the AI in generating realistic results.
Generate the initial colorized image by clicking the "Generate" button. The AI will produce different results based on the prompt and settings provided. Review the generated images and select the one that best matches your desired outcome.
Refining the Colorization
Copy the selected image into your image editing software and paste it as a new layer. Change the blending mode to "Color" and adjust the opacity to create a blend between the colorized AI image and the original black and white image. This allows for a more natural look while retaining some of the original features.
Fine-tune the colorization and details using editing tools and adjustments. Manually edit the image to bring it closer to the original subject's appearance. Use tools like the Liquify effect to adjust facial features and ensure accuracy. Make any necessary adjustments to the color curves and other settings to achieve the desired final result.
Save the refined colorized image, and if needed, repeat the process by sending it back to the Stable Diffusion process for further refinement. Continue adjusting and improving the image until you achieve the desired outcome.
Summary Keywords:
- Colorization
- Photo restoration
- Stable Diffusion
- ControlNet
- AI technology
- Historical research
- Image editing
- Prompt composition
- Canny preprocessor
- Open pose preprocessor
- Blending modes
- Liquify effect
FAQ
Can I use Stable Diffusion and ControlNet without any knowledge of image editing?
- While some basic knowledge of image editing is necessary for this tutorial, you can still explore the Stable Diffusion and ControlNet techniques even without extensive experience. This tutorial provides step-by-step instructions and guidance to help you through the process.
What if I don't have an Nvidia Windows computer?
- Unfortunately, for this particular tutorial, an Nvidia Windows computer is required due to compatibility reasons. However, there may be alternative methods available for colorization using AI on different platforms. It's recommended to search for other AI colorization techniques that are compatible with your system.
Can I apply this process to colorize other types of historical photos?
- Yes, the techniques explained in this tutorial can be applied to colorize various types of historical photos. The key is to adjust the prompt, research historical details, and make necessary image edits for each specific image. The process may vary depending on the complexity and details of the photo, but the general approach remains the same.
How long does it take to colorize a photo using AI and Stable Diffusion?
- The time required for colorization can vary depending on factors such as the complexity of the image, the level of detail desired, and the user's proficiency with the tools and techniques involved. It is recommended to allocate sufficient time for experimentation, refining, and adjusting the colorization process until the desired outcome is achieved.