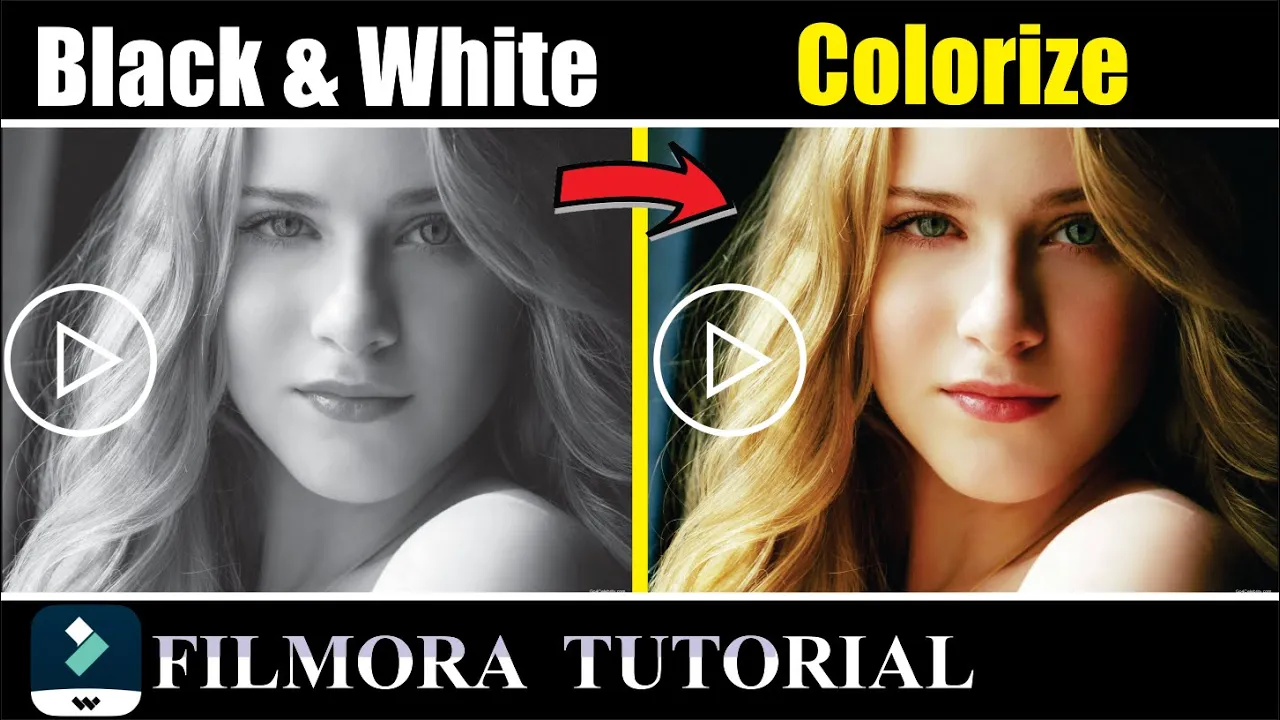
How to Convert Black and White Video to Color Video in Filmora | Colorize Black & White Videos
People & Blogs

Introduction
Hello video editors! I'm Sally Ali, and welcome to Sally Tutorials. In this article, I will show you some amazing tricks on how to convert a black-and-white video to a color video using Filmora. Let's take a classic example: converting Charlie Chaplin's black-and-white video to color. Follow the steps below, and you'll be able to do the same with any black-and-white video.
Step-by-Step Tutorial
1. Import the Video
First, drag your black-and-white video to the timeline in Filmora.
2. Add Sample Colors
- Click on "Sample Color" in the media library.
- Drag the red color to the timeline.
3. Change Project Settings
If your project setting is not correct, fix it:
- Click on the display screen and select "Change Aspect Ratio."
- Choose the "16:9" aspect ratio and the resolution you want.
- Click "OK."
4. Adjust Red Color Overlay
- Double-click on the red color sample.
- In the compositing tab, select "Overlay" from the blending mode options.
- Set the opacity to 25%.
- Click "OK."
5. Add Gradient 3 Color
- Drag "Gradient 3" to the timeline.
- Double-click on the gradient color.
- In the blending mode box, select "Soft Light" for the gradient color.
- Set the opacity to 25%.
- Click "OK."
6. Add Green Color Overlay
- Drag the green color to the timeline.
- Double-click on the green color sample.
- In the compositing tab, select "Overlay" from the blending mode options.
- Set the opacity to 25%.
- Click "OK."
7. Adjust White Color Overlay
- Drag the white color to the timeline.
- Double-click on the white color sample.
- In the blending mode box, select "Soft Light."
- Set the opacity to 10%.
- Click "OK."
8. Enhance Video Color
- Double-click on the video in the timeline.
- Click on the "Color" tab above.
- Click on the "Color Enhancement" tab.
- Click on "Auto" inside the color enhancement panel.
- Adjust the value to 10 (or according to your preference).
9. Adjust Video Tone
- Open the "Tone" tab.
- Adjust the brightness settings (e.g., set brightness to 10).
- Click "OK."
10. Final Adjustments
- Select all the color layers and adjust their duration according to the video length.
Now you have successfully converted a black-and-white video of Charlie Chaplin or any other old footage into a colored video using Filmora.
Demonstration
For further understanding, you may also apply these effects to another video to see what the output looks like.
If this tutorial helped you, be sure to give it a thumbs up, subscribe, and hit that notification bell to be notified of my new tutorials every week. Thanks again for watching, and I'll see you soon. Bye!
Keywords
- Filmora
- Video editing
- Colorize video
- Black and white to color
- Charlie Chaplin video
- Sample color
- Overlay blending mode
- Color enhancement
FAQ
Q1: Can I use this method for any black-and-white video? A: Yes, these techniques can be applied to any black-and-white video using Filmora.
Q2: Is it necessary to adjust the project settings? A: Yes, adjusting the project settings to the correct aspect ratio ensures the best output quality.
Q3: What blending modes should I use for gradient and sample colors? A: Use "Overlay" for sample colors like red and green, and "Soft Light" for gradient and white colors.
Q4: How do I make the colors more pronounced? A: Fine-tune the opacity and use the "Color Enhancement" and "Tone" settings within Filmora to get the desired effect.
Q5: Can I apply this colorization method to modern videos as well? A: Yes, but this method is particularly effective for old black-and-white footage.
If you have any more questions, feel free to leave them in the comments. Happy editing!


