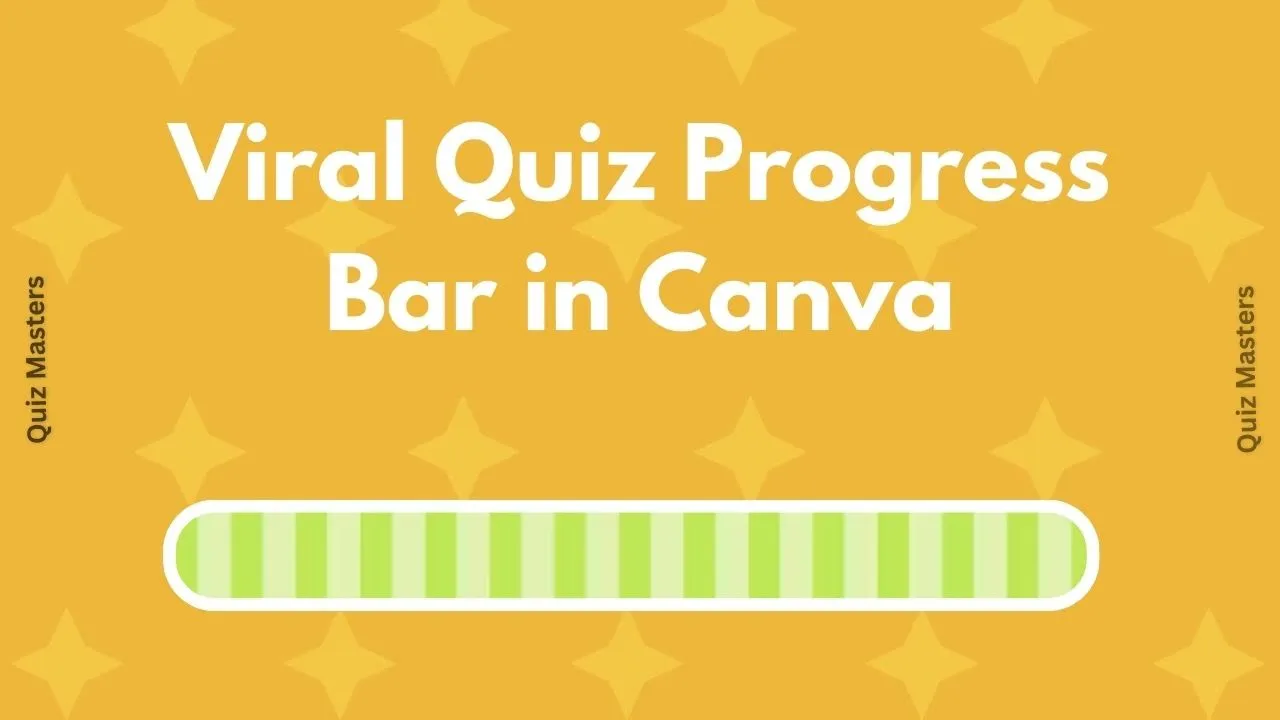
How to Create a Viral Progress Bar in Canva | Loading Bar | Quiz Video
Howto & Style

Introduction
Creating a visually appealing progress bar can elevate your video content, especially for quizzes or informative sessions. This guide will walk you through the process of designing a viral progress bar using Canva. Whether you aim to enhance viewer engagement or provide a visual cue for your audience, this step-by-step tutorial will help you achieve that effortlessly.
Step-by-Step Guide
Open Canva: Start by launching Canva and selecting the ‘Video’ option from the home menu. This will open a new video canvas for you.
Choose Your Videos: Navigate to the video section and search for “Stripes.” Choose green and red stripes, then adjust them according to your preference.
Adjust the Timing: Right-click on the red video, select ‘Show Timing,’ and adjust the start position to begin after 7 seconds. Preview this segment to ensure it’s synced correctly.
Add a Rectangle Shape: Go to the photo section, look for a "Gray Rectangle," and place this shape over both videos to cover them.
Animate the Shape: Select the rectangle shape, click on ‘Animate,’ and choose the ‘Wipe’ animation. Ensure it is set to 'Enter' and select the direction from right to left.
Timing Adjustment: Adjust the animation speed to match perfectly with the content displayed on the screen. Pay close attention to the timing to ensure everything flows smoothly.
Download Your Template: Once you have your progress bar template ready, download it from Canva.
Create a New Video: Start a new project in Canva using the downloaded template. This section of the video is crucial, so watch closely.
Choose a Background: Select any color background you desire for your new video. Make it visually appealing but not too distracting.
Upload and Adjust Template: Upload the template video to Canva and drag it onto the canvas. Crop and adjust the dimensions according to your requirements.
Style the Progress Bar: Click on the progress bar video, go to ‘Border Style,’ and set the border weight to 15 and corner rounding to 80. Change the border color to white for a cleaner look.
Final Adjustments: Your viral progress bar is now ready! You can resize and adjust the timing according to the main content of your quiz video. Feel free to play with speed settings, animations, and more to create the perfect effect.
In conclusion, creating a viral progress bar in Canva is a simple process that enhances your video content's visual appeal. By following these steps, you can effectively engage your audience and provide a polished video experience.
Keyword
- Progress Bar
- Canva
- Video Animation
- Template
- Quiz Video
- Design
- Visual Cue
FAQ
Q1: How do I access the video section in Canva?
A1: To access the video section, launch Canva, go to the home screen, and select the ‘Video’ option.
Q2: What animation effect should I use for the progress bar?
A2: The ‘Wipe’ animation effect is recommended, set to enter from the right to left.
Q3: Can I customize the colors of the progress bar?
A3: Yes, you can easily customize the colors of your videos and the rectangle shape according to your preference.
Q4: How do I ensure the timing is correct for the progress bar?
A4: Use the ‘Show Timing’ feature to adjust the start position and preview the segments to ensure everything syncs properly.
Q5: What should I do if the speed of the progress bar doesn't match my video?
A5: You can adjust the speed of the progress bar video from the settings to either slow it down or speed it up as needed.

