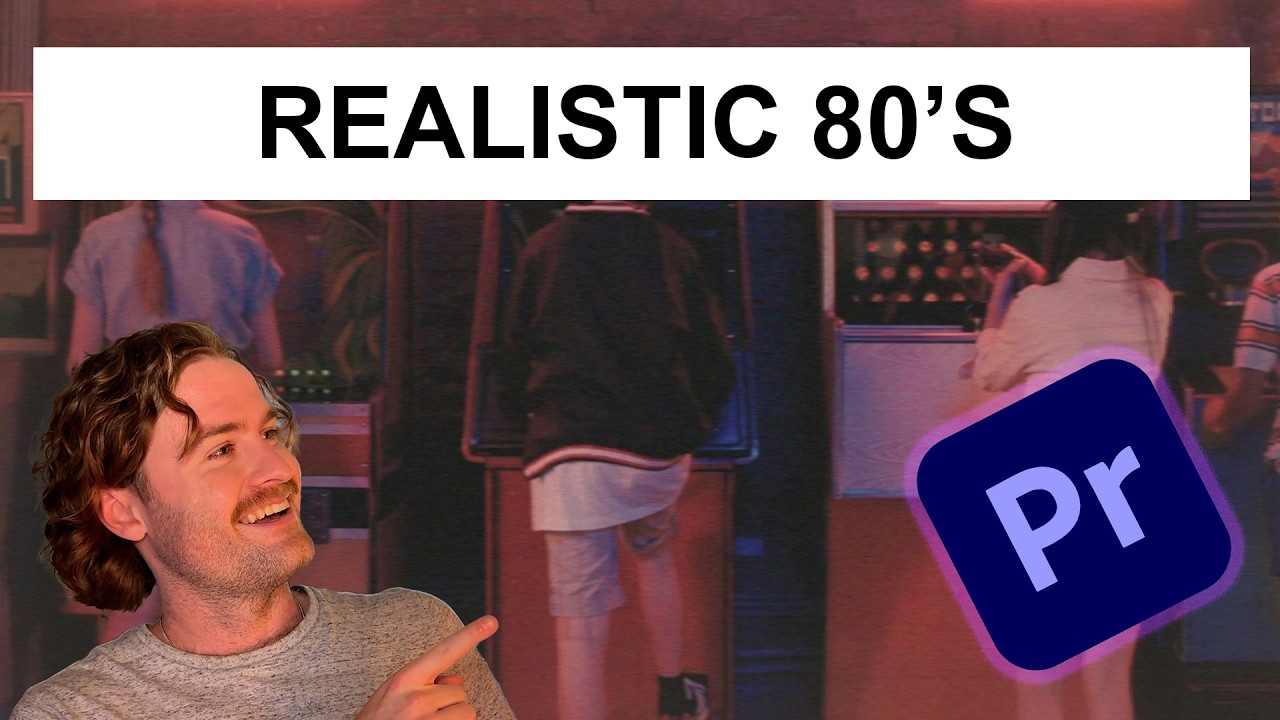
How to Create an 80s Filter in Adobe Premiere Pro CC (2024)
Howto & Style

Introduction
Creating an 80s filter in Adobe Premiere Pro can help you recreate the nostalgic feel of vintage videos. This guide will walk you through the steps to apply an 80s effect to your footage, giving it that softer, less polished look reminiscent of the era. Let's dive in!
Step 1: Create an Adjustment Layer
- Open Premiere Pro: Start by launching your Adobe Premiere Pro project.
- Create an Adjustment Layer:
- Click on New Item and select Adjustment Layer.
- Drag the newly created adjustment layer onto your timeline. Make sure it covers the desired footage.
Step 2: Apply Color Adjustments
- Open Lumetri Color:
- Go to Window > Lumetri Color to bring up the Lumetri Color panel.
- Adjust Temperature and Tint:
- Shift the Temp slider towards orange and the Tint slider towards magenta, creating an imbalanced color tone typical of older cameras.
- Reduce Contrast:
- Move the Contrast slider down to create a flatter image, emulating older footage quality.
- Faded Film:
- In the Creative tab, apply the Faded Film effect to add an overall vintage feel.
- Adjust Vibrance and Saturation:
- Increase Vibrance while reducing Saturation to emulate the color capturing issues seen in older cameras.
Step 3: Use Curves for Color Balance
- Curves Adjustment:
- Utilize the Curves section to slightly offset the red and green channels. This can simulate color imbalances often found in vintage footage.
Step 4: Degrade the Footage
- Add Noise:
- Search for Noise in the Effects panel and apply it to the adjustment layer. Set the amount to around 25% for a subtle grainy effect typical of older cameras.
- Include Mosaic Effect:
- Apply the Mosaic effect to simulate the pixelation of old video quality. Adjust the block sizes to reduce smoothness in the footage.
Step 5: Apply Blur Effects
- Gaussian Blur:
- Drag the Gaussian Blur effect onto your adjustment layer. Set the blur amount to around 5-6 to soften sharp edges.
- Distortion Simulation:
- To create a vignette effect typical of older lenses, duplicate the Lumetri Color effect and apply a mask to its edges, increasing Expansion and Feather settings.
Step 6: Final Adjustments
- Review your footage with the adjustment effects on and make any tweaks needed to get the desired vintage look. You can always adjust the amounts of each effect for the best result.
Comparison: You will notice a significant difference between the original footage and the one with the 80s effect applied.
This 80s filter is perfect for music videos, vintage commercials, or any creative project that aims to capture that retro aesthetic.
Conclusion
By following these steps in Adobe Premiere Pro, you can transform your modern footage into something reminiscent of the 80s era. The adjustments made through the Lumetri Color panel, effects like noise and mosaic, and subtle blurring will meld together to create a unique visual style.
Thank you for joining me on this tutorial! If you have any questions or comments, feel free to leave them below. Don't forget to subscribe for more exciting content on Adobe products!
Keywords
- Adobe Premiere Pro
- 80s filter
- vintage effect
- Lumetri Color
- Gaussian Blur
- noise effect
- saturation
- color adjustments
- mosaic effect
FAQ
1. What is the purpose of using an 80s filter in Premiere Pro?
Creating an 80s filter gives modern footage a nostalgic, vintage feel reminiscent of the visual aesthetics of the 1980s.
2. How do I create an adjustment layer?
In Premiere Pro, click on “New Item” and select “Adjustment Layer.” Then drag it onto your timeline.
3. What adjustments should I make in Lumetri Color for an 80s effect?
Adjust the temperature and tint sliders, reduce contrast, apply faded film, and manipulate vibrance and saturation for a vintage look.
4. How much noise should I add?
Start with around 25% noise to achieve a subtle graininess without overwhelming the footage.
5. Can I apply this effect to multiple clips?
Yes! Since you are using an adjustment layer, the effect can be applied to any clips covered by that layer.

