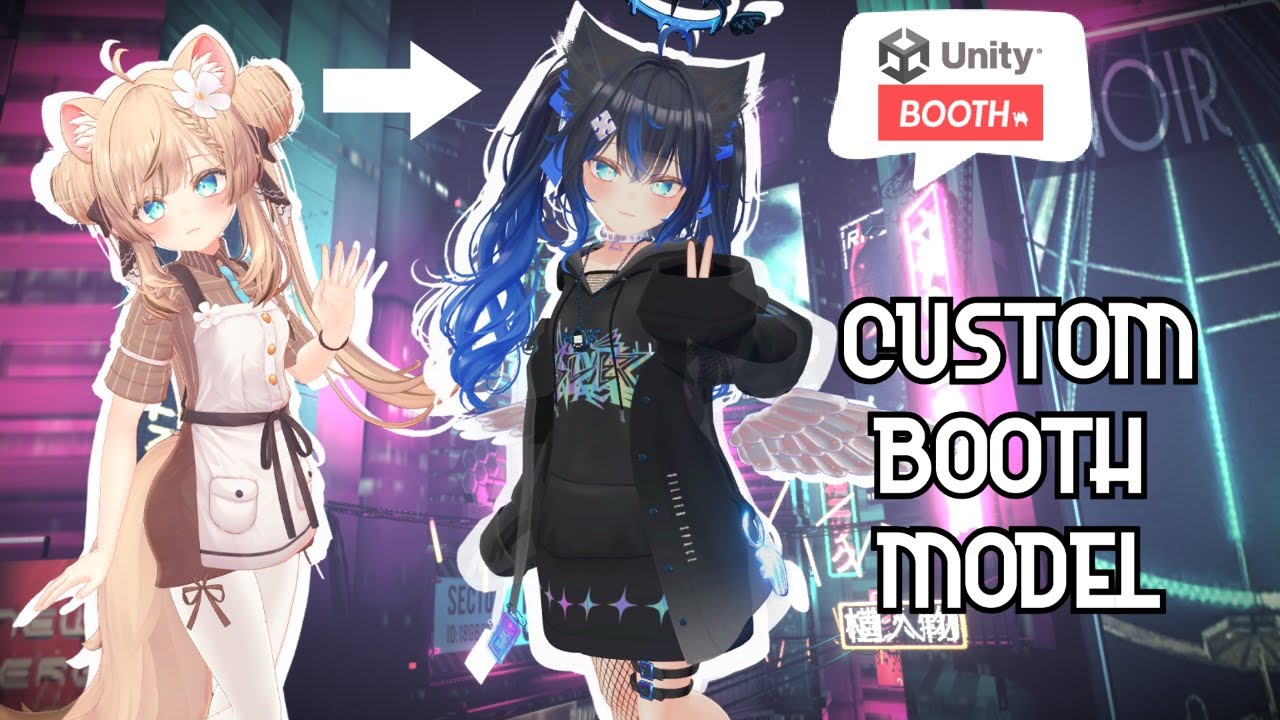
How To Create Custom BOOTH Avatar with Unity! - Full Tutorial
Gaming

Introduction
Creating a custom BOOTH avatar can be an exciting process, allowing you to tailor a 3D model to your specific preferences. This guide will walk you through how to find your perfect BOOTH model, manually assemble your avatar in Unity, and utilize Modular Avatar for automated clothing setups.
Step 1: Finding Your Perfect BOOTH Model
Browse Models on BOOTH: Navigate to booth.pm and browse through the 3D models available. With over 11,775 different models, you are bound to find something that fits your style.
- Models are sorted by popularity; typically, the models at the top have a broader selection of outfits. However, newer models may also have a selection of updated outfits and accessories.
Select Your Base Model: When choosing a model, consider factors like height and body type, as these attributes are challenging to modify later in Unity. For instance, "Manuka" is a popular choice for many due to its versatility.
Purchasing Outfits and Accessories: Once you’ve selected your model, check for clothing that fits your avatar. Use Google Translate to navigate through Japanese descriptions, and look for tags indicating compatibility with your selected model, such as “3D clothing.”
Filters and Free Options: You can sort the clothing search results by price to find free or low-cost options, enhancing your custom avatar without breaking the bank.
Step 2: Setting Up Your Avatar in Unity
Create a Unity Project: Make sure to use Unity 2022 for your project setup. Import necessary plugins like Modular Avatar, Gesture Manager, or Audio Link as needed.
Import Shaders: Import the Lily Tune shader or any other shader relevant to your model to ensure your avatar looks its best.
Unpack Your Base Model: Once your model is added to the project, unpack the prefab and remove any unwanted elements like default hair, clothes, or accessories.
Optimize Your Model: Delete unnecessary bones and blend shapes associated with removed items to optimize the avatar's performance.
Import New Assets: Import your chosen hair, outfits, and accessories into the scene. Make sure to set the positions and incorporate them into the model correctly by matching armatures.
Customizing Features: Adjust your avatar’s hair color, outfit colors, and facial features through blending shapes to deviate from default appearances.
Step 3: Utilizing Modular Avatar
Setup with Modular Avatar: Modular Avatar simplifies the assembly of outfits. After preparing your model, you can attach the outfits quickly, which reduces the need for manual bone matching.
Adding Clothes: Delete existing outfits on the avatar before using Modular Avatar. Simply drag and drop the outfit prefab, then use the Modular Avatar functionalities to link the outfit effortlessly.
Finalize Export to VR Chat: Once everything looks perfect in Unity, you can export your avatar to VR Chat. Check for any necessary adjustments or optimizations before uploading.
Conclusion
Your custom BOOTH avatar is now ready for use, reflecting your personal style and preferences! Don't forget to explore more about customization through textures and additional assets to make your avatar unique.
Keyword
Custom BOOTH avatar, Unity, 3D models, Modular Avatar, shaders, optimization, VR Chat, Japanese tags, outfit assembly.
FAQ
Q: How do I find a good BOOTH avatar model?
A: You can browse through the available models on booth.pm, sorted by popularity or by using specific filters to find outfits that best suit your style.
Q: Can I customize the colors of my avatar's hair or outfits?
A: Yes, in Unity, you can adjust the hair and outfit colors through materials. You can also use tools like Photoshop to modify textures.
Q: What is Modular Avatar?
A: Modular Avatar is a plugin for Unity that streamlines the process of setting up outfits on avatars, allowing for quicker assembly.
Q: Do all outfits work with Modular Avatar?
A: No, not all outfits are compatible. It's advisable to manually assemble those that don't work with Modular Avatar.
Q: How do I upload my custom avatar to VR Chat?
A: After completing your avatar in Unity and ensuring everything is set up correctly, you can export it directly to VR Chat following the platform's upload procedures.

