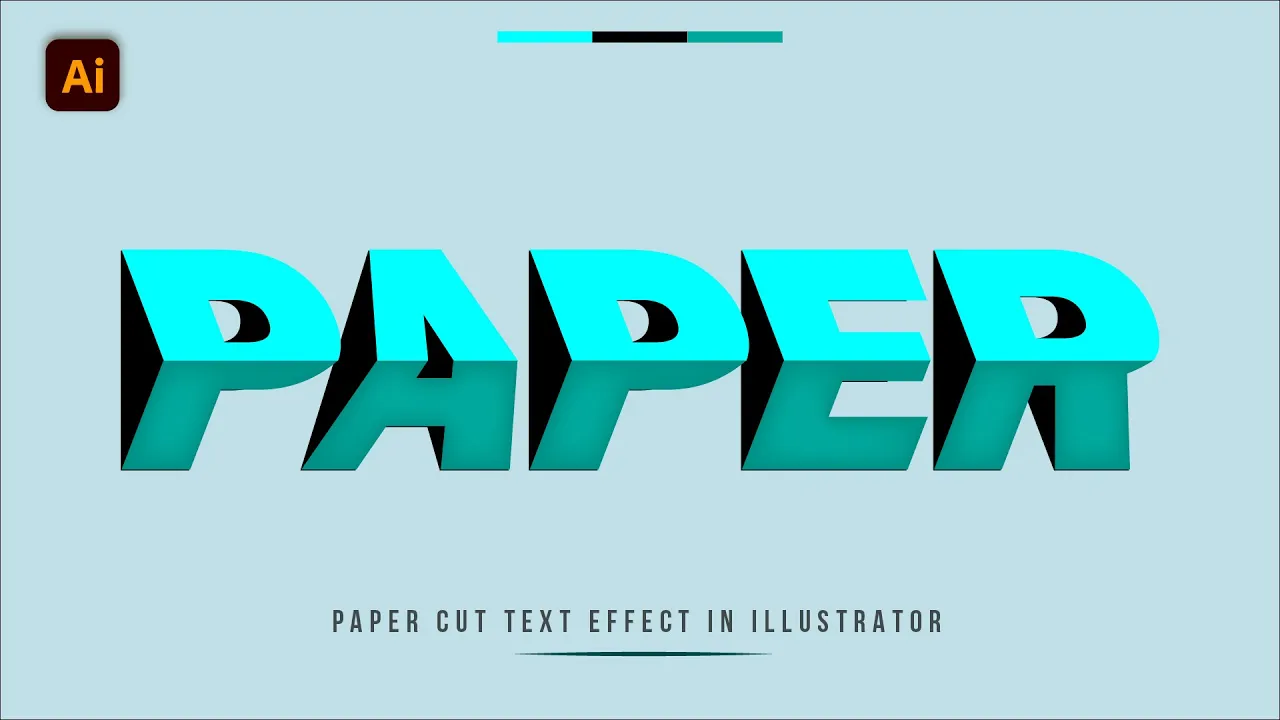
How to Create Paper Cut Text in Illustrator | 3D Text Typography | Typography Design
Education

How to Create Paper Cut Text in Illustrator | 3D Text Typography | Typography Design
In this article, we will walk you through the steps to create a stunning paper cut text effect using Adobe Illustrator. This technique adds a stylish touch and depth to your typography projects. Follow the detailed guide below to achieve this effect:
Step 1: Create a New File
- Open Adobe Illustrator and create a new file using the following dimensions that match your desired artboard size.
Step 2: Draw a Background
- Select the Rectangle Tool (M).
- Click once on the artboard to open the dimensions dialog box and input the artboard dimensions to create a rectangle that covers the entire artboard.
- Center-align the rectangle and apply your chosen background color.
Step 3: Add and Format Text
- Select the Type Tool (T) and type your desired text.
- Adjust the text size as required.
- Navigate to the Type menu, and select Change Case -> UPPERCASE to convert the text to uppercase.
- For this example, we are using the Franklin Heavy font. The link to download this font is provided in the description of the original tutorial.
Step 4: Create Outlines and Duplicate
- Right-click on the text and choose Create Outlines to convert the text to a vector shape.
- Hold the ALT key and drag to create a duplicate copy of the outlined text.
Step 5: Create Cuts in the Text
- Select the Knife Tool and make a cut in the center of each letter.
- Right-click on the text and choose Ungroup to separate the top and bottom parts of the letters.
Step 6: Transform and Color the Text
- Select the top half of the text and the Free Transform Tool.
- Click at the center and drag slightly to the right side.
- Repeat the same process for the bottom half of the text.
- Apply your desired colors to the altered text. For this example, a range of vibrant colors is used.
Step 7: Group and Align
- Select the colored text, right-click, and choose Group to group them together.
- Select both the grouped colored text and the black text, and center-align them.
Step 8: Arrange Layers and Apply Effects
- Select the black text, right-click, and choose Arrange -> Send to Back.
- Go to the Effect menu, select Stylize -> Drop Shadow, and apply the following settings:
- Opacity: 75%
- X Offset: 7px
- Y Offset: 7px
- Blur: 5px
- Click OK to apply the drop shadow effect.
And it’s done! You have successfully created a paper cut text effect in Adobe Illustrator. If you have any questions, feel free to ask in the comment section. Don't forget to subscribe and hit the bell icon for more updates from JZ Graphics.
Keywords
- Paper Cut Effect
- Adobe Illustrator
- 3D Text Typography
- Typography Design
- Franklin Heavy Font
- Create Outlines
- Knife Tool
- Free Transform Tool
- Drop Shadow
FAQ
Q1: What is the first step in creating the paper cut text effect?
- The first step is to create a new file with dimensions that match your artboard size.
Q2: How do I convert text to uppercase in Adobe Illustrator?
- You can convert text to uppercase by selecting your text, navigating to the Type menu, and choosing Change Case -> UPPERCASE.
Q3: What tool is used to create cuts in the text?
- The Knife Tool is used to create cuts in the text.
Q4: How do I apply a drop shadow effect?
- To apply a drop shadow effect, go to the Effect menu, select Stylize -> Drop Shadow, and adjust the settings accordingly.
Q5: Can you provide the name of the font used in this tutorial?
- The font used in this tutorial is Franklin Heavy. The link to download this font is provided in the description of the original tutorial video.
Feel free to drop any more questions you have in the comments, and stay tuned for more tutorials from JZ Graphics!

