How To Create Vignette Backgrounds In Premiere pro
Education

Introduction
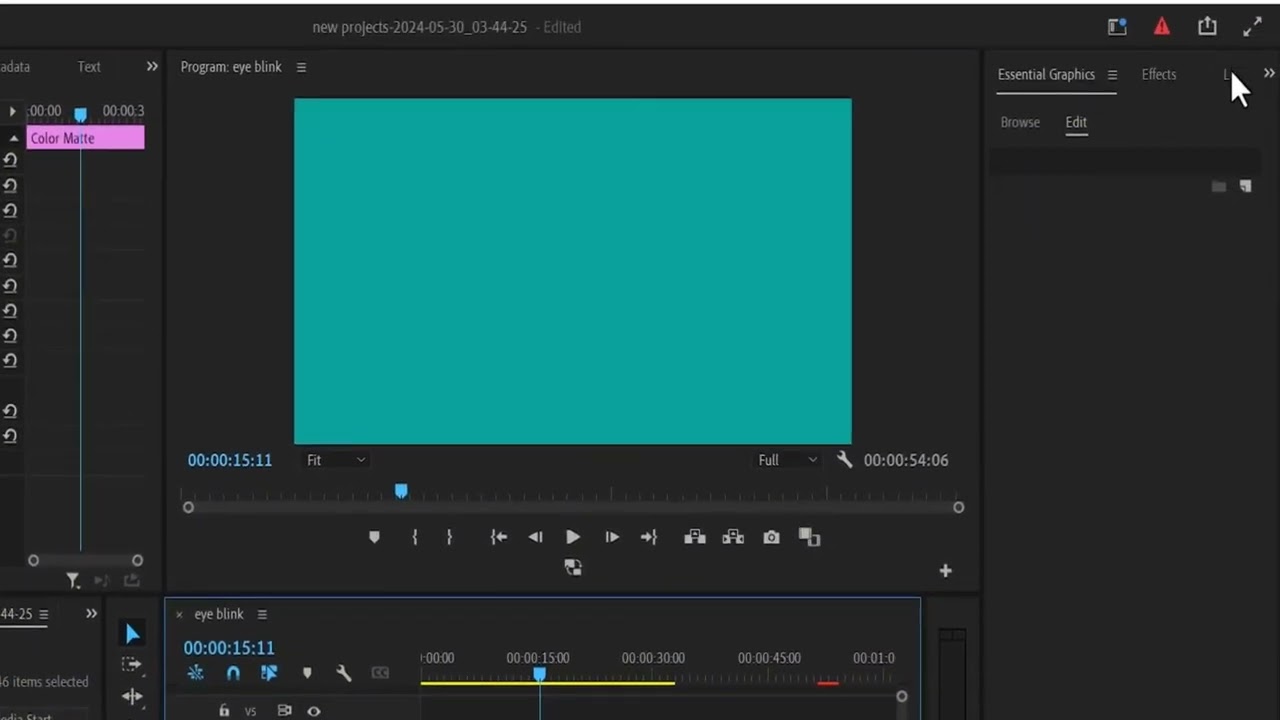
Creating a solid vignette background in Adobe Premiere Pro is a straightforward process that can enhance your video projects. In this article, we will walk you through the necessary steps to create this visually appealing background.
Step 1: Creating a Solid Color Background
Open Your Project: Begin by launching Adobe Premiere Pro and opening your existing project or creating a new one.
Create a Color Matte:
- In the Project panel, click on the New Item icon (usually depicted as a page icon).
- Select Color Matte from the dropdown menu.
- A dialog box will appear where you can choose the dimensions for your matte; simply hit OK.
- You'll then be prompted to select a color. Pick a color of your choice, such as red, and hit OK.
Add the Color Matte to the Timeline:
- Drag the newly created color matte onto your timeline.
- Adjust the duration of the matte to fit your project's needs by dragging the edges of the color matte layer.
Step 2: Changing the Color of the Matte
If you wish to change the color of your solid background after applying it:
- Simply double-click on the color matte in the timeline.
- This will reopen the color selection dialog where you can choose a new color.
- Once you find a color you prefer, hit OK.
Step 3: Adding a Vignette Effect
To enhance your solid background with a vignette effect:
Access the Lumetri Color Panel:
- Navigate to the Color workspace by selecting Window > Workspaces > Color from the menu.
-
- Locate the Lumetri Color panel.
- Scroll down to the Vignette section.
- You can then increase the Amount slider to add a vignette effect. Moving it left creates a black vignette.
- Adjust the Midpoint to modify how far the vignette extends into the frame, moving it left or right as needed.
- You can also adjust the Feather slider to soften the edges of the vignette.
Once you’ve made these adjustments, you will have a solid background complemented with a vignette effect, creating an aesthetically pleasing appearance for your video.
Conclusion
With just a few simple steps, you can create a solid background with a vignette effect in Adobe Premiere Pro. This technique is perfect for adding depth and focus to your video projects. Experiment with different colors and vignette settings to find what works best for your creative vision. Thank you for reading, and I hope to see you in my next tutorial!
Keywords
- Premiere Pro
- Solid background
- Color Matte
- Vignette effect
- Lumetri Color
- Feather
FAQ
Q: How do I create a solid color background in Premiere Pro?
A: To create a solid color background, go to the Project panel, click on the New Item icon, select Color Matte, choose your desired color, and add the matte to the timeline.
Q: Can I change the color of my solid background after creating it?
A: Yes, you can change the color by double-clicking on the color matte in the timeline and selecting a new color from the dialog box.
Q: How do I add a vignette effect to my background?
A: You can add a vignette effect by accessing the Lumetri Color panel, scrolling to the Vignette section, and adjusting the Amount, Midpoint, and Feather sliders.
Q: What are the benefits of using a vignette effect?
A: A vignette effect enhances depth in your video, draws attention to the center of the frame, and adds a stylistic touch to your overall design.

