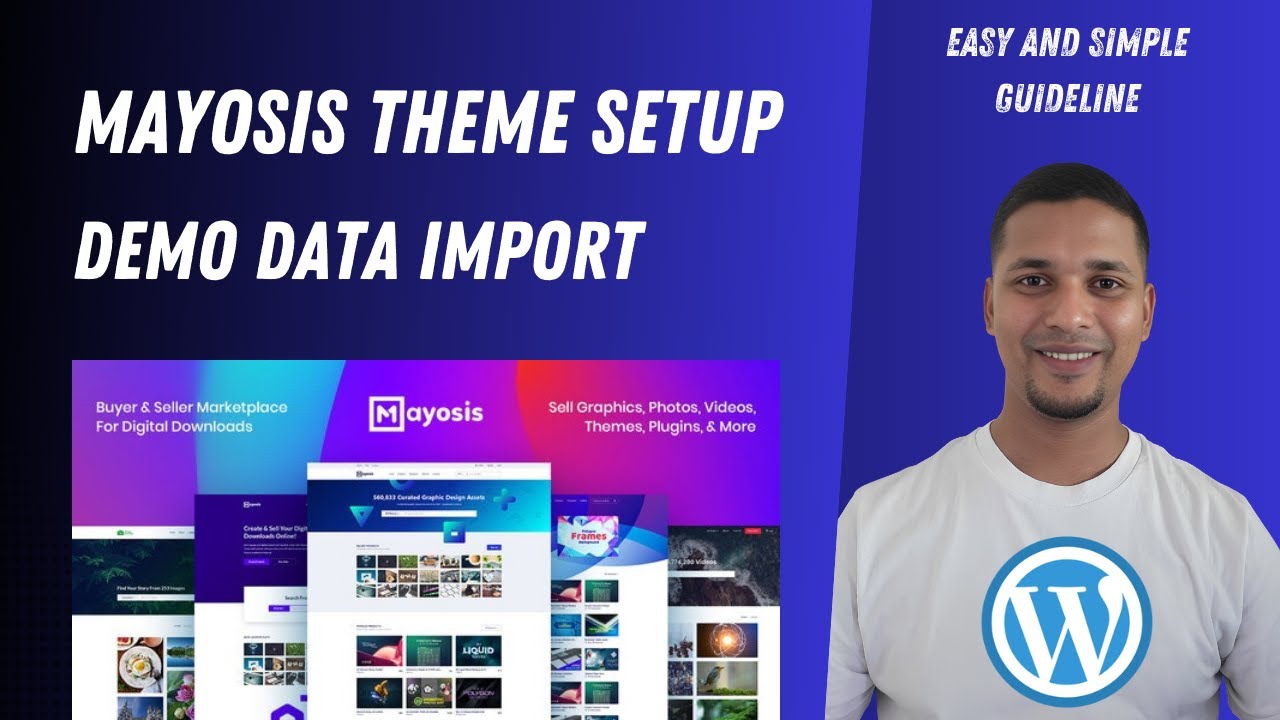
How to Install Mayosis Theme and Import Demo Data in 2024 ✅ Easy and Fast
Education

Introduction
Welcome to my YouTube channel! In this tutorial, I will guide you through the process of installing and setting up the Mayosis theme on your hosting account. If you've purchased the Mayosis theme and are looking to create a digital download e-commerce website using the Myio system, you're in the right place. This step-by-step tutorial is designed so that you can follow along and complete the installation without needing any coding skills or hiring a developer. Let's get started!
Step 1: Purchase and Download Mayosis Theme
Firstly, ensure that you have purchased the Mayosis theme from ThemeForest. Once purchased, download the theme file to your computer. Upon downloading, you will find a ZIP file. Extract this file, and you will see various folders, including documentation, license, required plugins, and the main theme file.
Step 2: Install WordPress on Your Hosting Account
For this tutorial, we will be using Hostinger, a popular hosting service. If you haven’t purchased hosting yet, you can find the Hostinger link in the video description.
- Install WordPress: Access your Hostinger account and use their WordPress installer to set up WordPress.
- Confirm Installation: After installation, you will see a basic demo of your WordPress website.
Step 3: Configure Basic Settings
- Go to Settings > Permalinks, and click on "Save Changes" to ensure proper URL structure.
Step 4: Install Mayosis Theme
- Navigate to Appearance > Themes in your WordPress dashboard.
- Click on Add New and then Upload Theme.
- Choose the Mayosis theme file from your extracted folder and click on Install Now.
- Once installed, click Activate.
You will see a pop-up to get started with the theme configuration. Click on Start.
Step 5: Install Required Plugins
Upon activation, you will need to install several required plugins such as Elementor, Easy Digital Downloads, and others. Follow the prompts to install these plugins easily.
Step 6: Increase PHP Limits (If Necessary)
If you encounter a warning regarding the PHP execution time limit:
- Access the File Manager in your Hostinger account.
- Open the
.htaccessfile located in the public HTML folder. - Add the recommended code to increase the PHP limits and save your changes.
Step 7: Import Demo Data
- You can now select the demo that fits your needs from the options provided.
- Click on the demo you wish to import and then click on Import.
- Wait for the process to complete, and once done, you can click on View Your Website.
Congratulations! Your Mayosis theme is now successfully installed, and the demo data is imported.
Thank you for following along with this tutorial. If you found it helpful, please like the video and subscribe to my channel. If you need further assistance with WordPress or digital marketing services, feel free to contact me!
Keywords
- Mayosis Theme
- ThemeForest
- WordPress Installation
- Hostinger
- Digital Download E-commerce
- Required Plugins
- Demo Import
- PHP Limits
FAQ
1. Where can I purchase the Mayosis Theme?
You can purchase the Mayosis Theme from ThemeForest.
2. Do I need coding skills to install the Mayosis Theme?
No, this tutorial is designed to guide you through the process without any coding skills required.
3. What should I do if I encounter a PHP limit warning?
You can increase the PHP limits by editing the .htaccess file in your hosting account, following the guidelines provided in the tutorial.
4. How long does it take to import the demo data?
The time may vary based on your server speed, but the import process typically takes a few minutes.
5. What are the essential plugins needed for Mayosis?
Essential plugins include Elementor, Easy Digital Downloads, Contact Form 7, and others specified in the Mayosis theme guidelines.

