How To Make A Picture Talk -Bring Alive Your Photos
Education

Introduction
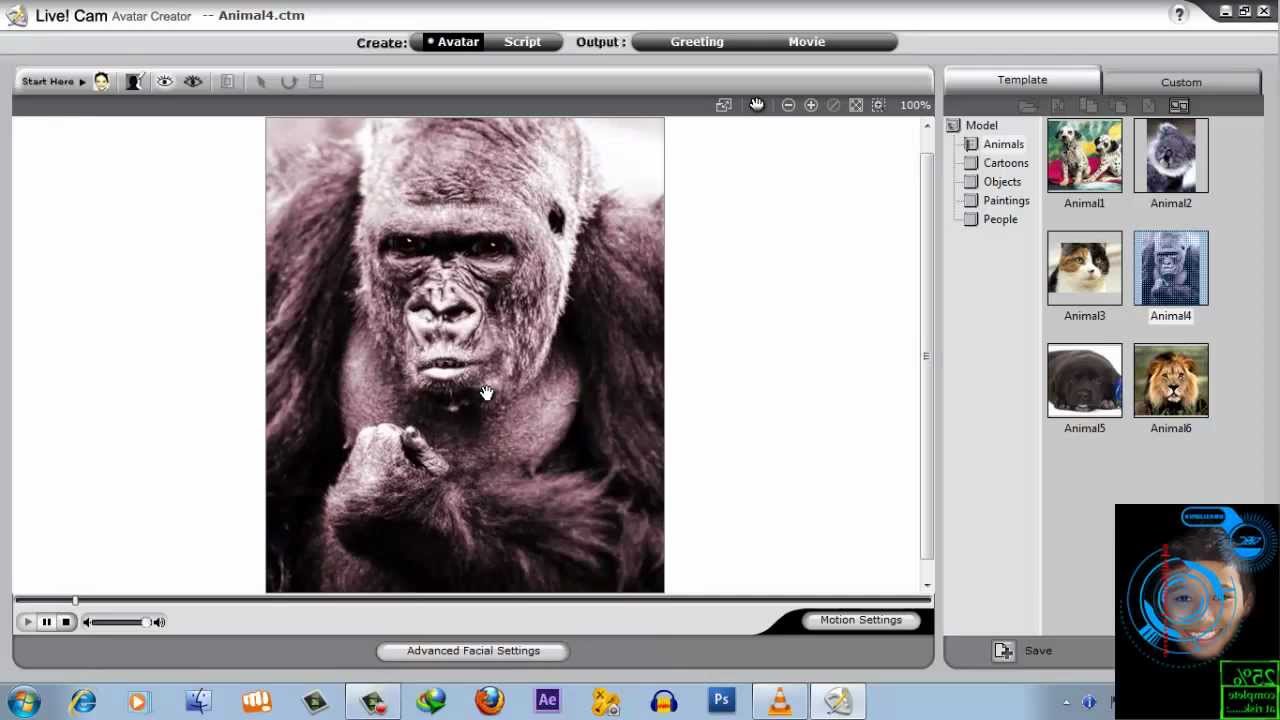
Are you interested in animating a picture to make it talk? If so, you’re in the right place! In this article, we'll guide you step-by-step on how to use the software called LiveCam Avatar Creator to bring your images to life. You can easily download this software from Google, and we’ll provide the links if possible.
Step-by-Step Guide
Import Your Image: Start by opening the LiveCam Avatar Creator software. Click on the 'Import Image' option and select the picture you want to animate. For our example, we'll use a picture of Justin Bieber.
Adjust Points: After importing your image, click 'Next'. This will allow you to adjust the facial points on the image to ensure accurate animation. Follow the prompts to get to the face fitting calibration.
Face Fitting Calibration: This is where the fun begins! The calibration may not be perfect right away, so you need to go into the basic facial adjustment mode. Adjust all the points with respect to the facial features. Start with the eye movements and other key facial points. This is crucial for ensuring realistic movement.
Advanced Facial Settings: Once the basic adjustments are done, head over to the advanced facial settings. Select the type of eye you want for the avatar. For instance, you might want to select 'small' eyes as per your preference.
Teeth Selection: Depending on your animation subject, choose the appropriate teeth type. If you're animating an animal, consider using animal teeth options. However, since we are animating a human picture, you may want to stick with human teeth.
Script and Voice Options: You can now go to the 'Script' section, which allows you to change the voice of the animated picture. Choose from various options such as a child’s voice, animal sounds, or funny sounds. For example, you can make it say something like "You won't believe your eyes!"
Final Testing: Finally, review your animation before saving it. Make sure everything works perfectly and the animation looks lifelike.
Conclusion
Congratulations! You've successfully made a picture talk using LiveCam Avatar Creator. If you'd like access to the software, feel free to reach out for links or more tutorials. Don’t forget to subscribe to my channel for more exciting tutorials, and reach out if you have any specific requests!
Keywords
- LiveCam Avatar Creator
- Picture animation
- Facial points adjustment
- Eye movements
- Teeth selection
- Voice options
- Script customization
- Animation calibration
FAQ
Q1: What software do I need to animate a picture?
A1: You need the LiveCam Avatar Creator software, which can be downloaded from Google.
Q2: How do I import an image into the software?
A2: You can import an image by selecting the 'Import Image' option in the software.
Q3: Why is adjusting facial points important?
A3: Adjusting facial points ensures that the animation looks realistic and captures the movements accurately.
Q4: Can I change the voice of the animated picture?
A4: Yes, you can choose from various voice options available in the script section.
Q5: Is there a specific teeth selection for animals?
A5: Yes, if you are animating an animal, you can choose animal teeth options. For human animations, stick with human teeth.

