

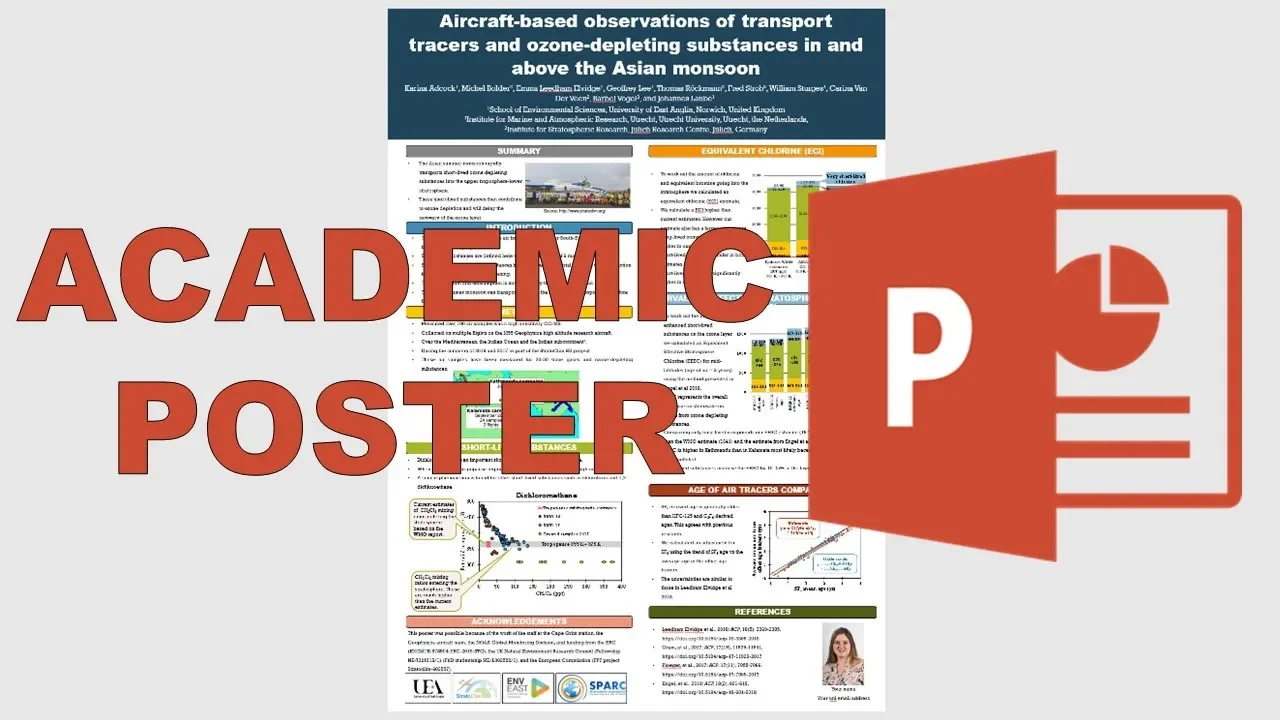
How to make an academic poster in powerpoint
Science & Technology
Introduction
Creating a visually compelling academic poster is an essential skill for any researcher presenting their findings at conferences. PowerPoint is a widely accessible tool that allows you to design an effective poster. Below is a step-by-step guide to help you craft your own academic poster using PowerPoint.
Step 1: Choose the Size of Your Poster
Before you start designing, check the conference website for specified poster size requirements, including orientation (portrait or landscape). For instance, if you need an A0 size poster in portrait format, follow these steps:
- Open a blank PowerPoint presentation.
- Delete all content on the slide.
- Navigate to Design → Slide Size → Custom Slide Size.
- Set the width to 84.1 centimeters and the height to 118.9 centimeters.
Confirm the changes by selecting "OK". As the slide is blank, it won't affect existing content.
Step 2: Select Content and Layout
Start with your poster title and abstract. Copy and paste these into your PowerPoint slide, increasing their font sizes for better visibility. Structure your poster into sections; for portrait layouts, typically two sections will suffice, while landscape layouts have three to four. Ensure the content flows logically from top to bottom and left to right.
Step 3: Add Extra Content
Your poster should include the following:
Logos: Gather logos from your university, the conference, and any funding organizations. Use vector files (.eps, .svg, .pdf) whenever possible, or high-resolution raster files (.jpg, .png, .bmp, .tiff) if necessary. Align these at the bottom of your poster.
Your Photo: A head-and-shoulders image should accompany your name and email near the bottom.
Co-Authors: List co-authors beneath the title, each with a superscript number correlating to their affiliated organization.
Acknowledgements: This section goes at the bottom, acknowledging contributors and funding with a statement such as "This poster was possible because of…"
References: Use superscript numbers for in-text references. Your references section should be brief, including only the first author’s surname, year, abbreviated journal title, and DOI.
Step 4: Incorporate Images
Images enhance engagement. Follow similar guidelines for logos—use vector or high-res raster images. Inform your audience of the source with a small URL near the image. Always check the size when printed by zooming in to 100%.
Step 5: Choose Fonts
Limit yourself to two or three fonts. Use sans-serif fonts for titles and subsections and serif fonts for the body text for improved readability. Avoid using Comic Sans. A helpful guideline for font sizes ensures consistency in graphs and charts, and provide proper spacing for legibility.
Step 6: Select Colors
Opt for a light background with dark text, which is easier to read. You may use darker backgrounds for section titles. Utilize PowerPoint’s design features to select color schemes that match the overall theme. Ensure that any graphs or diagrams maintain this color consistency.
Step 7: Align Your Content
Ensure all content is neatly sized and aligned. Utilize gridlines and guides within PowerPoint for precise layout alignment. Make text boxes uniform in width and center-align them for a polished look.
Step 8: Convert to PDF
To avoid formatting issues when displayed on different versions of PowerPoint, convert your final poster to PDF. Select File → Print, choose Microsoft Print to PDF, and save your document.
Conclusion
By following these detailed steps, you can create an informative and visually appealing academic poster that effectively communicates your research.
Keywords
- Academic Poster
- PowerPoint
- Poster Size
- Layout
- Content
- Logos
- Acknowledgements
- References
- Fonts
- Colors
- Alignment
FAQ
What size should my academic poster be?
- Check the conference website for specific poster size requirements; sizes like A0 are common.
How do I align logos on my poster?
- Use high-resolution vector files and ensure they are uniformly sized and aligned at the bottom of the poster.
What font types should I use?
- Use sans-serif fonts for headings/titles and serif fonts for body text; avoid Comic Sans.
What is the best way to incorporate images?
- Use high-resolution images and always credit the source with a URL next to the image.
How can I ensure my poster looks the same when printed?
- Convert the final PowerPoint file to PDF to maintain formatting across different devices and versions.