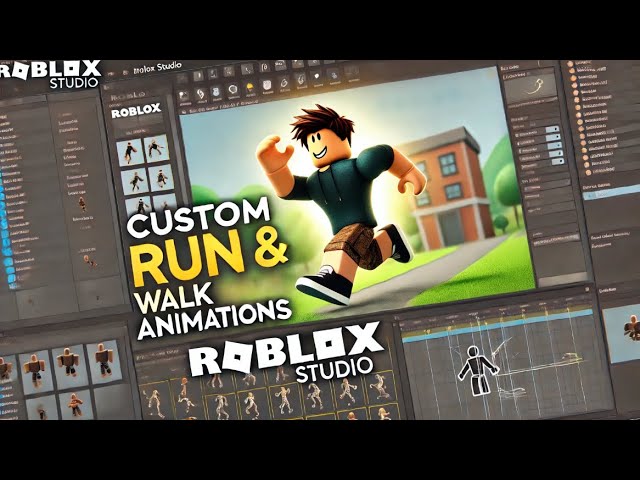
How To Make Custom Run And Walk Animations In Roblox Studio (r6) - Easy Guide
Gaming

Introduction
Welcome back, everyone! In this guide, I’ll show you how to create custom run and walk animations in Roblox Studio. Let’s get started without wasting any time!
Step 1: Setting Up Your Game
Open Roblox Studio and select a baseplate or the game you’re currently working on.
Navigate to Game Settings and click on Save to Roblox. Enter a name and description for your game if you haven’t done so already.
Make sure to review the settings for devices and Team Create features, depending on whether you are working solo or with a team. Once done, hit Save.
Step 2: Enabling R6
In the View tab, enable the Explorer and Properties panels for easier navigation.
Click on the Workspace, then select your character (make sure it’s set to R6). This enables the implementation of R6 running and walking animations into the game.
Step 3: Copy the Animate Script
Play the game to generate your character.
In the Explorer panel, find your character and click on Animate. Right-click and select Copy.
Exit Play mode, navigate to StarterPlayer, and locate StarterCharacterScripts. Right-click and choose Paste to add the copied Animate script.
Step 4: Searching for Animations
Open the Toolbox and search for R6 Running Animation. Pick an animation you like.
Click on the Run Animation and select Avatar Animation Editor. Click on Okay, got it to view the run animation. Here, you can customize it to suit your preferences.
Once you’re happy, click the three dots (⋮) to publish the animation to Roblox. Make sure to Save it and copy the animation ID.
Scroll down to your Animate script, locate the Run animation section, and paste the copied ID.
Step 5: Creating the Walk Animation
Now to create the walking animation, just delete the 'Run' animation from the character.
Open the Animation Editor to find or create a walking animation. Follow the same steps as the running animation to publish it and copy its ID.
Paste the walk animation ID into the appropriate section in your Animate script.
Step 6: Optional – Adding First-Person Lock
To improve the experience, you might want to add a First Person Lock. Search for a suitable script in the toolbox.
Drag the script into StarterGui.
Play the game again to see your new walk animation in action.
If this video is well-received, I plan to create a sprint script and explore more animations, such as idle and sitting. I hope this guide helps you all create amazing experiences in Roblox Studio. See you next time!
Keyword
Keywords: Roblox Studio, custom animations, R6, run animation, walk animation, Avatar Animation Editor, StarterPlayer, publish animation, First Person Lock.
FAQ
Q1: What is R6 in Roblox Studio?
A1: R6 is a character model with six body parts which is commonly used for simpler animations.
Q2: Can I customize the animations I create?
A2: Yes! You can modify the animations in the Avatar Animation Editor to suit your game's style.
Q3: Do I need to save my game after every change?
A3: It’s good practice to save your game frequently to avoid losing any progress.
Q4: What if my animations don’t work?
A4: Double-check that you’ve pasted the correct animation IDs in the right sections of your Animate script.
Q5: Will you create more tutorial videos?
A5: If this video is popular, I’ll consider making more tutorials covering additional animation features and scripts!

