How to Train Voices for the Realtime AI Voice Changer - Beatrice V2
Science & Technology
Introduction
Welcome back to part two of this informative miniseries! In the previous video, you should have downloaded the Beatrice V2 real-time voice changer. In this installment, we will cover how to download the web UI that allows you to train voices.
Important Note: The voice you hear is not my real voice; I’m utilizing the voice changer for this demonstration.
Installation Overview
For channel members at the packages tier, let’s quickly go over the installation process. If you are not a member and wish to gain access, please sign up for the packages tier. Supporter tier members will receive an English pre-trained model and the voice used at the beginning of this video.
- Access the Membership Tab: Click on the Beatrix V2 link and download the package from the Google Drive link.
- Extract the Files: Right-click the downloaded Beatrix Trainer Web UI zip file and select 'Extract All' (it will be about 10 GB).
- Launch the UI: Navigate into the extracted folder and launch
launch_webui.batto start the web UI.
Updating the Package
To update the package, simply double-click update_package.bat and follow the prompts. You'll need to enter 'y' for some of the prompts, but that's it for the update process.
Installing Necessary Software
You will need to install UVR (Ultimate Vocal Remover), which is essential for pre-processing audio files, particularly if they contain background noise.
- Download UVR: Go to the official UVR page and download it.
- Install UVR: Double-click the installation file and follow the prompts to install.
Next, install Python 3.11 and Git to run essential commands.
- Download Python 3.11 from the official site and ensure you check the option to add Python to the PATH.
- Download Git for Windows.
Setting Up Command Line
Open a command line terminal in the directory where you want to install the web UI. Copy and paste various commands as instructed to set up your environment, including activating a virtual environment and installing required packages.
Pre-processing Audio with UVR
With UVR installed, we will now download the necessary model (Kim Vocal 1) and process the audio files to extract vocals. The cleaner the audio you provide, the better your trained model will sound.
- Input the Audio File: Drag your audio file into the UVR input section, create an output folder, and start processing.
- Process a Folder of Audio Files: UVR can also process an entire folder by dragging and dropping it into the input section.
Data Set Creation
Once you have processed your audio files with UVR, organize them into a structured dataset.
- Create a Folder: Create a folder named after the model you're creating, and subfolders for each speaker (e.g., "Plankton" and "Ranny").
- Drag Processed Audio: Place the processed audio files into their respective folders.
Setting Up the Web UI for Training
Once your datasets are ready, navigate to the web UI and refresh to see your dataset. This may take some time as it transcribes your dataset using WhisperX.
After completing this, navigate to the "Train" tab, refresh training datasets, and input the training parameters as required for your system specifications.
Training Parameters Recommendations
- Set a batch size based on your GPU capabilities.
- Adjust the number of epochs according to your needs (the more epochs, the better the model).
- Adjust save intervals to prevent data loss in case of interruptions.
After setting your parameters, start the training process and monitor it via TensorBoard to observe how the model is performing during training.
Retrieving Your Trained Model
Once training is complete, navigate into the models folder, zip your model file, and prepare to import it into the voice changer.
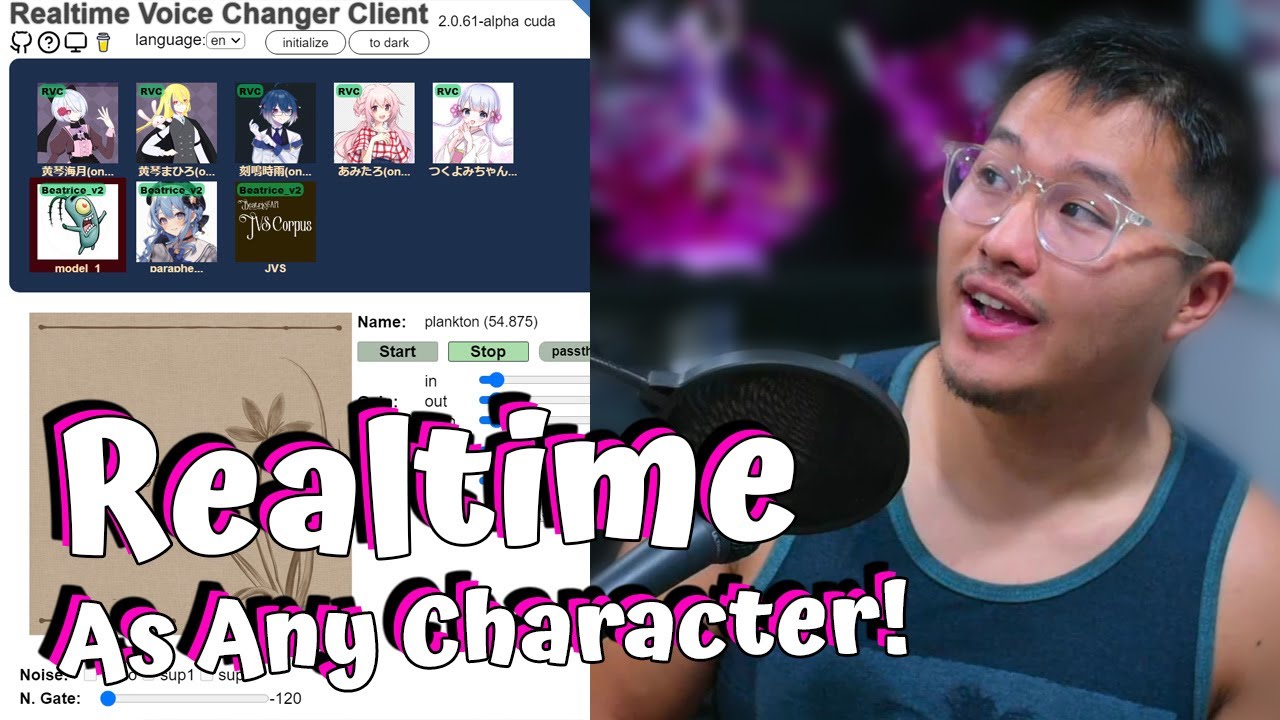
Importing into Real-time Voice Changer
Start your real-time voice changer application and upload your trained voice model. Configure your input and output settings appropriately, then begin using your newly trained voice models.
Optimizing the Voice Model
For members who wish to achieve better results, consider using an English pre-trained model or train on English datasets. The quality of your model often depends on the data used during the training process.
Advanced Settings in the Voice Changer
Explore advanced settings in your voice changer to enhance performance, such as disabling the performance monitor to eliminate unwanted static sounds.
With that, you are all set to train voices for your Realtime AI Voice Changer.
Keyword
- Realtime AI Voice Changer
- Beatrice V2
- Vocal Remover
- Python 3.11
- Git
- Pre-processing audio
- Dataset creation
- Training parameters
- TensorBoard
- Model optimization
FAQ
1. Do I need a specific GPU to train voices? Yes, it is recommended to use a 30 or 40 series Nvidia graphics card. Older GPUs may work but might face VRAM issues.
2. Can I use audio files with background noise? While it is possible, using cleaner audio will yield better results. Use UVR for pre-processing to clean up your audio files.
3. How many speakers can I train simultaneously? It is advisable to focus on one speaker at a time for higher quality results, as training with multiple speakers can lead to mixed characteristics in the output.
4. Where can I find the pre-trained models? As a member, pre-trained models are available in the membership tab. If you are not a member, you can create your own using the Libery TTS dataset.
5. How can I monitor the training progress? You can use TensorBoard to visualize and monitor the training progress and performance of your model.
Feel free to ask any further questions or seek additional guidance! Happy training!