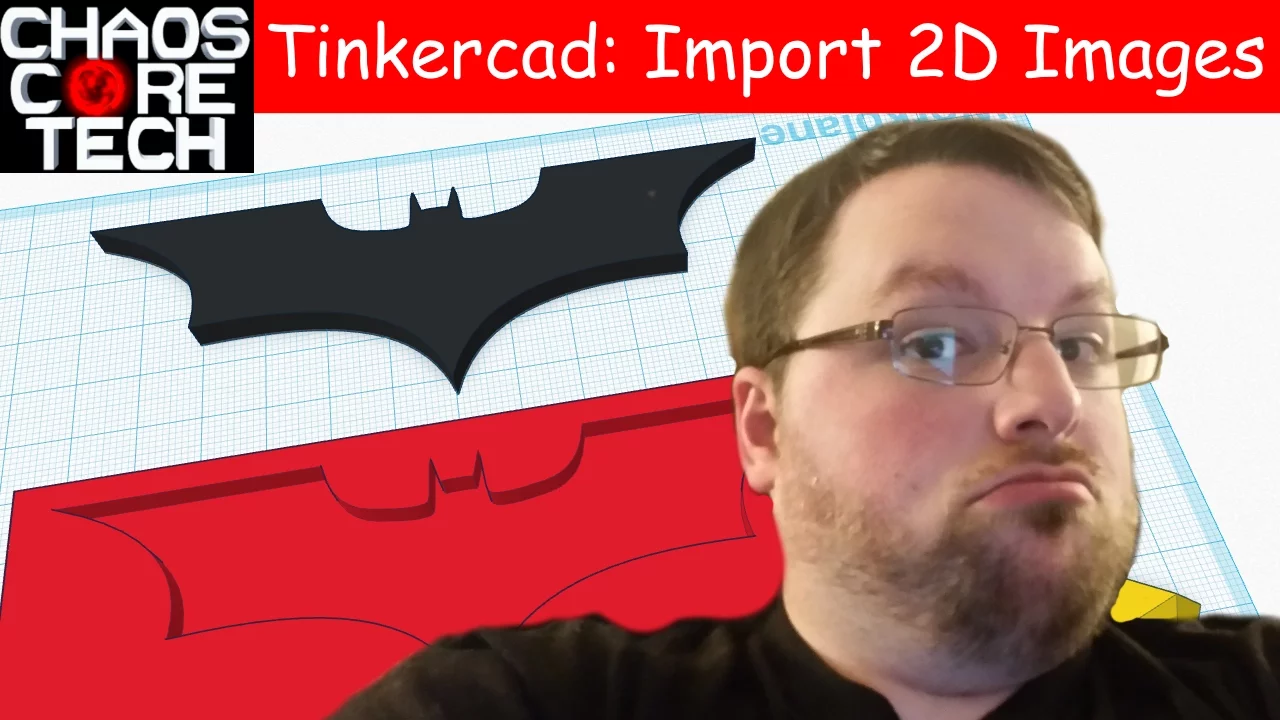
How to Turn 2D Images into 3D Objects - Tinkercad Tutorial
Science & Technology

How to Turn 2D Images into 3D Objects - Tinkercad Tutorial
Hey guys, welcome back to Chaos Coretech! Today, I thought I would show you a cool trick in Tinkercad: how to import 2D images and turn them into 3D objects. This is a pretty quick video, but it's a handy skill, especially since a lot of people on forums are asking how to do this. So let's dive into the details!
Step 1: Download a 2D Image
First, you'll need a good quality 2D image. For this tutorial, I've chosen the Batman logo. You can see the image here; it's a nice one. Download the image to your computer.
Step 2: Convert 2D Image to SVG
To convert the image to a format that Tinkercad can use, head to Online Convert. I'll put a link down in the description for easy access. This site is free and user-friendly.
- Choose your file (in our case, the Batman logo) or enter the URL.
- You don't need to tweak the settings much unless you have specific needs.
- Upload the file and click 'Convert'.
- The website will automatically download the converted file in the .SVG format.
Step 3: Import SVG into Tinkercad
Now let's move back to Tinkercad. On the right side, you'll see a menu with various categories. Click 'Import'.
- Choose the recently downloaded .SVG file.
- You'll see scaling and height options. We'll leave these as they are for now; you can always adjust them later.
- Click 'Import'.
Note: If Tinkercad tells you the image is too big, you can scale it down. In our case, we changed the size to 20, which worked out fine.
Step 4: Adjust the 3D Model
After importing, you'll notice the 3D object is flat but well-converted without pixelation.
- Adjust the size using the scale tool.
- Rotate the object as needed.
Step 5: Create Imprints or Other Modifications
Let's say you want to make this logo an imprint on another object. Here’s how you can do it:
- Create a box large enough to fit the logo.
- Align the logo with the box. Use 'Ctrl + D' to duplicate the logo.
- Adjust the height for better alignment and make one of the logos a hole by clicking on 'Hole' in the options.
- Group the objects.
Step 6: Export for 3D Printing
Once you're happy with your model, you can export it for 3D printing:
- Click 'Export' and choose your preferred format.
- Import the file into your 3D slicer software. In this tutorial, I use MatterControl as it came with my Robo 3D printer.
- Click 'Print' and set your printing parameters.
- Generate the print file and review it for any necessary adjustments.
As you can see, the final output will look fantastic, ensuring that your 3D printed object retains all the details from the original 2D image.
Summary
This method offers an easy solution to converting 2D image files into 3D objects for printing, creating plaques, or engraving. It’s a technique I often use, and I hope you guys find it useful too.
That’s it for today! See you next time.
Keyword
- Tinkercad
- 2D to 3D conversion
- SVG file
- Online Convert
- 3D modeling
- 3D printing
- Batman logo
- MatterControl
FAQ
Q: What format does Tinkercad require for image imports? A: Tinkercad accepts .SVG file format for importing 2D images.
Q: Can I adjust the size of the imported image in Tinkercad? A: Yes, you can easily scale and rotate the imported 3D object within Tinkercad.
Q: What website can I use to convert 2D images to .SVG files? A: You can use Online Convert. It’s free and easy to use.
Q: Can I make an imprint of my logo in Tinkercad? A: Yes, you can use the 'Hole' feature in Tinkercad to make imprints of your 3D objects.
Q: What 3D slicer software can I use for printing? A: You can use any 3D slicer software. In this tutorial, I used MatterControl.
Q: Does the quality of the 2D image affect the 3D model? A: Yes, using higher quality images will result in better 3D models without pixelation.

