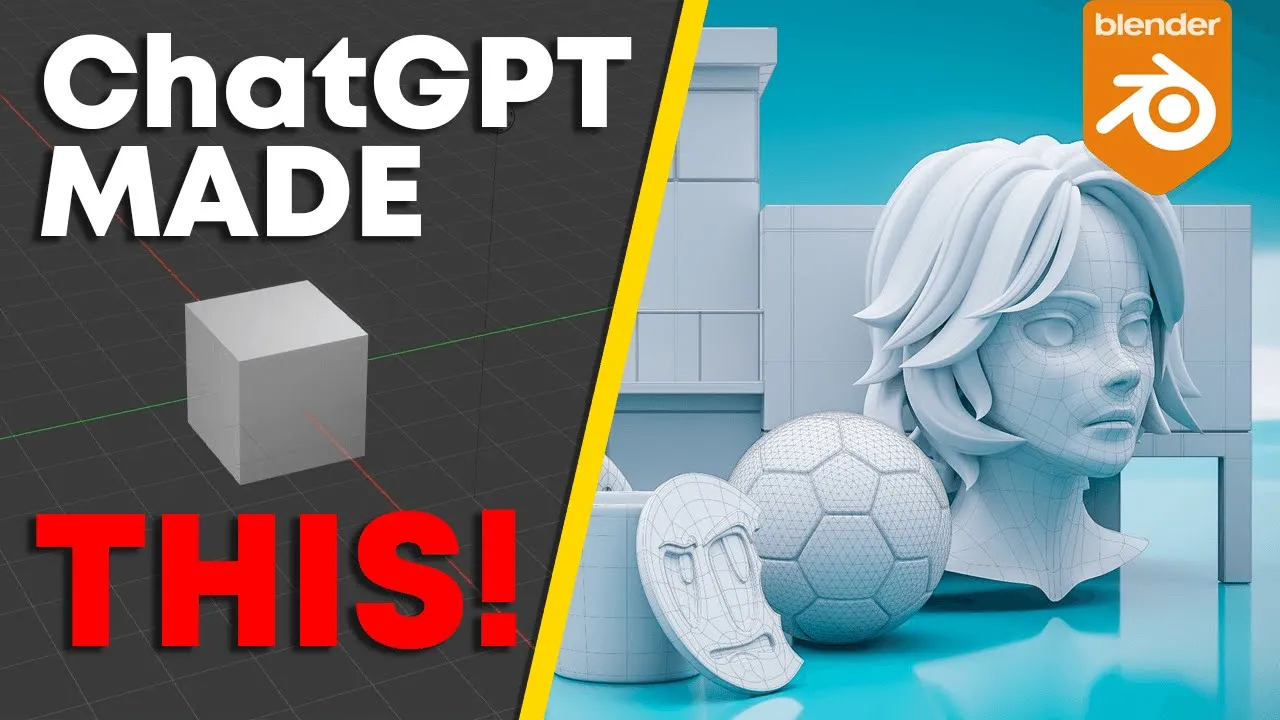
How To Use ChatGPT 4 With BLENDER! - (Blender AI ChatGPT Tutorial 2023)
Education

Introduction
Blender, a powerful open-source 3D modeling software, allows users to utilize Python for scripting and automation. This article will walk you through three amazing scripts you can create to enhance your Blender experience using ChatGPT 4.
Script 1: Delete Default Cube and Add Animated Cube
The first script demonstrates how to delete Blender's default cube and replace it with a new cube that scales up over 100 frames. Here’s how to do it:
Use the following prompt in ChatGPT 4:
Write a python script for Blender that will delete the default cube and add a cube with an animation of scaling by four over 100 frames.Copy the generated script and open Blender.
In Blender, navigate to the text editor and create a new text file. Right-click and paste the copied script.
Run the script by clicking the "Run Script" button.
You will notice that the new cube now smoothly animates its scale from its original size to four times its size over 100 frames.
Script 2: Smart UV Project
For the second part, you'll learn to create a script that automatically smart UV projects any object in Blender.
Prompt ChatGPT 4 with:
Write a python script that will smart UV project the selected object in Blender.After receiving the script, delete the default cube in Blender and add a monkey mesh (Suzanne).
Set the shading to smooth and apply a subdivision surface modifier.
Create a new script in the text editor, paste the copied script, and run it.
Navigate to the UV Editing tab, and you'll see that the UVs have been smart UV projected.
You can experiment with this script on various models to quickly unwrap their UVs.
Script 3: Adding Primitives with Modifiers
The final script we will cover is designed to add a plane with a subdivision surface modifier already applied.
Input this prompt into ChatGPT 4:
Write a python script for Blender that will delete the default cube and add a plane with a subdivision surface modifier.Copy the generated script, open Blender, and go to the text editor to create a new script.
Paste the script and click “Run Script”.
Upon running the script, a subdivided plane will be added to your scene, streamlining your workflow by allowing you to quickly add objects with specific modifiers.
Conclusion
These scripts are just the starting point. With a bit of Python knowledge, you can modify and expand upon these scripts to tailor them to your specific needs. Using tools like ChatGPT 4 can streamline your Blender projects and enhance your overall productivity.
Keywords
- Blender
- Python
- Scripts
- Animation
- UV Unwrapping
- Subdivision Surface Modifier
FAQ
Q1: Can I customize the scripts provided in this tutorial? A1: Yes! You can modify the scripts to add different objects, animations, or modifiers as per your requirements.
Q2: What versions of Blender can I use these scripts with? A2: These scripts should work with the latest version of Blender that supports Python scripting. Always check for updates.
Q3: Do I need advanced coding knowledge to use these scripts? A3: Basic knowledge of Python will help you understand and modify the scripts, but it's not mandatory to run them as provided.
Q4: Is there a way to automate more tasks in Blender using scripts? A4: Absolutely! Python scripting in Blender allows for extensive automation, from modeling to rendering. You can automate almost any task you perform in Blender.

