

How to Use Krea AI Scene Transfer to Edit Your Photos: Step by Step Guide
Education
How to Use Krea AI Scene Transfer to Edit Your Photos: Step by Step Guide
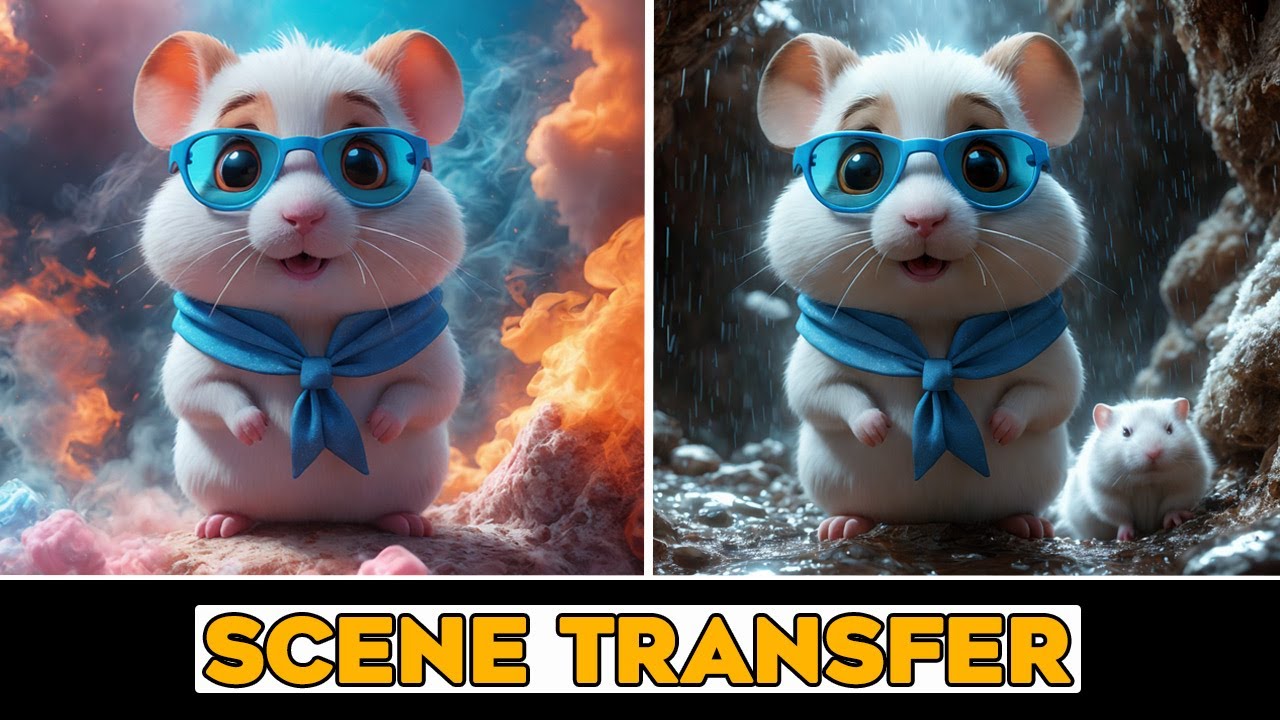
Are you looking to change the environment of your images or edit photo backgrounds? Whether it's for product design, storytelling, content creation, or other purposes, the scene transfer feature of Krea AI can be a game-changer for you. In this article, we guide you through the steps to use Krea AI’s scene transfer to edit your photos.
Step 1: Sign Up and Login
First, visit the Krea AI website. You can find the link in the description below. If you're not familiar with Krea AI, check out some previous videos to learn more about this powerful image and video AI tool. Click the sign up button and log in using your Gmail or with your email and password.
Step 2: Open Enhancer Section
Navigate to the enhancer section within the Krea AI dashboard. Drag and drop your image or click to select an image from your computer. You'll also see previously used images or videos; click on any to reuse them. For this tutorial, we’ll test using a new image.
Step 3: Upload Image
Upload your chosen image and it will appear on the right side of the interface. You'll see two main options: upscaler and scene transfer. These can be used together or separately. For this example, we will focus on scene transfer.
Step 4: Adjust Scene Transfer Settings
In the scene transfer box, you have three options to change your image background:
- Generate an image using a text prompt or random prompt.
- Upload an image of your own.
- Use an image from the preset section.
In the prompt box, you'll find a description of your image. If it's not visible, click the auto prompt button to generate it automatically. Copy this text; you’ll need it for the next step.
Step 5: Describe Background and Set Parameters
Paste or edit the text prompt to describe the characteristics of your original image. Next, describe your desired background and set the lighting strength, which determines how much the AI changes the image. Setting the value between 0.5 and 0.8 usually works well. Ensure the switch background option is on, then press the enhance button to apply the changes.
Step 6: Review and Adjust
Upon processing, you’ll get to see the results. You can further edit your prompt, adjust lighting, or try different backgrounds until you get the desired outcome. Scene transfer can be particularly useful for product design, social media content, and more.
Final Touches
If using the upscaler feature, you can adjust the color matching and source image strength to your liking. For instance, turning on Match Color helps retain the original color palette. Once satisfied, try different backgrounds and configurations to suit your needs.
After experimenting with the tool, let us know about your experience in the comments section below.
Keywords
- Krea AI
- Scene Transfer
- Image Editing
- Photo Backgrounds
- Product Design
- Content Creation
- AI Tool
- Upscaler
- Social Media
- Enhancer
FAQ
Q1: What is Krea AI? A1: Krea AI is a powerful image and video AI tool used for various purposes like changing photo backgrounds, upscaling images, and more.
Q2: Do I need to sign up to use Krea AI? A2: Yes, you need to sign up and log in using your Gmail or email and password to access Krea AI's features.
Q3: Can I use previously uploaded images in Krea AI? A3: Yes, you can reuse previously uploaded images or videos from your library within the Krea AI platform.
Q4: What is the scene transfer feature in Krea AI? A4: The scene transfer feature allows you to change the background of your image using text prompts, uploaded images, or preset images.
Q5: How can I ensure the AI changes my image as desired? A5: Adjust the lighting strength and provide a detailed text prompt to control the extent of the changes. Typically, a strength value between 0.5 and 0.8 works well.
Q6: Can I use this tool for social media content? A6: Absolutely, the scene transfer feature is ideal for social media content, product design, and other creative projects.
Q7: What does the 'Match Color' option do? A7: The 'Match Color' option helps to retain the original colors of your source image when using the upscaler feature.