Make an element span two pages in Canva
Howto & Style

Make an Element Span Two Pages in Canva
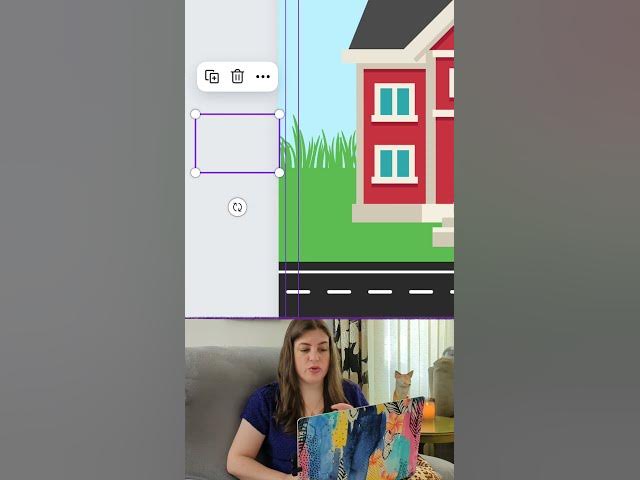
Creating designs in Canva that span across multiple pages can add a seamless and professional touch to your work. Here’s how you can make an element, such as grass, continue from one page onto the next.
Duplicate and Align the Element:
- Begin by selecting the grass element you want to extend.
- Duplicate it and place the new one directly on top of the original element.
Crop the Element:
- You’ll want the left part of this new element to be on the preceding page.
- Crop the element right to the edge so that only the part that should be on the other page is visible.
Cut the Cropped Element:
- Click "Done" after cropping, but do not click off the element. If you do, it may disappear since it’s outside the canvas.
- Use
Command + Xon a Mac, orControl + Xon Windows, to cut the element and put it on your clipboard.
Paste the Element on the Previous Page:
- Move to the preceding page where you want to place the cropped element.
- Paste the element using
Command + Von a Mac, orControl + Von Windows. - Click on the pasted element, hold, and drag it while holding down the Shift key. This ensures that it stays along the x-axis.
Align the Edges:
- Let the element snap right to the edge.
- Now, you have the left side of the grass on one page and the right side on the next. They will align perfectly, creating a continuous effect.
Keywords
- Canva
- Duplicate element
- Crop
- Command X / Control X
- Command V / Control V
- Align
- Multi-page design
FAQ
Q1: Can I use this method for elements other than grass? A: Yes, this technique can be used for any elements in Canva, not just grass. It works well for any design components that you want to span across multiple pages.
Q2: What should I do if the element disappears after cropping?
A: If the element disappears, it’s likely because you clicked off of it. Ensure you cut (Command + X or Control + X) the element immediately after cropping without clicking elsewhere.
Q3: How can I ensure the element stays aligned along the x-axis while dragging? A: Holding down the Shift key while dragging the element will keep it constrained to the x-axis, ensuring a straight alignment.
Q4: Is there a way to snap the element exactly to the edge? A: Canva’s snapping feature will help the element align precisely with the edge. Ensure you drag it to the edge until it snaps into place.
Q5: Can I edit the element after placing it on the new page? A: Yes, you can still edit the element after placing it on the new page. Simply click on the element to make any necessary adjustments.

