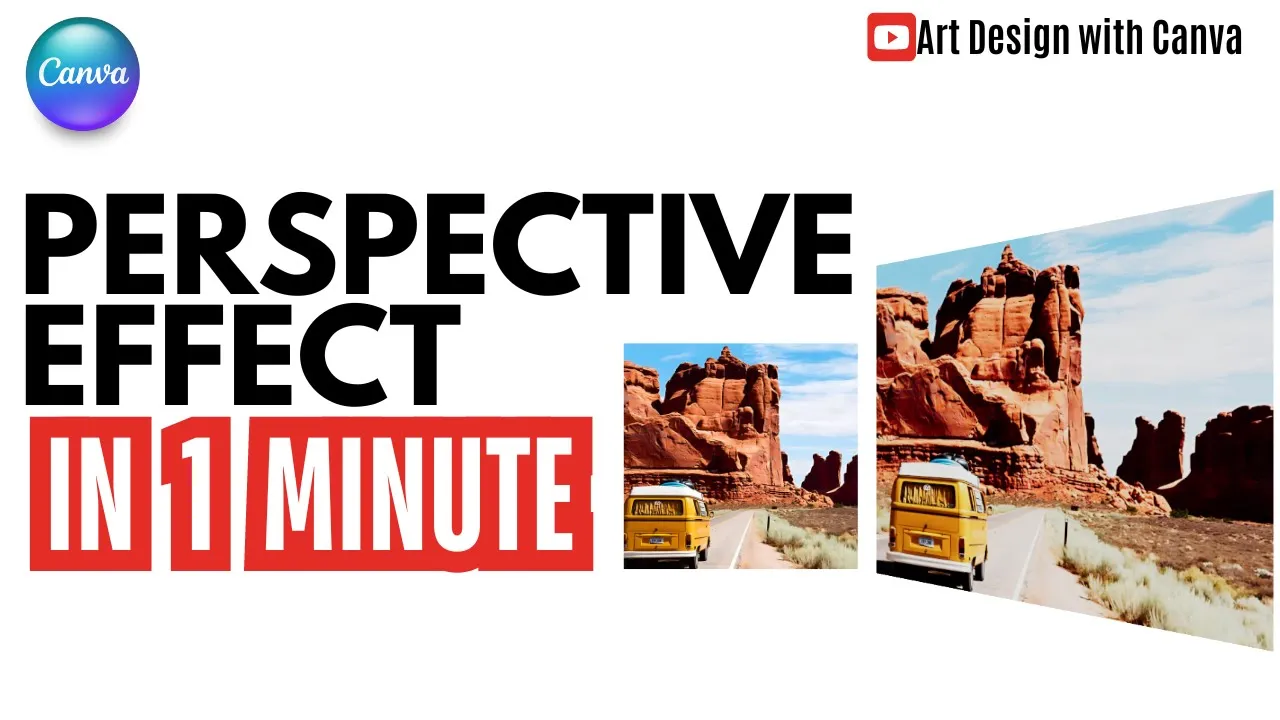
Perspective Effect in Canva
People & Blogs

Perspective Effect in Canva
Hi everyone, Rand here! Today, I will share how to create a perspective effect in Canva.
Steps to Create Perspective Effect in Canva:
Go to Apps Section:
- Start by navigating to the apps section in Canva.
Type Transform:
- In the search bar, type "Transform" and click on the "Transform Image" option.
Choose File:
- Click on the icon that appears next and then on "Choose file" to pick an image from your computer.
Drag and Adjust:
- Drag the selected image to the middle of the canvas or any preferred positioning.
- Adjust the image to your desired angle. You can make it appear like a road or ceiling.
Reset Perspective:
- If needed, you can reset the perspective adjustment to start over.
Add to Design:
- Once satisfied, scroll down and click "Add to design."
- You can also crop the image as needed by using the cropping tool.
That's how you can add a perspective effect to an image in Canva. If you found this tutorial useful, please like the video and subscribe to my YouTube channel. See you in the next video and have fun with Canva!
Keywords
- Canva
- Perspective Effect
- Transform Image
- Image Editing
- Design Tool
FAQ
How do I access the Transform Image tool in Canva?
- To access the Transform Image tool, go to the Apps section in Canva and type "Transform" in the search bar.
Can I reset the perspective adjustments in Canva?
- Yes, you can reset the perspective adjustments by clicking the reset option.
How do I add an image to my design in Canva?
- After adjusting and making your desired changes, scroll down and click "Add to design" to include the image into your project.
Can I crop my image after adding the perspective effect?
- Yes, you can crop the image by using the cropping tool available in Canva.
What should I do if I am not satisfied with the perspective effect?
- You can reset the perspective effect and make adjustments again until you are satisfied with the outcome.