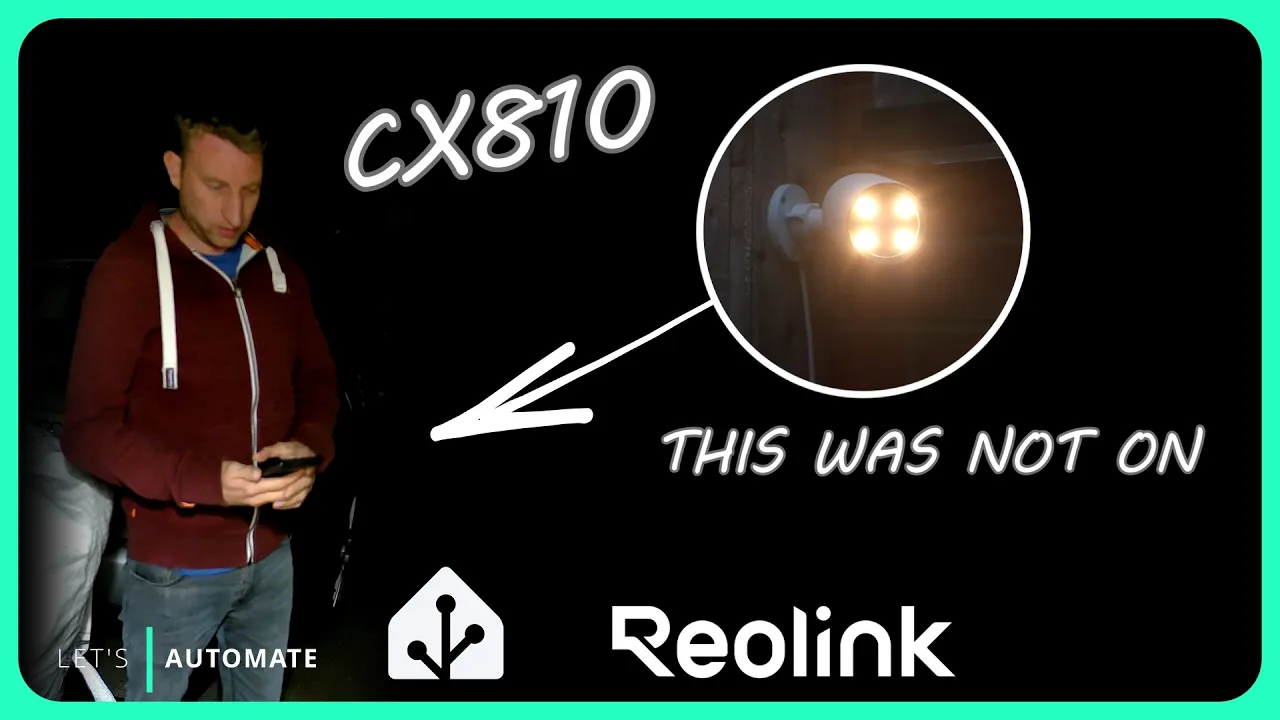
Reolink Color Night Vision | Home Assistant & Blue Iris
Science & Technology

Introduction
In this article, we dive deep into an affordable 4K Reolink camera equipped with impressive features like color night vision, RTSP support, and onboard person detection. We'll explore the setup process for integrating this camera into both Home Assistant and Blue Iris, highlighting key settings that enhance performance.
Overview of Features
Reolink has designed this camera with several appealing features, including:
- Color Night Vision: This camera can record in color even at night, thanks to its four spotlights that illuminate the area.
- 4K Resolution: The camera supports high-resolution recording, allowing for sharp, clear images.
- Person Detection: Onboard analytics provide the camera with the ability to detect people, vehicles, and animals.
Setting Up the Camera
Upon receiving the camera, setup was straightforward. It is a Power over Ethernet (PoE) camera, which can be powered using an Ethernet cable and a PoE injector. For users who do not have a PoE network switch, a standard 12V DC power adapter can also be used.
Using the Reolink app, the camera quickly appeared on my network. Importantly, the app is necessary for initial setup, as the web interface is not enabled by default. After logging into the app, I navigated to the settings icon and accessed the camera tile, where I enabled the HTTP/HTTPS web interface.
Key Settings to Configure
Once the web interface is accessible, users can configure various settings:
- Stream Quality: Adjust the resolution and frame rate. Higher framerates (up to 25 fps) are ideal for fast-moving scenes like cars, while 15 fps suffices for most other scenarios.
- Bit Rate: This affects both image quality and disk space. A higher bit rate may be necessary for dynamic scenes.
- Audio Recording: Built-in audio recording can provide additional context to video footage.
- Spotlight Settings: The camera allows configuration of the four spotlights, with options for always off, timer mode, or smart mode, which activates based on lighting conditions.
Integrating with Home Assistant
To integrate the camera with Home Assistant, it’s advisable to utilize the dedicated Reolink integration instead of the generic camera integration, as it supports various camera features. Some useful features include:
- Motion Detection Events: Specific detection events for people, vehicles, and animals.
- Floodlight Control: Easily manage the operational status of the camera’s spotlights.
After integration, users can also set up automations to trigger recordings or snapshots based on motion events.
Setting Up in Blue Iris
The camera setup in Blue Iris is also relatively straightforward. During setup, the camera’s IP address and authentication details are provided. Users can implement ONVIF settings to leverage the camera’s in-built motion detection capabilities, which helps to minimize processing loads on the Blue Iris software.
With the ONVIF integration configured, Blue Iris can receive XML messages from the camera whenever motion is detected. Specific rules can be created to alert based on person detection, vehicle detection, or animal detection.
Limitations
Despite its strengths, the camera does exhibit some weaknesses under certain conditions. Issues such as ghosting in low-light conditions and difficulty adjusting between highlights and lowlights can occur. Proper placement—away from bright lights—is crucial to optimize performance.
In conclusion, for those seeking a reliable 4K outdoor camera with color night vision capabilities, the Reolink camera provides excellent value at a reasonable price. As technology advances, we can expect improvements in color night vision capabilities across a broader range of security cameras.
Keyword
Reolink, Color Night Vision, Home Assistant, Blue Iris, RTSP, ONVIF, 4K, Camera Integration, Person Detection, Outdoor Camera.
FAQ
Q1: What are the notable features of the Reolink camera?
A1: It offers 4K resolution, color night vision, RTSP support, ONVIF compatibility, and onboard person detection.
Q2: How do I initially set up the Reolink camera?
A2: Begin by using the Reolink app to enable the HTTP/HTTPS web interface. This allows you to configure various settings from your PC.
Q3: Can I integrate the camera with Home Assistant?
A3: Yes, it's recommended to use the dedicated Reolink integration for optimal functionality, including motion detection events and spotlight control.
Q4: How can I reduce the load on my Blue Iris system when using this camera?
A4: You should enable the ONVIF settings in Blue Iris to take advantage of the camera’s built-in detection capabilities, minimizing processing loads on the NVR.
Q5: Are there any limitations to the camera?
A5: It may experience ghosting in low light and struggle to adjust between bright and dark conditions, so placement away from direct light sources is advisable.

