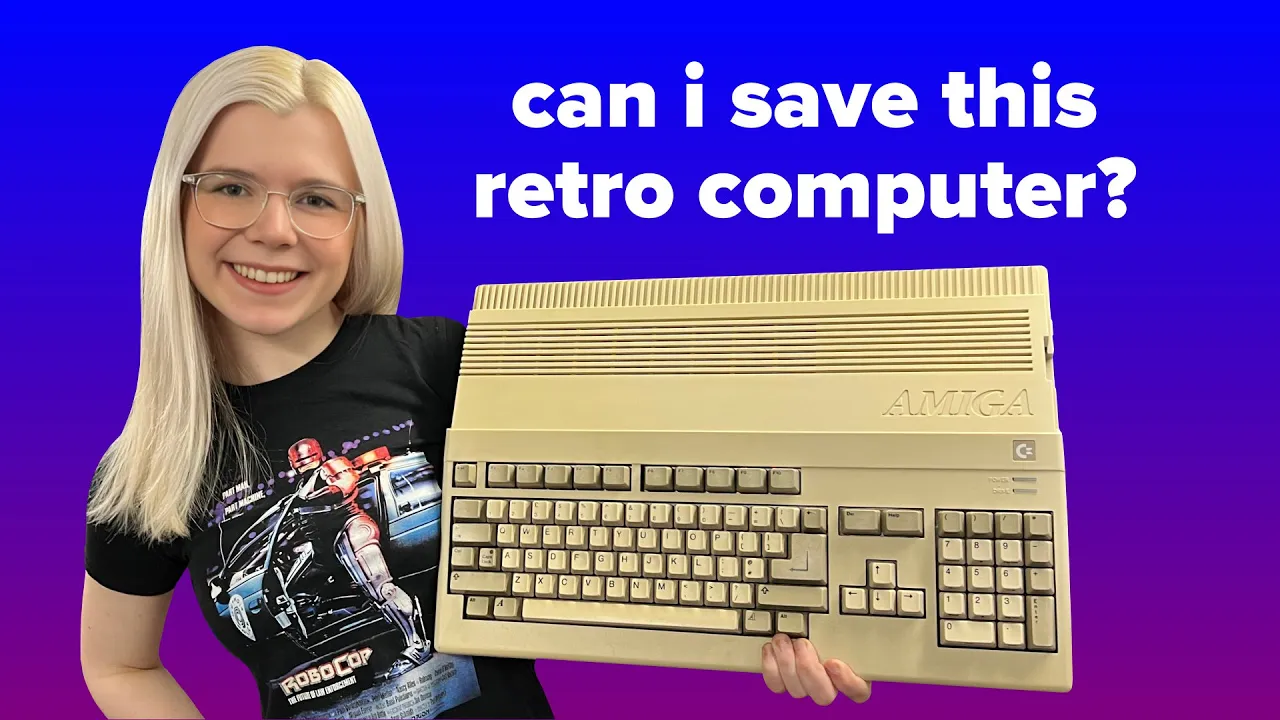
Saving a retro computer from the trash
Entertainment

Introduction
Today, join me as I save this Amiga from being discarded by bringing it back to life with a simple modification. Behind me, you can see a famous Amiga demo running, loaded from a USB on a newly installed GoTek Drive. I’ll show you how I did it, from scratch, using a standard GoTek Drive purchased on AliExpress.
How I Got This Amiga
You might be wondering how I ended up with this Amiga. A family friend mentioned that it wasn't working and was destined for the trash. Knowing I would love it, they passed it on to me. After a closer inspection, I deduced that the floppy drive was broken. Despite cleaning and servicing it, the drive wouldn't work, making it a perfect candidate for a GoTek upgrade.
Components from AliExpress
To get started, I purchased a few components from AliExpress, including a 0.91-inch 128x32 OLED display module, a KY-040 rotary encoder with a cap, and a GoTek Drive featuring an Attery chipset.
Checking the Chipset
The first task was to confirm that I got the right GoTek Drive with the compatible chipset for FlashFloppy. Using a digital microscope, I verified that the chip version was AT32F415. This process can be tricky as many AliExpress listings do not clearly specify the chipset. However, I found some useful reviews stating compatibility with FlashFloppy.
Flashing the Firmware
I followed instructions for programming the Attery microcontroller to enter programming mode, using a boot jumper to bridge two pins. I connected the GoTek board to my computer using a USB A to USB A cable. After installing the necessary drivers and programming software from GitHub, the firmware flashing only took around 11 seconds and was successful.
Preparing the OLED Screen and Rotary Encoder
Installing the OLED screen was simple as it connects via a header where the three-digit LED was originally placed. The rotary encoder, however, required de-soldering the pre-existing headers from the board and soldering new ones in their place—a task made easier using a breadboard to keep the pins aligned.
3D Printing Parts
I needed an internal bracket to mount the GoTek Drive in place of the floppy drive and an external enclosure for the OLED screen and rotary encoder. I found a suitable internal bracket model called the Amiga 500 GoTek USB bracket by CrazyBob on Thingiverse. For the external enclosure, I designed my own model using Fusion 360, which I then printed.
Installing in the Amiga
After securing the GoTek board to the internal bracket and reassembling the Amiga, I wired the OLED screen and rotary encoder according to the wiring diagrams. I had to change the jumper settings on the GoTek board and ensure everything fit correctly within the Amiga case.
Testing and Final Adjustments
Upon testing, the setup worked perfectly, and I could load a demo using a USB stick. The external enclosure fit nicely, matching the Amiga's color closely using Eryone's Bone White filament. Although this process took longer than expected due to the tedious task of crimping Dupont connectors, the Amiga was successfully brought back to life.
Conclusion
This Amiga, saved from the trash, now runs smoothly with its GoTek upgrade. Though there were a few things I could improve in hindsight, such as using a right-angled header for easier assembly, the project was a success. I welcome suggestions for other mods and game recommendations. Watch as I test the game "The Great Giana Sisters" in the outro.
Keywords
- Amiga
- GoTek Drive
- AliExpress
- FlashFloppy Firmware
- OLED Display Module
- Rotary Encoder
- Attery Chipset
- Digital Microscope
- 3D Printing
- Amiga Demo
- USB Drive Installation
FAQ
Q: How did you determine the Amiga's issue?
A: I inspected it and noticed the floppy drive was struggling. After cleaning and servicing didn't help, I decided to upgrade it with a GoTek Drive.
Q: What components did you use for the modification?
A: I used a 0.91-inch 128x32 OLED display module, a KY-040 rotary encoder, and an AliExpress-bought GoTek Drive with an Attery chipset.
Q: How do you flash the firmware on the GoTek Drive?
A: I entered the programming mode using a boot jumper, connected the board to the computer with a USB A to USB A cable, and used specific software to flash the firmware.
Q: Were there any challenges during the process?
A: Yes, de-soldering the headers and crimping Dupont connectors were particularly challenging and time-consuming.
Q: What tools and software did you use for 3D printing?
A: I used Fusion 360 for designing the enclosure and printed it using a Prusa slicer and an FDM 3D printer.
Q: How did you ensure compatibility of the GoTek Drive?
A: I used a digital microscope to check the chip version and confirmed it against the compatibility list on GitHub.
Q: What would you do differently next time?
A: I would use a right-angled header to simplify the assembly and consider routing the cables through the side for easier installation.