

Self Hosted CCTV System w/ AI Object Detection (Frigate+Docker)
Howto & Style
Introduction
In today's world, having a reliable CCTV system with advanced features like AI object detection can greatly enhance the security of your home. Frigate is a self-hosted network video recorder that provides functionalities for monitoring your premises and includes a scrubbable timeline for reviewing footage. This setup operates locally on your computer and can leverage CPU, GPU, or a Google Coral TPU for acceleration, depending on your hardware capabilities. In this guide, we will walk you through the setup process using Docker.
Step 1: Setting Up Docker
Before we begin, ensure Docker is installed on your system. If you're on Windows, Docker Desktop is the way to go. While this guide focuses more on Linux systems, you can still apply the same instructions on a Mac.
You can find installation guides online, and if you require assistance with Docker setup, there are numerous resources and videos available.
Once Docker is up and running, SSH into your server computer. If you're using Windows, it's advisable to utilize a Linux environment.
Create a Directory
Create a folder to store your files:
mkdir frigate-docker
cd frigate-docker
Create a Docker Compose File
Next, create a docker-compose.yml file in this directory using your text editor of choice (e.g., Nano or Micro):
nano docker-compose.yml
Copy the default Docker Compose configuration from the Frigate documentation and paste it into your docker-compose.yml file. If you plan to use a Google Coral TPU or an Nvidia GPU, you'll need to comment out unnecessary lines and configure the appropriate settings.
Volume Configuration
Adjust the volumes section as it determines where your configuration and storage will be located. Make sure to set local paths that are convenient for you. The volumes help ensure that your data persists even when the Docker container is stopped.
Configure Ports
Make sure to set the necessary ports based on your configuration needs. You will typically use HTTP for local access.
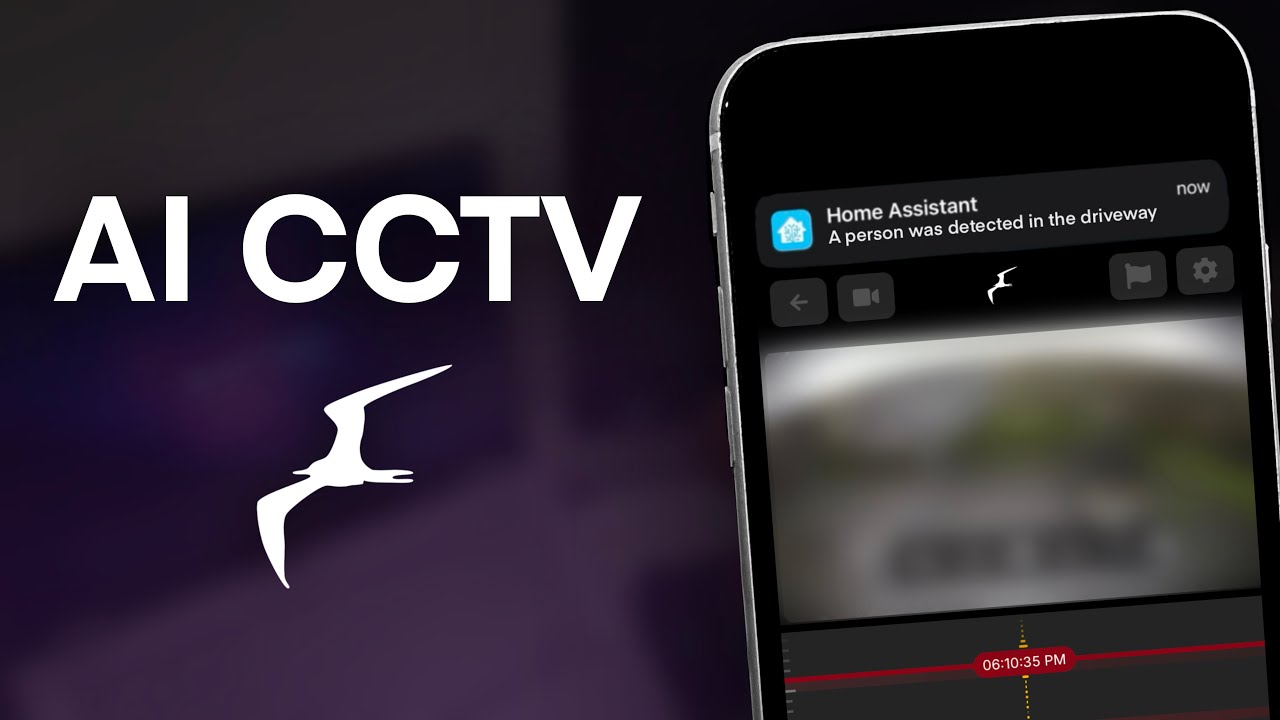
Notifications Setup
If you want to set up notifications, you’ll require Home Assistant, a free app for iOS and Android. The notifications are handled through MQTT, a messaging protocol that communicates between Frigate and Home Assistant.
Run Docker Containers
Once everything is configured, run the following command to start your Docker containers:
docker-compose up -d
This command will start the containers in the background, and you can check their status or troubleshoot errors as needed.
Step 2: Setting Up Camera Configuration
Once the containers are up, access your Frigate UI through your server's IP address. Navigate to the configuration editor to adjust camera settings. You can set a unique name and specify the streaming source for your cameras. Additionally, you can configure object detection specifics limited to your desired parameters (e.g., detecting specific objects).
To enhance performance, make sure to use optimized settings tailored for your specific hardware configuration.
Creating Zones and Masks
Using the web UI, you can create zones and masks for detecting specific activity while ignoring areas where no activity is expected. This feature will reduce the overall load on your system significantly.
Step 3: Setting Up Home Assistant
Home Assistant will help you manage notifications effectively. To set it up:
- Access your Home Assistant interface and integrate MQTT.
- Set the hostname and configure access.
- Install the Home Assistant Community Store (HACS), allowing you to manage custom integrations like Frigate.
Once installed in HACS, you can add the Frigate integration and configure notification settings based on specific events.
Conclusion
After ensuring all settings are saved, your CCTV system is operational, providing real-time monitoring with AI object detection alerts. This setup can significantly enhance your home's security while providing you with the peace of mind that comes from knowing you can monitor activities around your property.
Keywords
- CCTV
- Frigate
- Docker
- AI Object Detection
- Home Assistant
- MQTT
- Network Video Recorder
- Local Hosting
FAQ
Q1: What are the system requirements for running Frigate?
A1: Frigate can run on various systems, but performance improves with a dedicated GPU or a Google Coral TPU for AI acceleration. A decent CPU is sufficient, but it might be more intensive.
Q2: How does Docker simplify the installation process?
A2: Docker allows for easy containerization of applications, isolating the environment and dependencies. This means you can run Frigate without worrying about conflicts on your host operating system.
Q3: Can I use Frigate on a Windows computer?
A3: Yes, you can run Frigate on a Windows computer using Docker Desktop or through a Linux subsystem.
Q4: How do I set up notifications for object detection events?
A4: Notifications can be set up by integrating Home Assistant with Frigate through MQTT, allowing you to receive alerts based on the configured object detection settings.
Q5: Where can I find help with configuration issues?
A5: The Frigate documentation is a valuable resource. You can also seek help from community forums or respond to specific queries in the comments section of tutorials and walkthroughs.