

Simple AI Image to Image Upscale Technique Using Flux GGUF ComfyUI Workflow
Howto & Style
Introduction
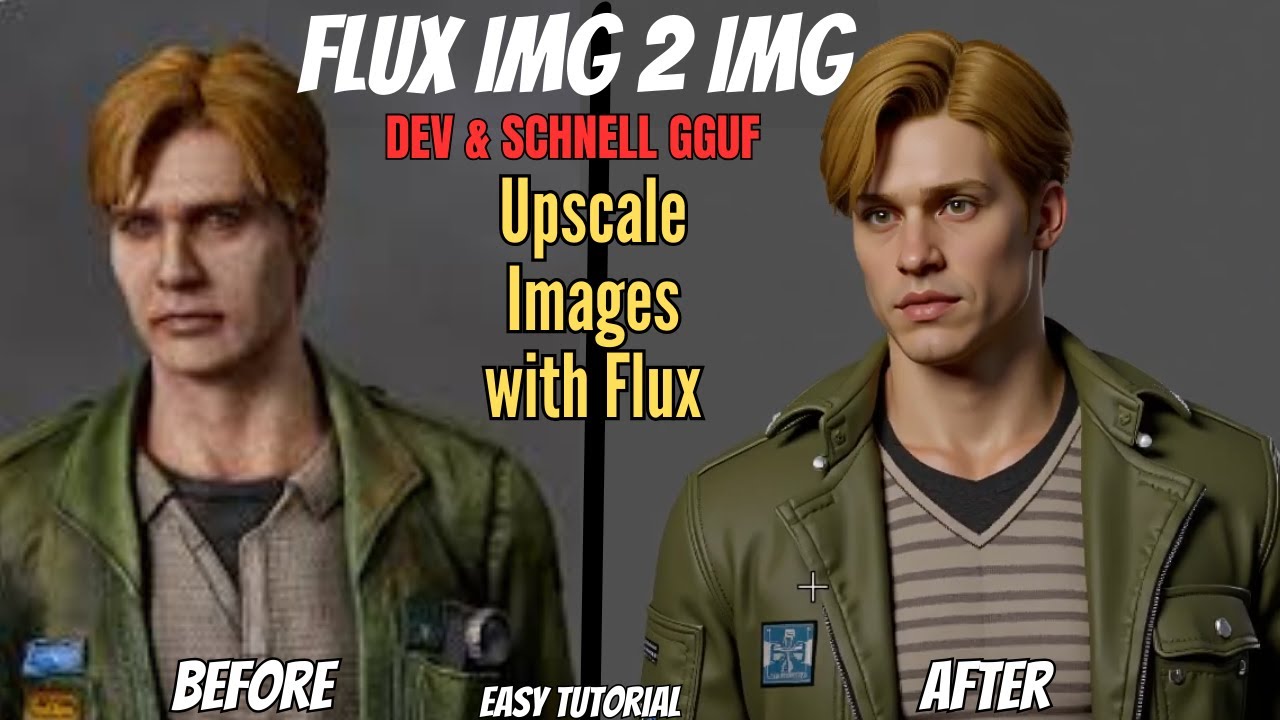
Welcome to our digital artificial playground! Today, we’re excited to dive into an exhilarating journey that will enhance your AI image generation workflow using the Flux models and the quantized GGUF/NF4 files. With these powerful tools, you can run robust models even on low-resource devices. In this article, we’ll explore how to use your own images as a springboard for AI creativity through an amazing image-to-image workflow.
Why Image-to-Image?
You might wonder why we should use image-to-image generation when text-to-image has already proven effective. This workflow opens up a whole new realm of possibilities. Imagine taking any image—be it a stunning photo, a sketch, or even a screenshot—and using AI to generate endless variations, all while maintaining the essence of your original image.
With image-to-image generation, you can blend different art styles, add fantastical elements, or reimagine existing visuals entirely. This technique allows for control over how much the original image influences the variations, and you can even introduce your favorite LoRAs for a distinct style and feel. It’s a fantastic way to achieve visual consistency across multiple images, ensuring harmony in your art.
Getting Started
To prepare for the workflow, you’ll first need to download the tools necessary for implementation. If you haven’t already, be sure to check out the previous video on installing Comfy UI, Flux models, and other elements to get everything running smoothly. The Comfy UI manager node will make this process simple.
Installation Steps
Clone Comfy UI Manager: Clone the Comfy UI Manager repository into your custom nodes folder and restart Comfy UI.
Load the Workflow: Once on the Comfy UI webpage, load up the workflow called "Flux Image to Image Workflow," accessible through the Google Drive link in the description.
Install Missing Nodes: If you encounter any red missing node messages, navigate to the manager tab, where you can install each missing custom node. Click the restart button to finalize the installation.
Update Comfy UI: Perform a quick update to ensure you're using the latest version of Comfy UI.
Select Models: Use the Comfy UI model manager to choose at least five essential models to get started:
- Flux Models: Search for "Flux GF" and install either the dev or quantized model of your preference.
- Clip Models: Search for "fp8" to install Google T5 fp8 clip model and "Clip L" by Comfy Anonymous.
- Flux V: Search for "Flux V" and install the latest version.
- Upscaler: Search for "full" to install the "Full-Quality" model.
Add LoRAs: Finally, download your chosen LoRAs from platforms like Hugging Face or Civit AI and drag them into your LoRA folder.
After installing, refresh Comfy UI and select the appropriate models for each node.
Generating Images
Now that everything is set up, it's time to start generating images!
Upload Base Image: Begin by uploading your chosen base image.
Create a Positive Prompt: Write a descriptive prompt that accurately reflects the content of your image. A good idea is to utilize a multimodal vision model (like ChatGPT, Sonet) to help generate a detailed description to use as a prompt.
Adjust Settings:
- Set the number of steps in the basic scheduler node, generally around 20 for a balance of quality and speed.
- The denoise strength in the K-sample node determines how much the original image will change. A value closer to 1 indicates maximum noise; around 0.50 and 0.91 is optimal for subtle alterations.
- Control the batch size and re-batch length for generating multiple images in one run.
Optional Upscaling: An upscaling node is included to improve the resolution of generated images. If you prefer not to upscale, connect the blue decode image node directly to the save image node.
Hit Generate: Hit the generate button and watch the magic unfold! Experiment with different prompts and settings to find your ideal results. Make sure to note the seed value to recreate any styles you love.
Conclusion
Congratulations! You’ve mastered a powerful image-to-image workflow using Flux models within the Comfy UI interface. What will you create with this new technique? If you run into any questions, feel free to leave a comment below. Happy creating!
Keywords
- AI image generation
- Image-to-image workflow
- Flux models
- Comfy UI
- Denoise strength
- Upscaling
- Custom nodes
- Positive prompt
- Visual consistency
FAQ
Q1: What is image-to-image generation?
A1: Image-to-image generation is the process of creating new images based on existing ones while preserving their original characteristics.
Q2: Why should I use image-to-image instead of text-to-image?
A2: Image-to-image workflows allow for greater creativity by using your original images as a basis, enabling endless variations while maintaining visual consistency.
Q3: What software do I need for this workflow?
A3: You will need Comfy UI, Flux models, and some specific AI models that can be easily downloaded through the Comfy UI manager.
Q4: How can I fine-tune the output of my images?
A4: You can modify the denoise strength, prompt description, and batch size settings to fine-tune how closely the generated images resemble your original image.
Q5: Can I save my preferred styles?
A5: Yes! By noting the seed value during generation, you can recreate specific styles in future projects.