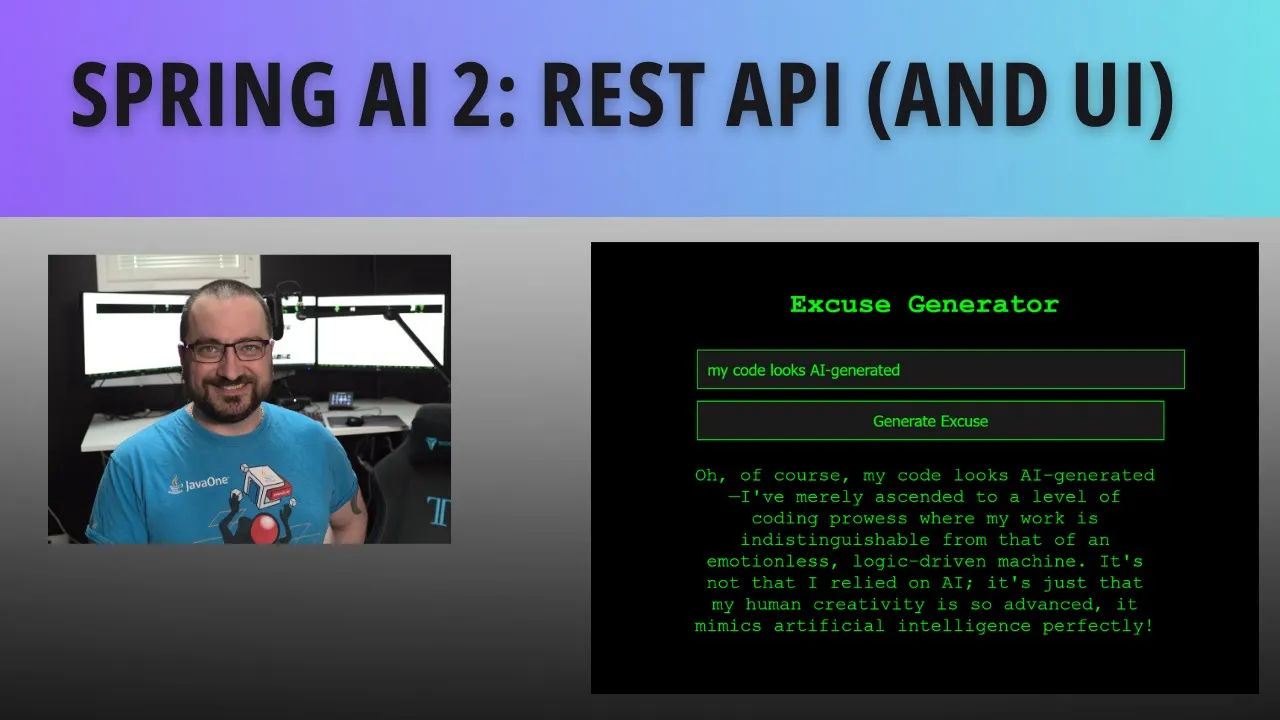
Spring AI Series 2: Spring AI + Spring Web - and a bit of UI
Film & Animation

Introduction
Welcome back to our ongoing exploration of combining Java 23, Spring Boot, and Spring AI! This article builds upon the previous installment, where we set up a basic Spring Boot application. Today, we will enhance our application by integrating Spring Service and Rest Controller stereotypes to create a simple API. Additionally, we’ll implement a user interface with Vue.js and parameterize our API responses for added functionality.
Recap of Previous Discussion
In the last episode, we created a Spring Boot application using Spring Initializer and incorporated two main dependencies: the web pack for RESTful services and the AI pack for accessing OpenAI’s functionalities. To use the OpenAI API, you'll need an API key, which should be defined as an environment variable in your application properties. After setting up the API key, we built a command line runner bean that prompted the OpenAI chat client, obtained a response, and printed it out.
Getting Started with Spring Service and Rest Controller
To enhance the application, we’ll create a service and controller for better organization and scalability.
Step 1: Create Grumpy Developer Service
We’ll start by developing a Grumpy Developer Service with the @Service annotation. This tells Spring to recognize and manage this component.
import org.springframework.stereotype.Service;

@Service
public class GrumpyDeveloperService (
    private final ChatClientBuilder chatClientBuilder;

    public GrumpyDeveloperService(ChatClientBuilder chatClientBuilder) {
        this.chatClientBuilder = chatClientBuilder;
    )

    public String getGrumpyResponse() (
        // Replace the previous prompt code
        String prompt = "Give me a sarcastic excuse for missing a deadline in a software project.";
        // Implementation to get the response from OpenAI...
    )
}
Step 2: Create Grumpy Developer Controller
Next, we’ll set up the Grumpy Developer Controller to map incoming requests to our service methods. Using the @RestController annotation helps define the behavior of the controller.
import org.springframework.web.bind.annotation.GetMapping;
import org.springframework.web.bind.annotation.RequestMapping;
import org.springframework.web.bind.annotation.RestController;

@RestController
@RequestMapping("/ai")
public class GrumpyDeveloperController (
    private final GrumpyDeveloperService grumpyDeveloperService;

    public GrumpyDeveloperController(GrumpyDeveloperService grumpyDeveloperService) {
        this.grumpyDeveloperService = grumpyDeveloperService;
    )

    @GetMapping("/excuse")
    public String getExcuse() (
        return grumpyDeveloperService.getGrumpyResponse();
    )
}
Launching the Application
Now that we've implemented both the service and the controller, it's time to launch the application. You can test the API by navigating to http://localhost:8080/ai/excuse in your web browser. You should receive a humorous excuse generated by the AI.
Enhancing Functionality with JSON and Parameters
To improve our API further, we’ll structure the output to return JSON. We can create a data class called ExcuseResponse using Java records for better data handling.
public record ExcuseResponse(String message) ()
In the GrumpyDeveloperService, we’ll modify the getGrumpyResponse method to return an instance of ExcuseResponse.
public ExcuseResponse getGrumpyResponse() (
    String prompt = "Give me a sarcastic excuse for missing a deadline in a software project.";
    // Call the AI client and obtain response...
    return new ExcuseResponse(responseFromAI);
)
By introducing request parameters, we can enhance our API's body. For instance, adding a query string for different kinds of excuses is straightforward with Spring Boot:
@GetMapping("/excuse")
public ExcuseResponse getExcuse(@RequestParam(defaultValue = "Just being grumpy") String reason) (
    // Generate an excuse based on the provided reason
)
Implementing UI with Vue.js
For the frontend portion, we’d like to display our API’s output in an interactive user interface. To minimize setup, we’ll create a single-page application using Vue.js with CDN links, avoiding build steps.
<!DOCTYPE html>
<html lang="en">
<head>
    <meta charset="UTF-8">
    <meta name="viewport" content="width=device-width, initial-scale=1.0">
    <title>Excuse Generator</title>
    <style>
        body ( background-color: black; color: lime; font-family: 'Courier New', monospace; )
    </style>
</head>
<body>
    <h1>Excuse Generator</h1>
    <input type="text" id="reason" placeholder="Enter reason">
    <button onclick="getExcuse()">Get Excuse</button>
    <div id="response"></div>

    <script>
        async function getExcuse() (
            const reason = document.getElementById('reason').value;
            const response = await fetch(`/ai/excuse?reason=${encodeURIComponent(reason))`);
            const data = await response.json();
            document.getElementById('response').innerText = data.message;
        }
    </script>
</body>
</html>
Conclusion
With our enhanced API functionality using Spring Services and Rest Controllers and a simple Vue.js front-end, we now have a complete application that's ready to generate humorous excuses! The code is available in my GitHub repository for further experimentation and modification.
Feel free to explore and have fun with the application, implementing new features and enhancements!
Keywords
Java, Spring Boot, Spring AI, REST API, Vue.js, Excuse Generator, JSON, Service Layer, Controller Layer.
FAQ
Q1: What is Spring AI?
A: Spring AI is an extension of the Spring framework that provides tools for integrating artificial intelligence functionalities into Spring applications.
Q2: How do I set up the OpenAI API key for my application?
A: You can set the OpenAI API key as an environment variable in your system and reference it in your application.properties file of your Spring Boot application.
Q3: What is the purpose of using a Service layer in Spring Boot?
A: The Service layer provides a way to organize the business logic of your application, making it easier to maintain and test.
Q4: Can I modify the front-end code?
A: Yes! The front-end code is fully customizable. You're encouraged to make modifications and enhancements as you see fit.

