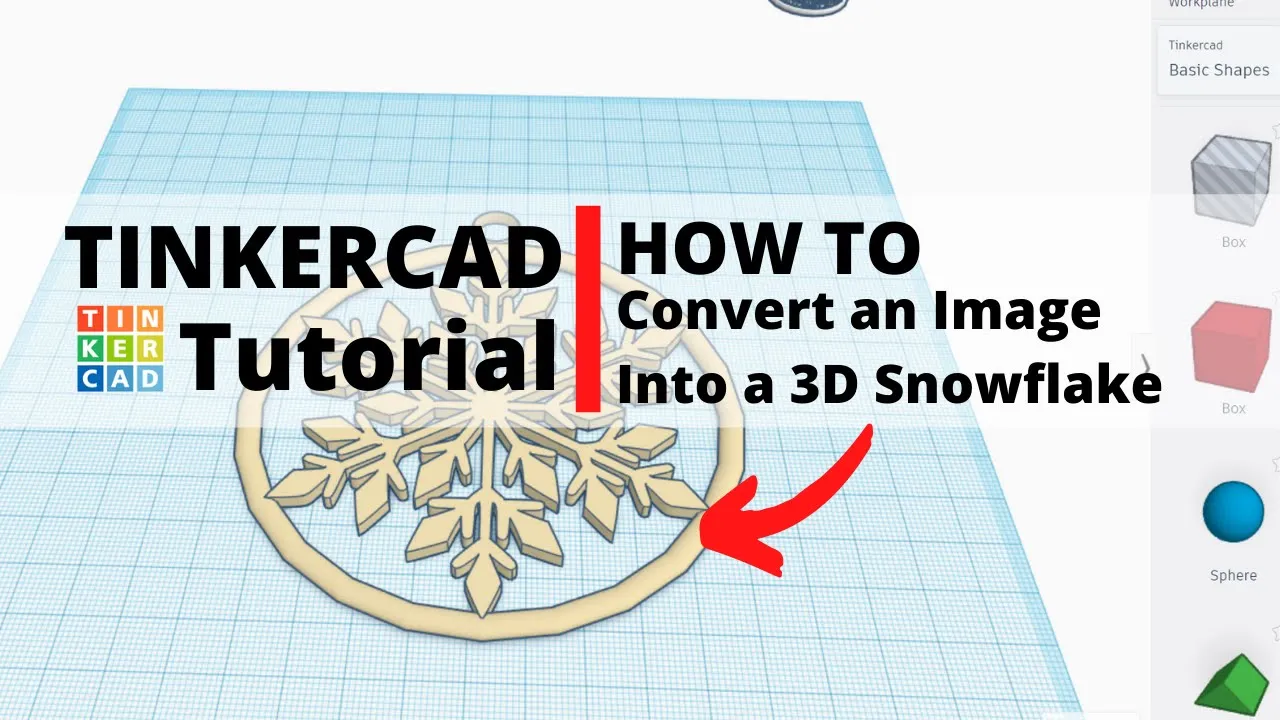
TinkerCad Tutorial - HOW to Turn a PNG/JPEG Image into a 3D Design, Step-By-Step!
Education

Introduction
Introduction
Hi everybody, this is John with Envision Robotics. Thanks for tuning in! Today, I've got an exciting project for us: creating a snowflake design using TinkerCad. We'll break this tutorial into three segments: searching and converting an image, importing into TinkerCad for design, and exporting/slicing for 3D printing.
Segment 1: Finding and Converting a Snowflake Image
Image Search:
- Use a web browser (Google Chrome, Microsoft Edge, etc.).
- Search for a "snowflake PNG transparent black and white."
- Look through the images; choose one with a white background and connected design elements.
- Avoid images with multiple elements or colored backgrounds.
- Once you find a suitable image, right-click and save it as a PNG file.
File Conversion:
- Open a new browser tab and search for "convert file to SVG."
- Use a reliable online converter like
image.online-convert.com. - Convert the saved PNG file to SVG format. Make sure to upload the saved image, select the "convert to SVG" option, and download the converted SVG file.
Segment 2: Importing SVG into TinkerCad and Designing
Importing the SVG:
- In TinkerCad, use the "Import" option to upload the SVG file.
- Adjust the dimensions if necessary (keep around 100mm for better manageability).
- After importing, change the thickness to around 3mm.
Designing the Ornament:
- Add a ring for easy hanging. You can customize the ring size to ensure a good fit.
- Align the ring with the snowflake image and match their heights (about 3mm).
- Use TinkerCad’s alignment tools to ensure everything is centered.
- Once satisfied, group the elements to form a single design.
Segment 3: Exporting and Slicing for 3D Printing
Exporting the Design:
- Select the design in TinkerCad, then use the "Export" function.
- Choose to export only the selected shape and save it as an STL file.
Slicing the Model:
- Open your slicer software (e.g., Flashforge).
- Load the STL file into the slicer.
- Ensure the model is properly positioned and flat on the printing platform.
- Configure printing settings (e.g., no supports needed, use standard quality).
- Save the sliced file as a GX format for 3D printing.
Printing Considerations:
- Make note of the estimated print time, material usage, and weight.
- Proceed to print the designed snowflake ornament on your 3D printer.
Keywords
- TinkerCad
- 3D design
- Snowflake
- PNG
- JPEG
- SVG
- File conversion
- Import
- Export
- Slicing
- 3D printing
FAQ
Q1: What types of image files can I use for converting to 3D models in TinkerCad?
A1: You can use PNG or JPEG files. The tutorial explains how to convert these into SVG format, which can be imported into TinkerCad.
Q2: How do I ensure my imported design is properly aligned in TinkerCad?
A2: Use TinkerCad’s alignment tools to ensure your design elements (e.g., snowflake and hanging ring) are centered and properly aligned.
Q3: Can I use any slicer software for the 3D printing step?
A3: Yes, any slicer software compatible with your 3D printer will work. The tutorial uses Flashforge, but the steps can be adapted to other slicers.
Q4: What are the recommended dimensions for thickness when designing a 3D-printed ornament in TinkerCad?
A4: A thickness of about 3mm is recommended to ensure the design is sturdy yet not excessively thick.
Q5: What should I verify before starting the 3D print?
A5: Ensure the model is flat on the printing platform, confirm print settings, and check the estimated material usage and print time.
This article and its segments aim to thoroughly explain how to convert a 2D image into a 3D design using TinkerCad, helping both beginners and seasoned users create intricate designs easily.

